Pikmin 4 introduces many new enemies to the series while bringing back plenty of familiar faces. Being able to see adorable creatures such as the Breadbug and Honey Wisp is more nostalgic than distressing. However, that doesn't mean there are no terrors to be found on PNF-404 this time around.
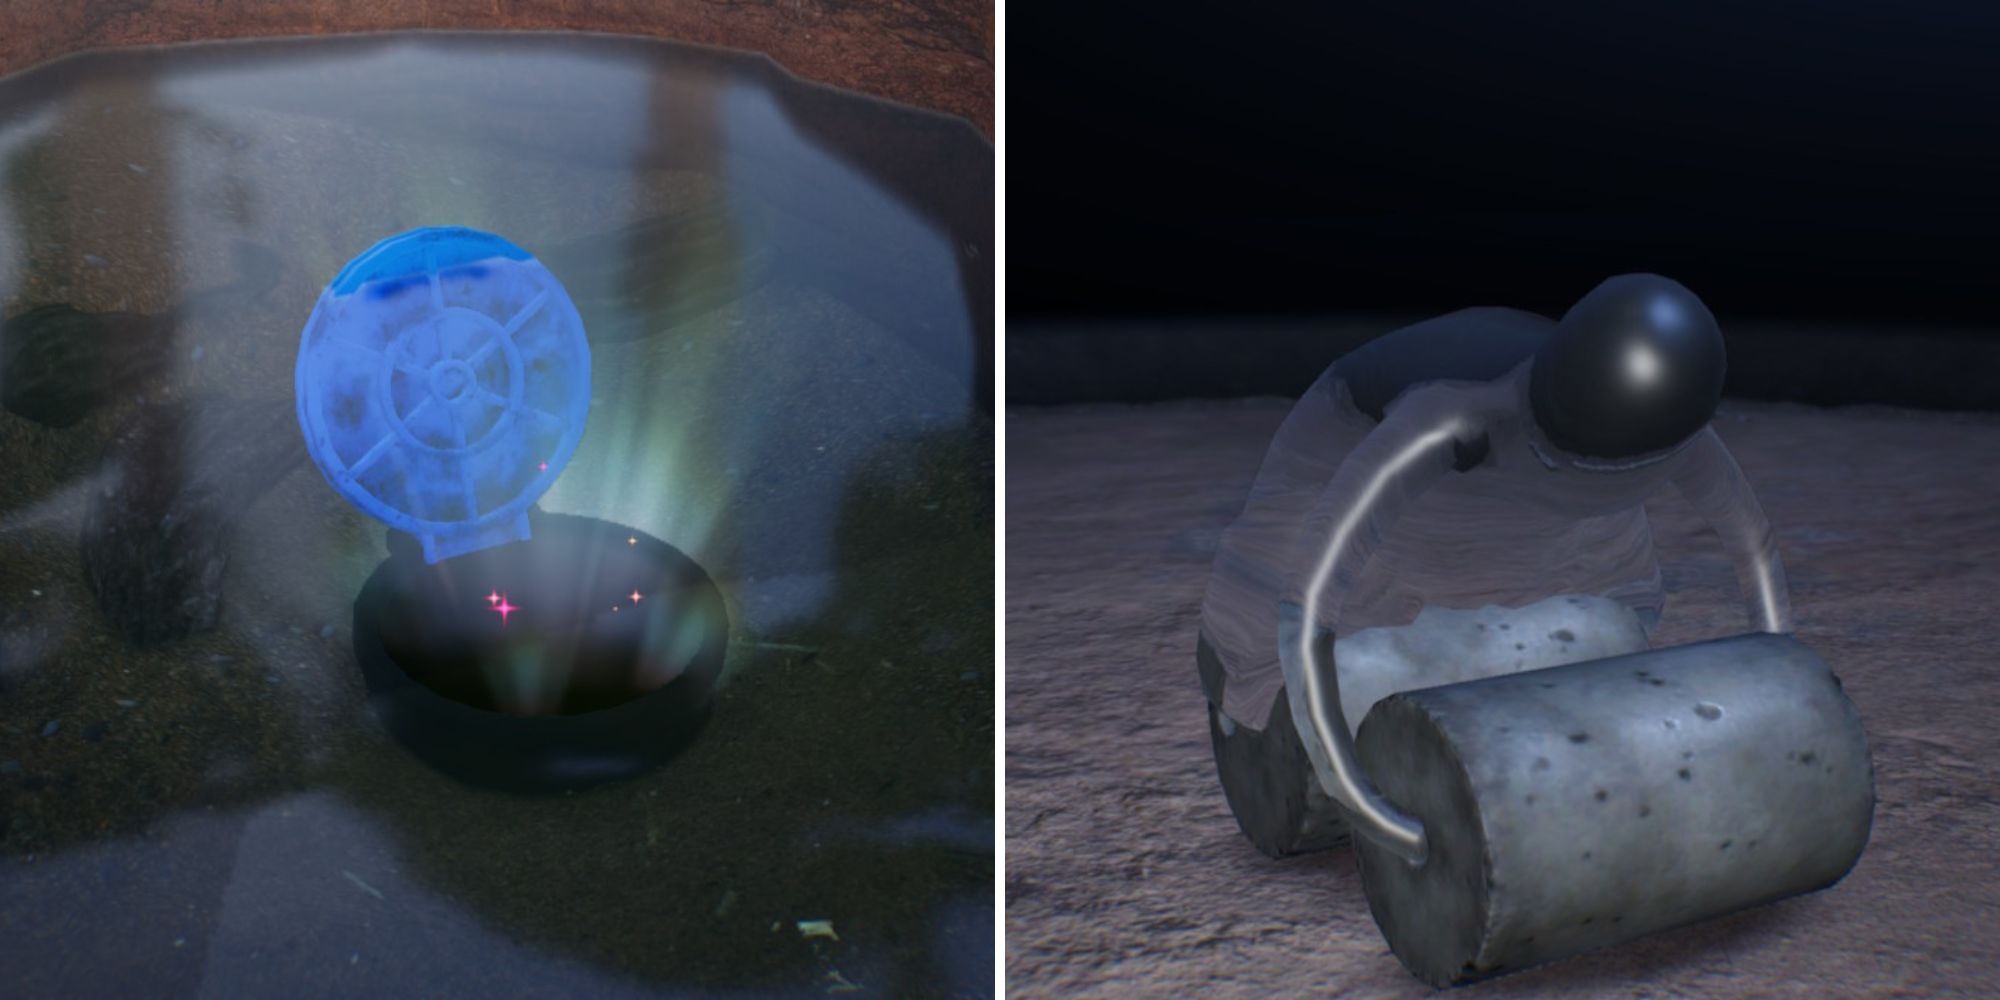
Inside the Engulfed Castle cave, located in Serene Shores, the horrifying Waterwraith makes its return. Just like in previous entries, most attacks and bomb rocks are ineffective against this creature. You'll need to collect every piece of treasure as quickly as possible to avoid being steamrolled by this monster. And that can be difficult since you're expected to start with only Blue Pikmin, facing all sorts of challenges usually intended for the other Pikmin types.
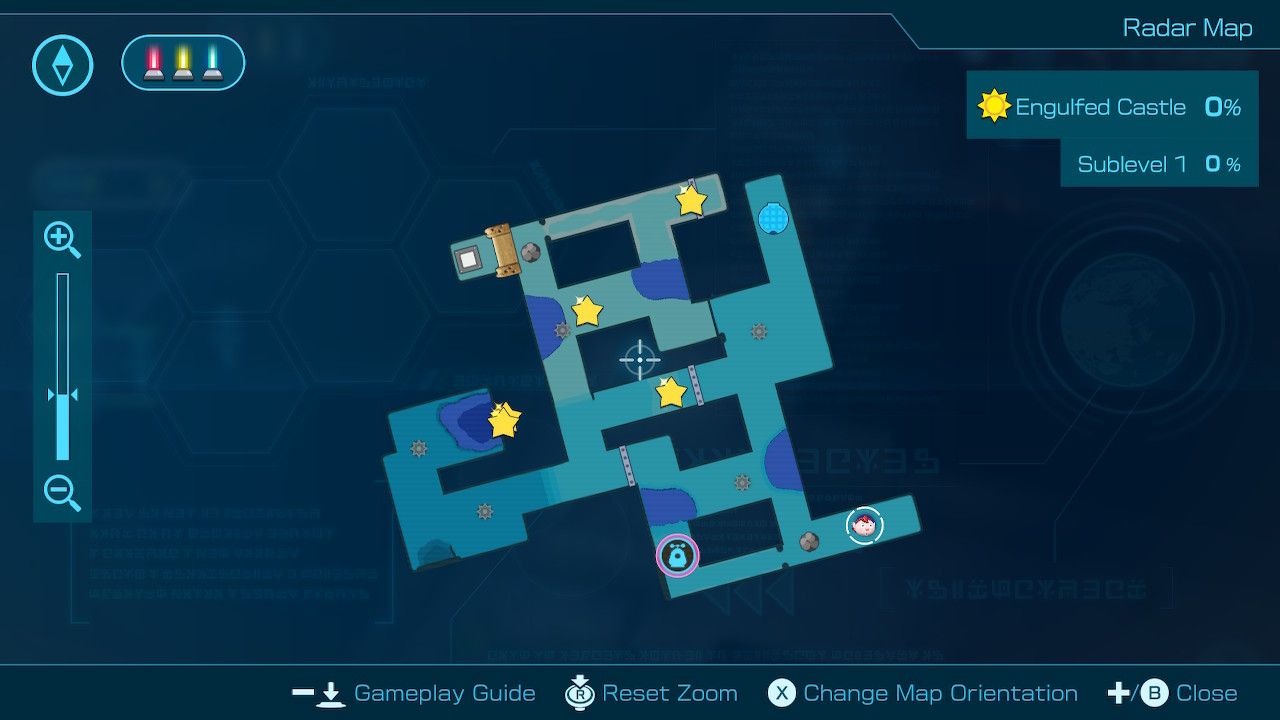
Sublevel 1
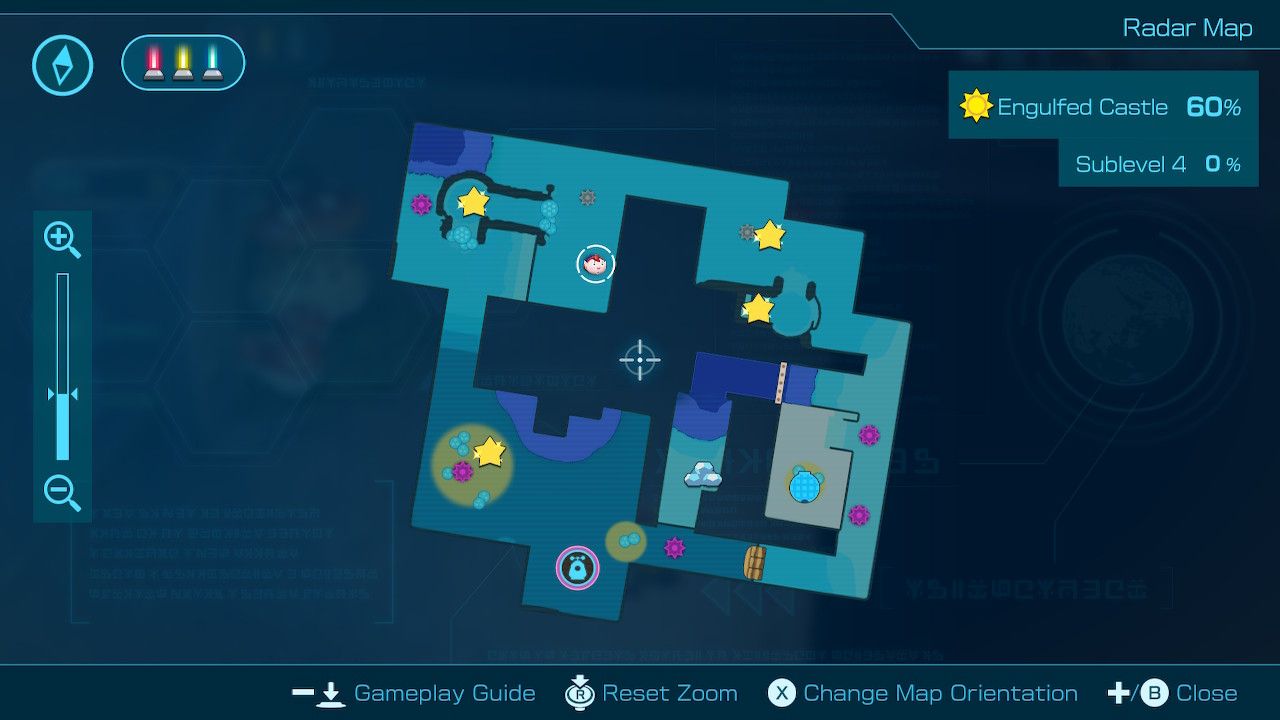
Sublevel one has five enemies and five fire geysers to look out for. The enemies all use fire-based attacks, be sure to have the Scorch Guard equipped to yourself and Oatchi. This gear can be purchased from Russ for 50 raw materials, while Oatchi's Scorch Guard can be purchased for 100 raw materials.
With this gear, Oatchi can take care of fire geysers and weaker fire enemies. You can also lure the Pyroclasmic Slooch and Fiery Bulblax enemies into ponds of water to douse its flames, allowing your Blue Pikmin to attack without getting burned.
On sublevels one through four, the Waterwraith appears after roughly five minutes. Since the Pikmin can't attack it and bomb rocks are ineffective, your only option is to run.
Treasure/Castaway | Description, Name, Details |
|---|---|
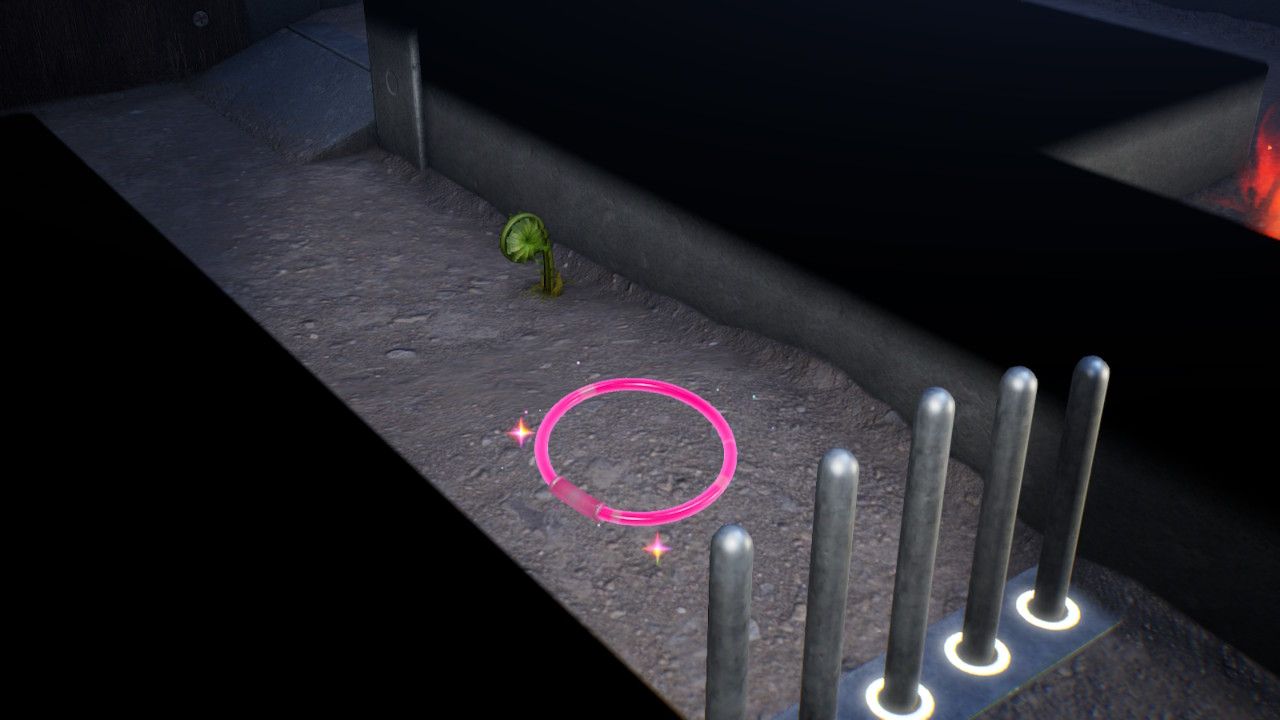 | Hoop of Passion Center of map below Fiery Bulblax |
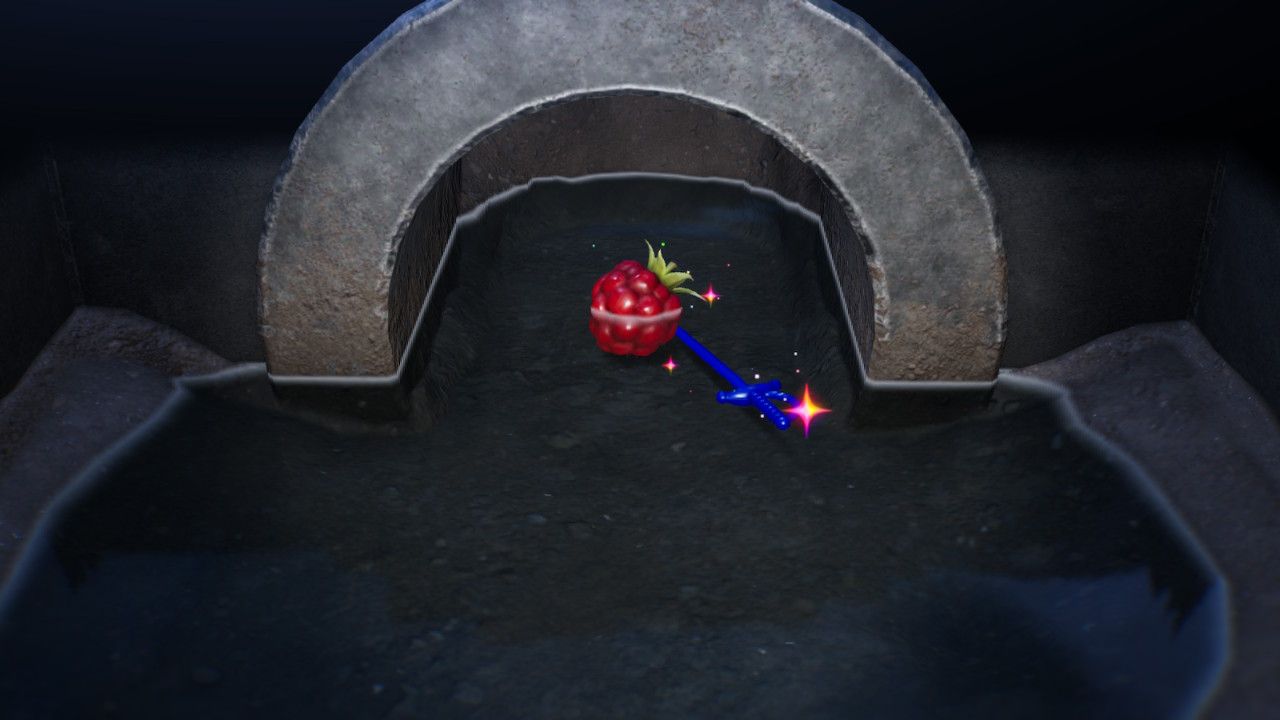 | Ice Sword Around the corner on the west side |
Juicy Gaggle Next to Ice Sword | |
 | Secured Satchel Northeast corner, pressing frees the treasure |
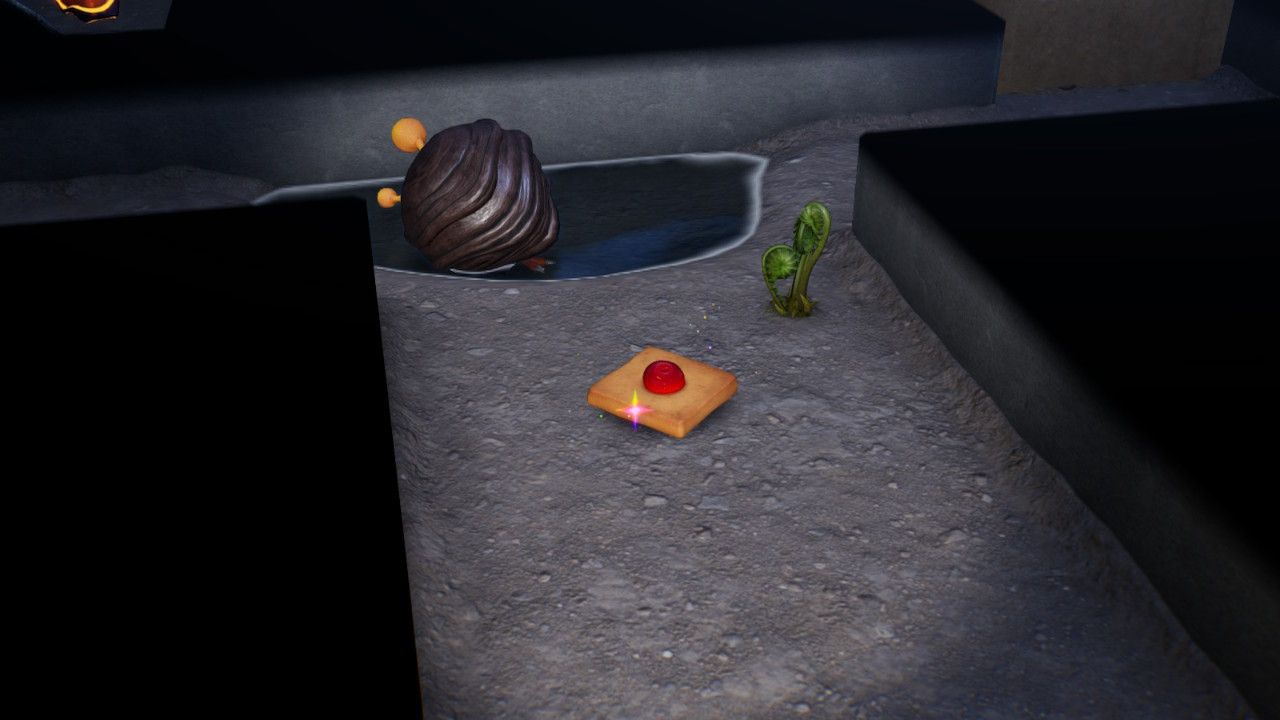 | Vanishing Cookie Center of map, dropped by Fiery Bulblax |
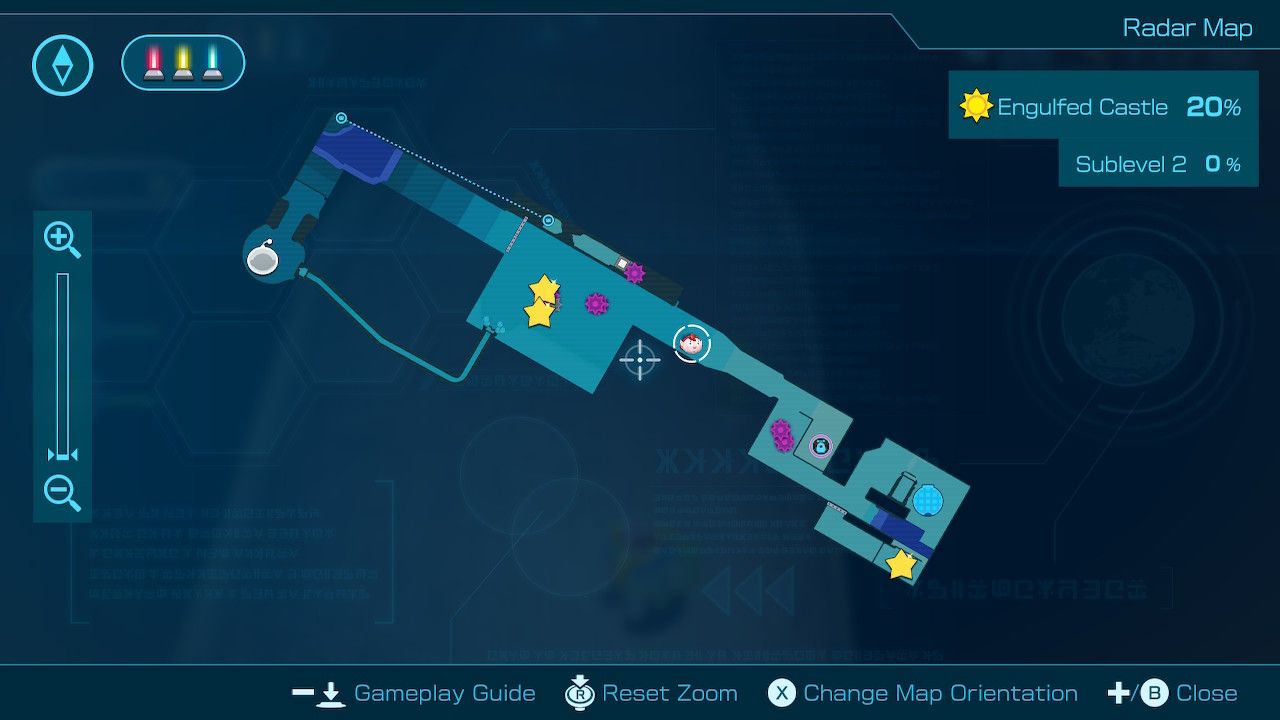
Sublevel 2
There are eight enemies to look out for on this level. Most of the enemies here are Albino Dwarf Bulborbs that can be eliminated as easily as any other Bulborb. Four of these Bulborbs accompany a Red Bulborb, which you have to defeat to obtain the Crush Nugget treasures.
Use the nearby bushes to hide from the beasts, then charge into them when their backs are turned.
Treasure/Castaway Location | Description, Name, Details |
|---|---|
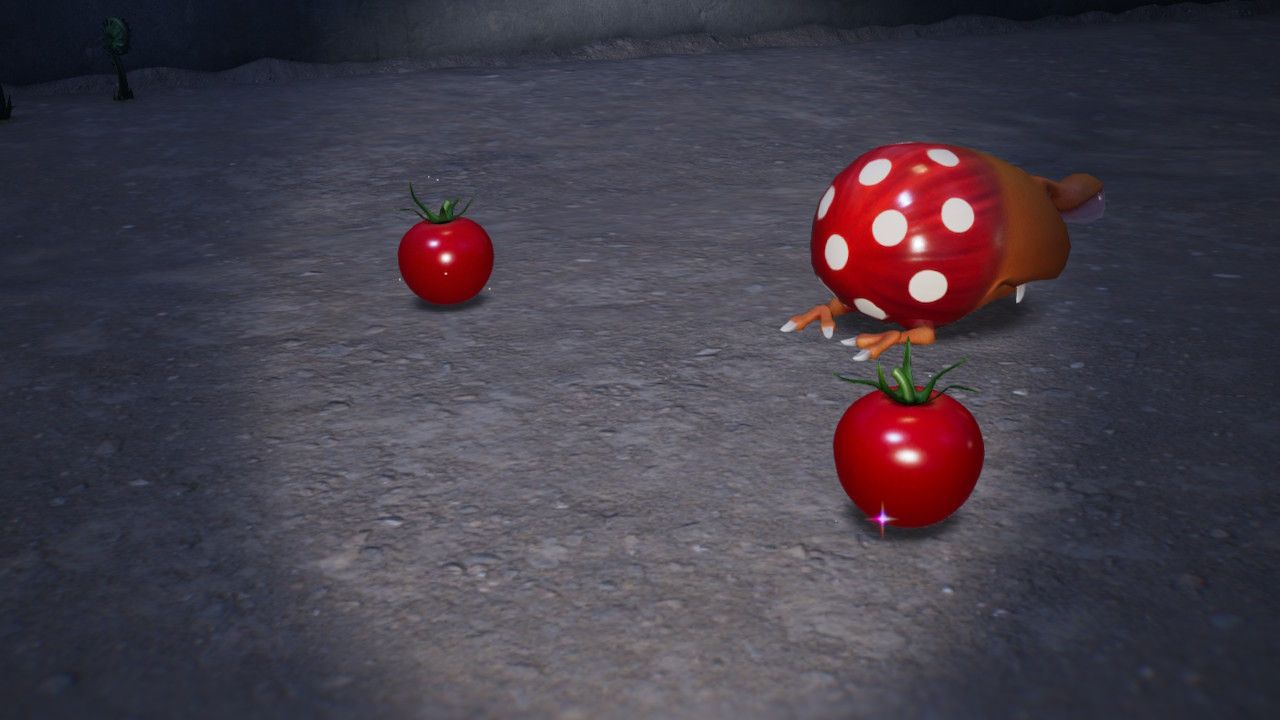 | Crush Nugget x2 Down the hall from the base, dropped by Red Bulborb |
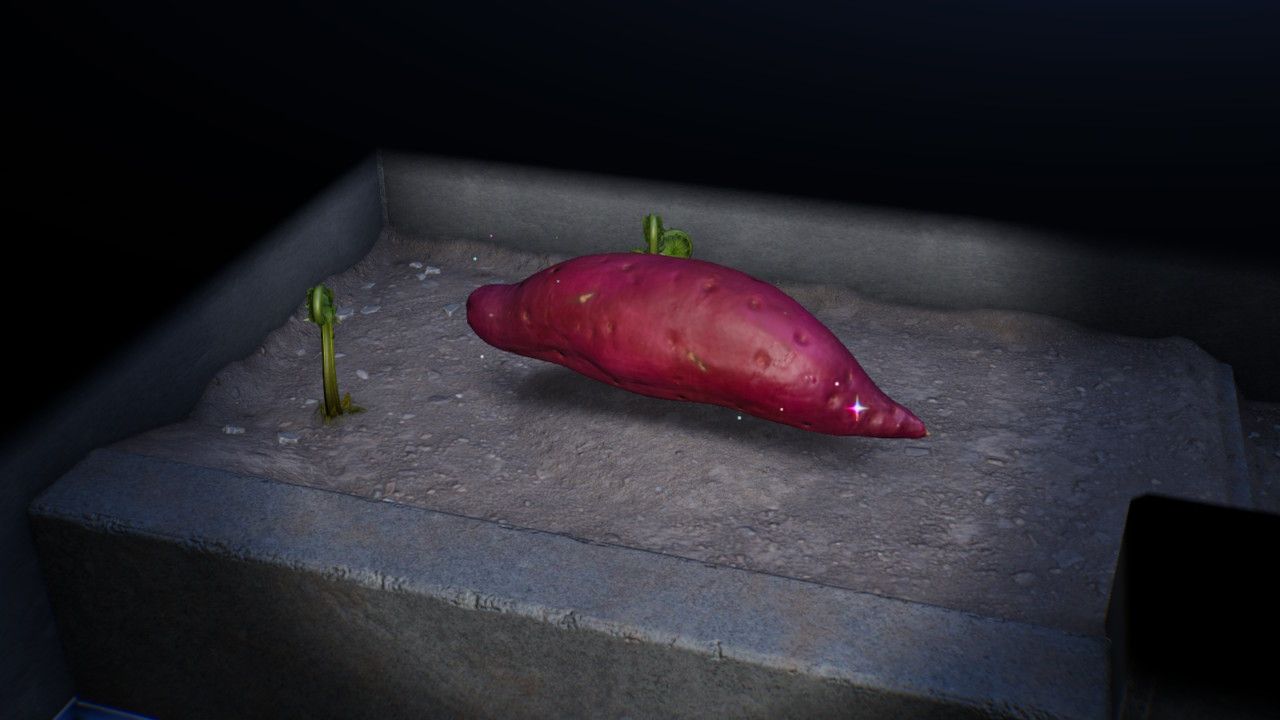 | Daughter of the Earth In southeast corner, buried |
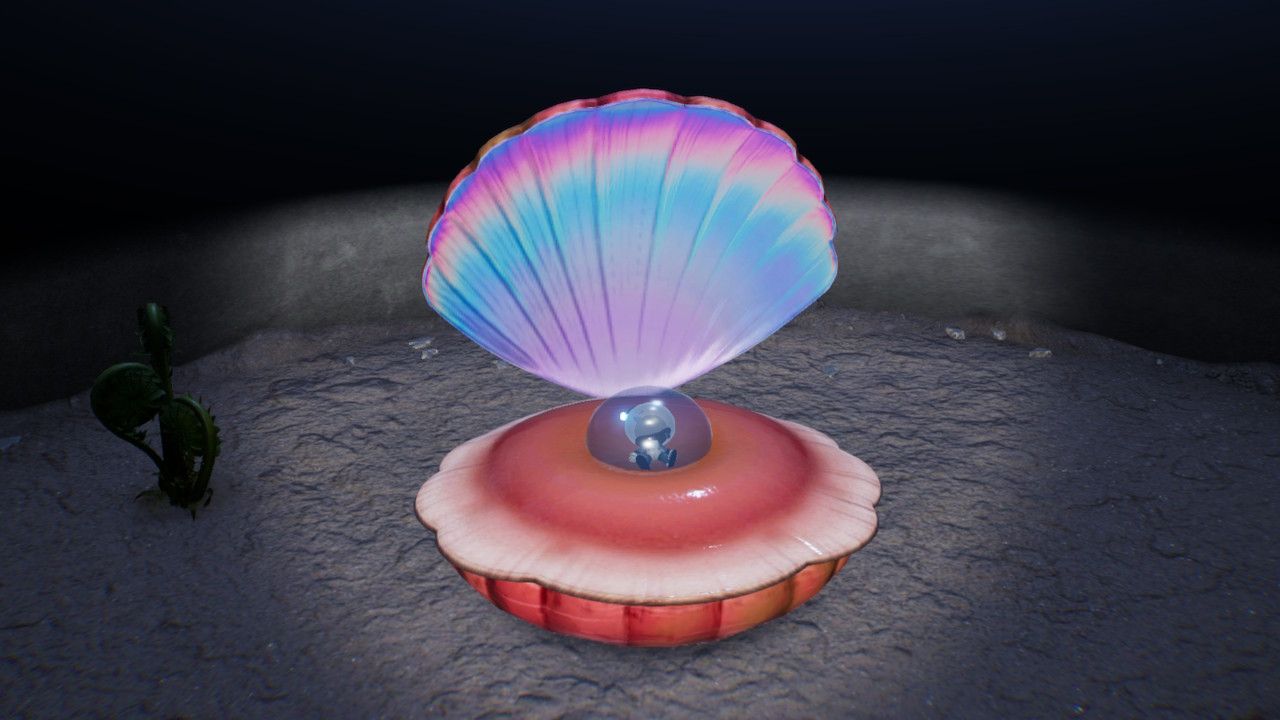 | Castaway In northwest corner, defeat the Pearly Clamclamp |
Sublevel 3
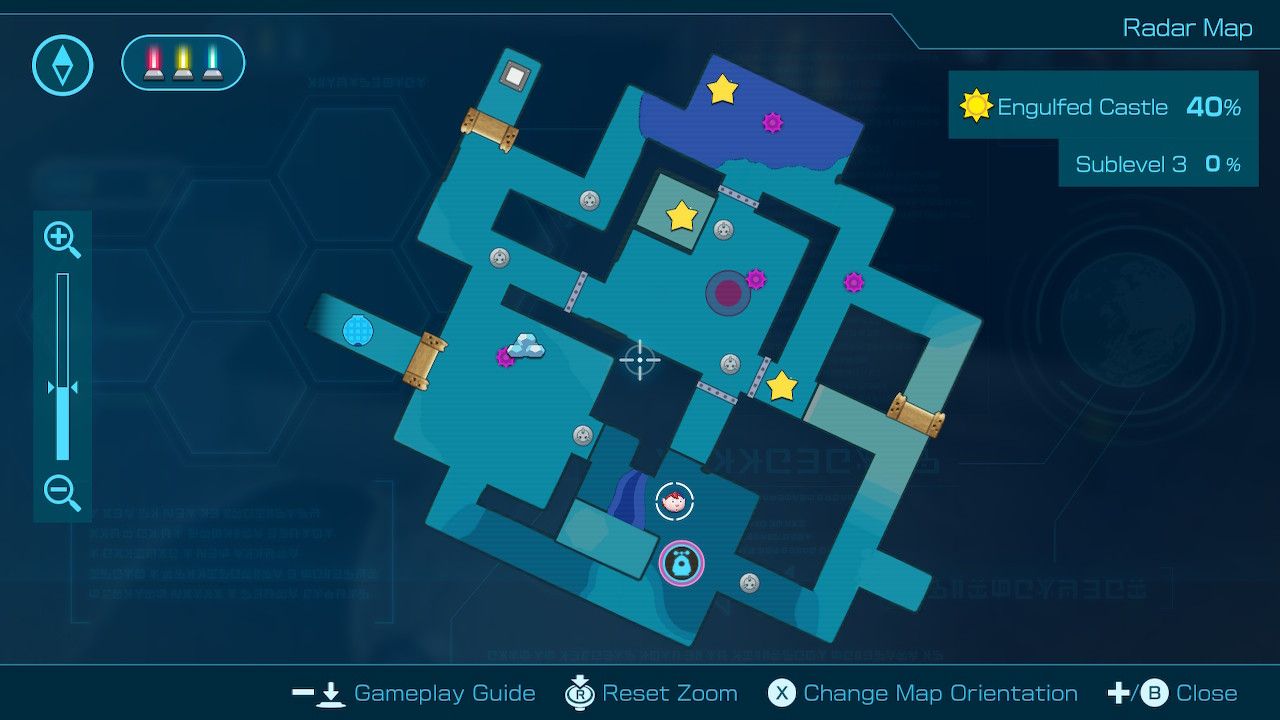
This area has five enemies and six electrical rod hazards. The Anti-Electrifier gear is great for this level, allowing Oatchi to safely dispose of all electric hazards and the Anode Dweevil. This gear can be purchased from Russ for 50 raw materials, while Oatchi's Anti-Electrifier can be purchased for 100 raw materials.
Move your base to the area with the Withered Blowhog. Your base will be in the center of the map, surrounded by all three treasures on this level. This allows you to swiftly collect all three treasures before the Waterwraith appears.
Treasure/Castaway Location | Description, Name, Details |
|---|---|
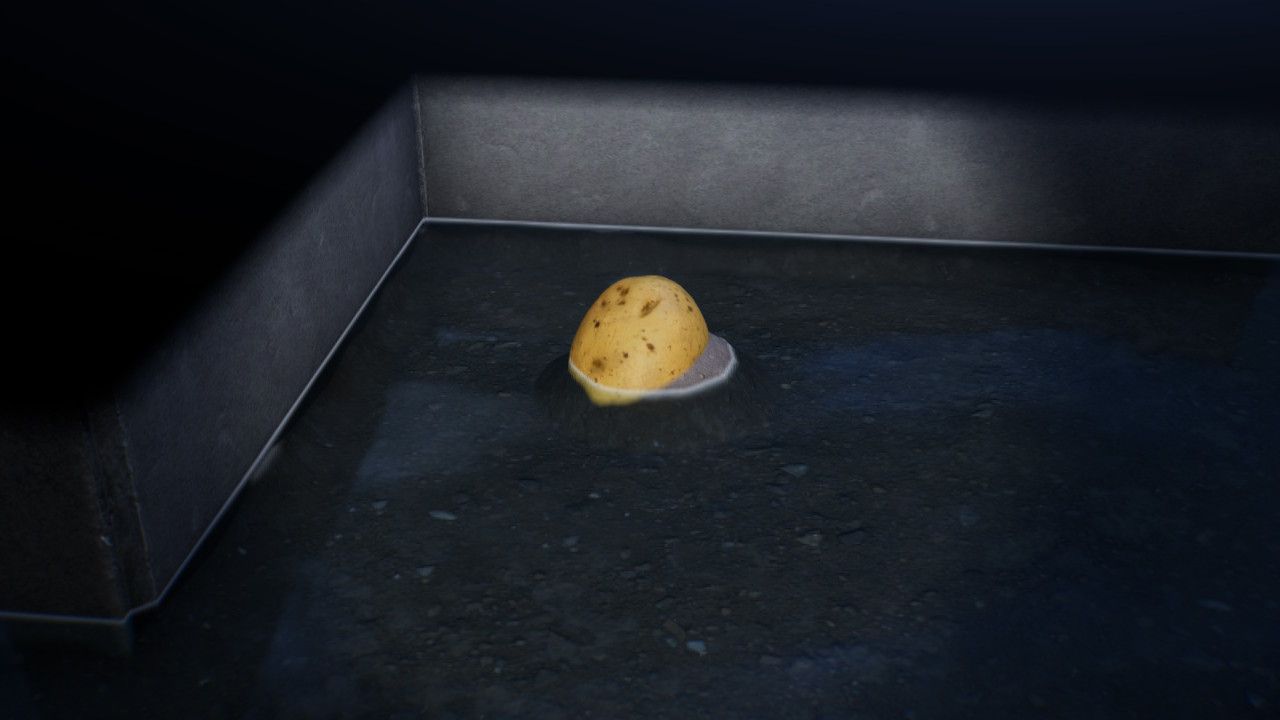 | Child of the Earth North corner, buried and in a body of water |
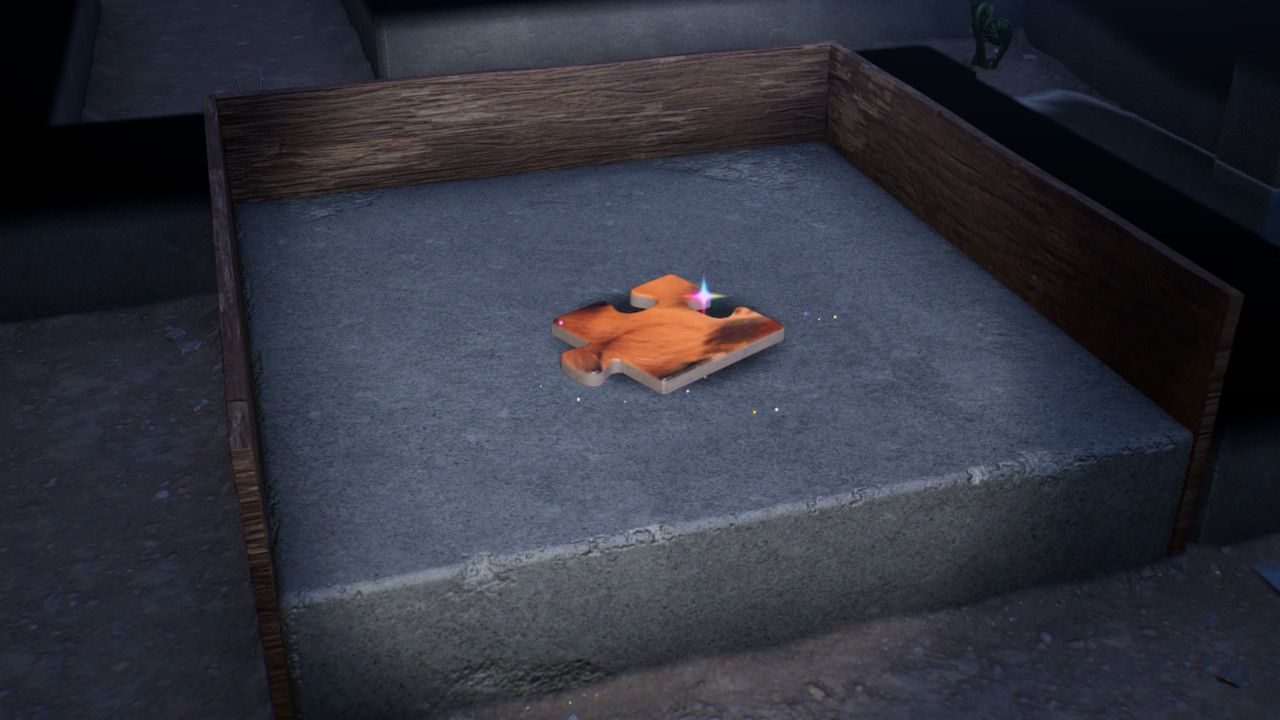 | Memory Fragment (Bottom...Probably?) Center of area, close to other base location |
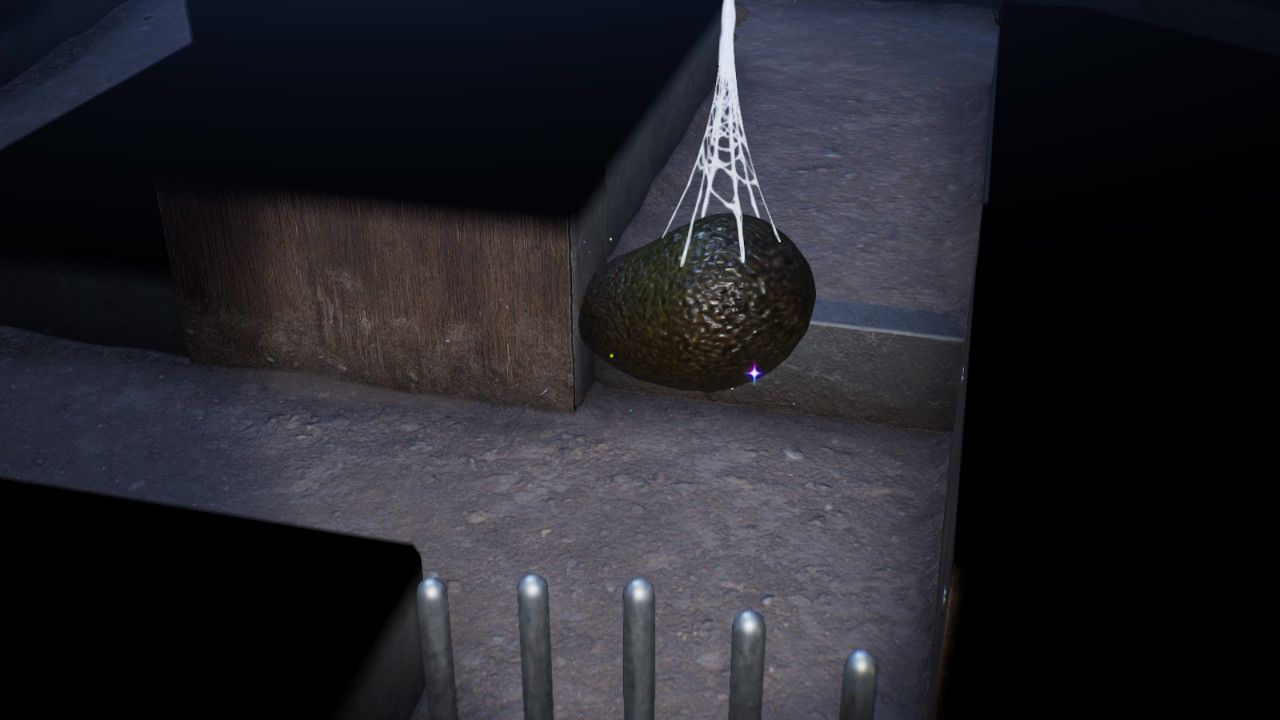 | Scaly Custard East of other base location |
Sublevel 4
This sublevel is littered with poisonous enemies and hazards. There are eight enemies, most of which are the Moldy Dwarf Bulborbs. These creatures and the Venom Dweevils can emit poison as an attack. Use Oatchi's rush to take down these enemies without much hassle.
Four areas with sticky mold spread across the floor on this level. This mold will slow your movement and traps objects beneath the mold. To get rid of the mold, destroy any nearby mushrooms, and the mold will fade away.
Randomly after picking up any of the treasures here, a Venom Dweevil may fall from the sky. They can steal treasure and poison your Pikmin. Only two Venom Dweevils will appear in this area.
The Startle Spore is another poisonous enemy here that hides near the Velvety Dreamdrop treasure. Disguised as a few mushrooms, this creature's eyes can be seen blinking under mushroom caps. This monster can be killed instantly with a bomb rock.
Treasure/Castaway Location | Description, Name, Details |
|---|---|
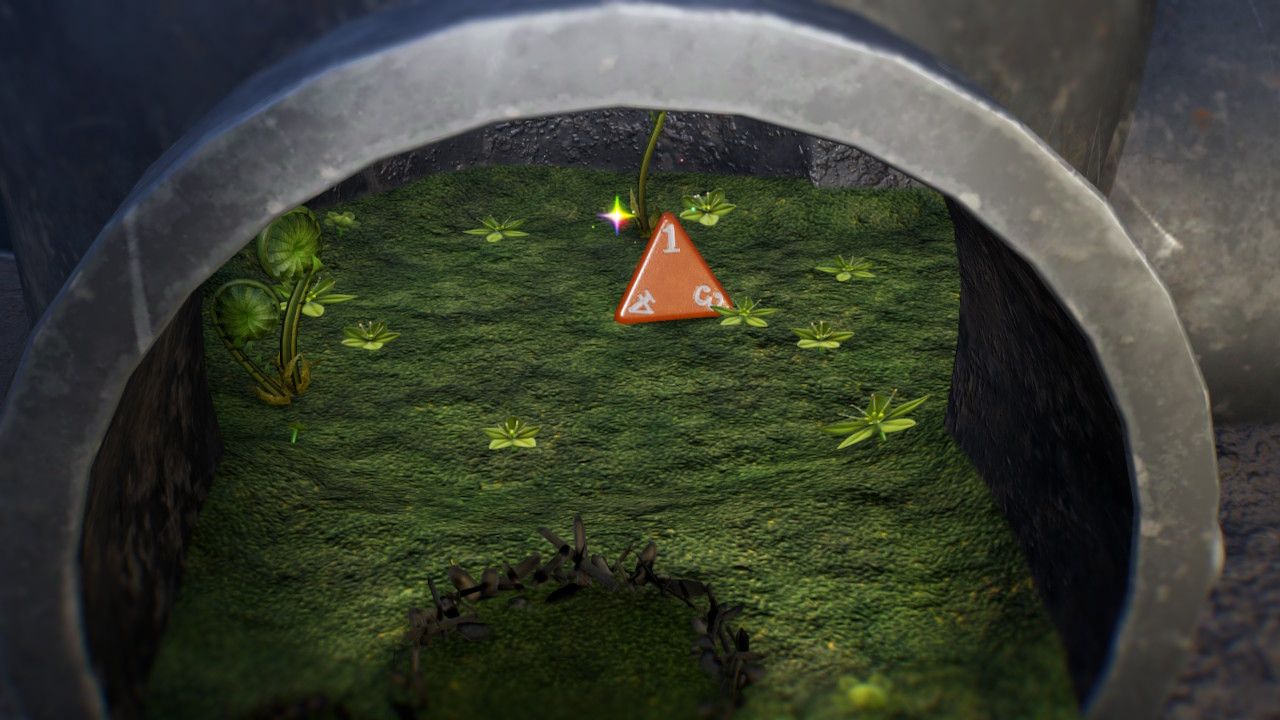 | Difficult-Choice Totem Northwest, inside a tube surrounded by mushrooms |
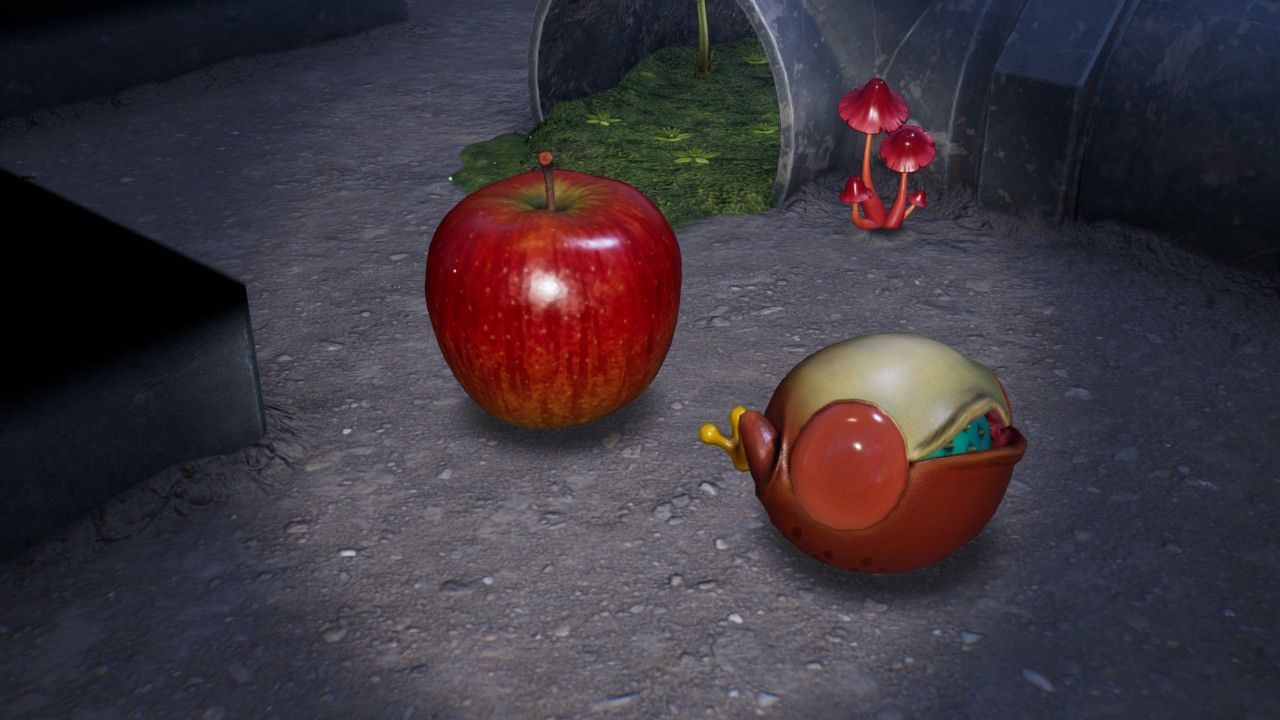 | Insect Condo Northeast, dropped by the Startle Spore |
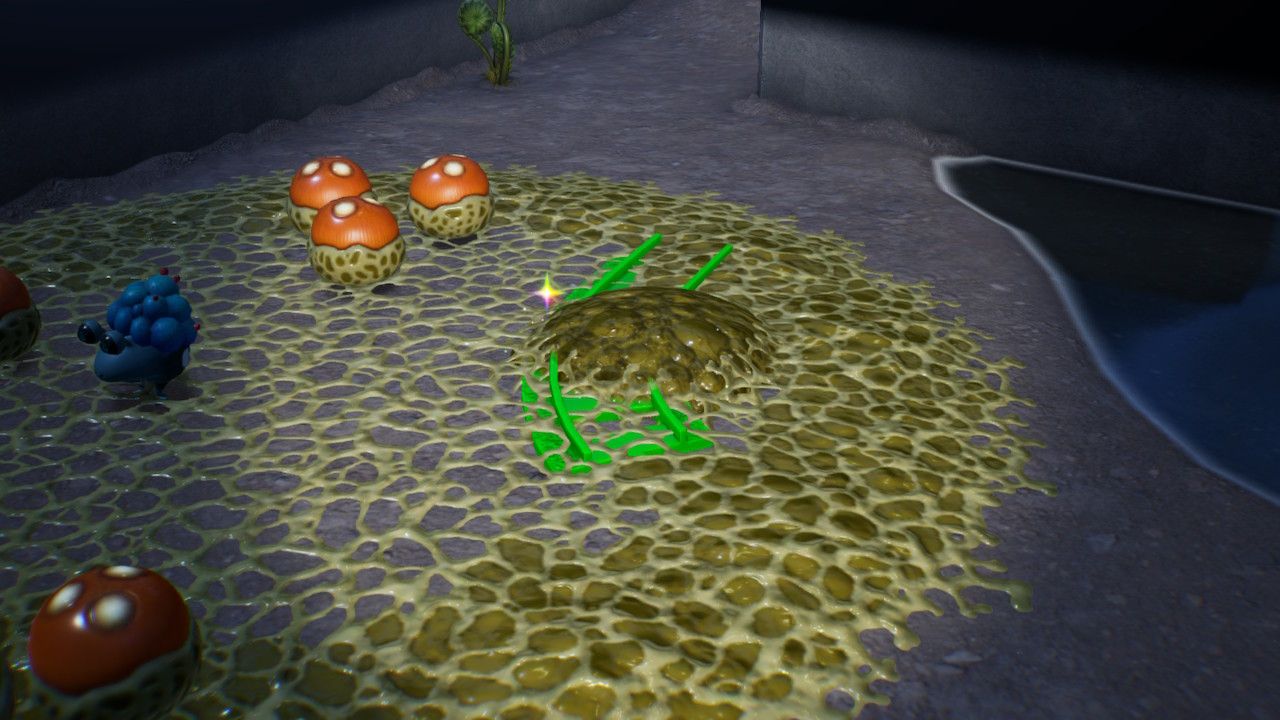 | Turn-of-Events Track West from base under sticky mold |
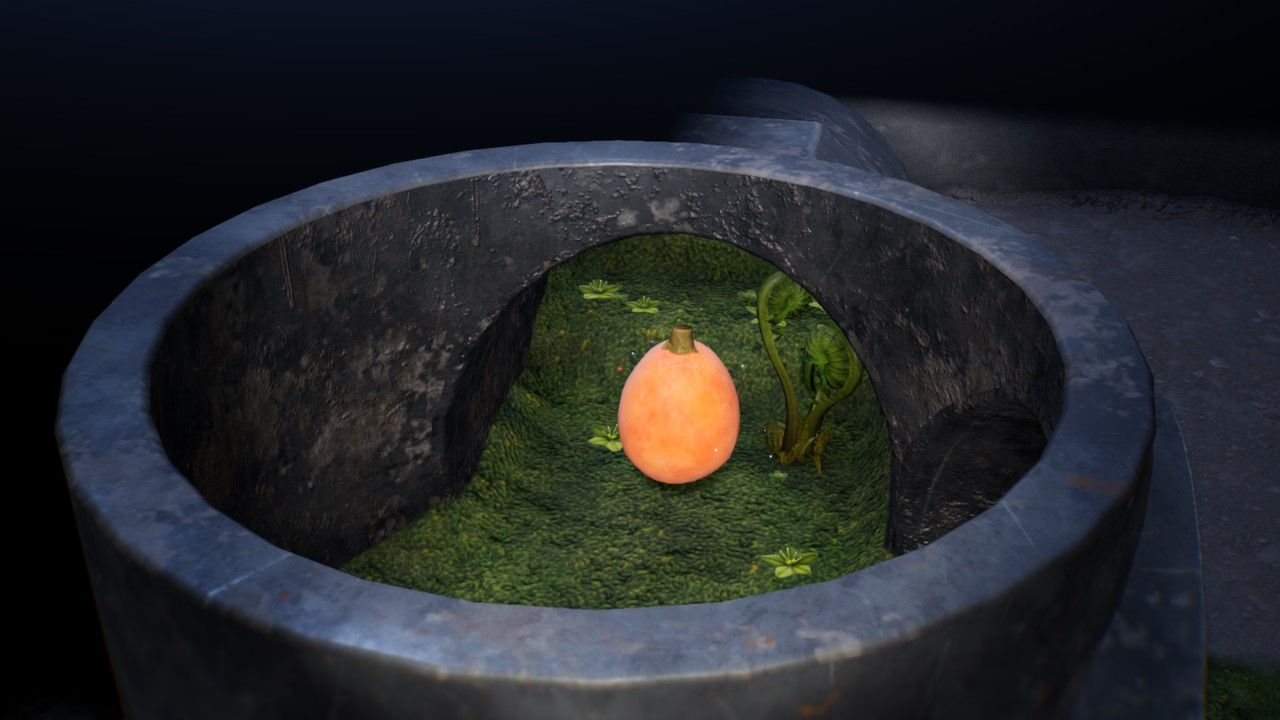 | Velvety Dreamdrop Northeast, inside the tube near the Startle Spore |
Sublevel 5
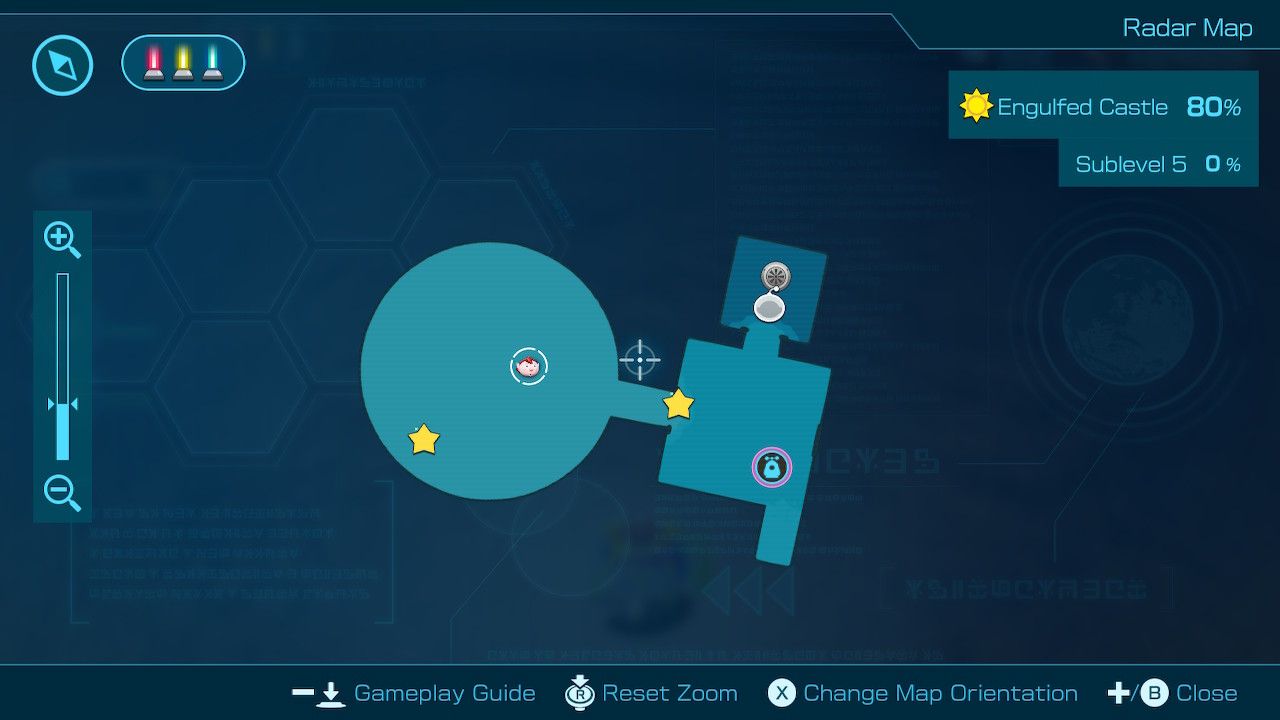
Here you'll face off against the Waterwraith. Before you do, use the two nearby Violet Candypop Buds to create Purple Pikmin. You will need ten Purple Pikmin to flatten the paper bag that leads to the boss room.
With Purple Pikmin in tow, approach the egg in the center of the room to begin your fight with the Waterwraith. Hop on Oatchi to have an easier time avoiding being flattened by the monster. Next, throw Purple Pikmin onto or close to the beast to make them vulnerable to attacks from any Pikmin type. Whenever the creature reverts to its transparent form, it regains invulnerability.
Once you drain the enemy's health, it will stand up and run away from you. Defeat the monster once more to put an end to the battle.
Treasure/Castaway Location | Description, Name, Details |
|---|---|
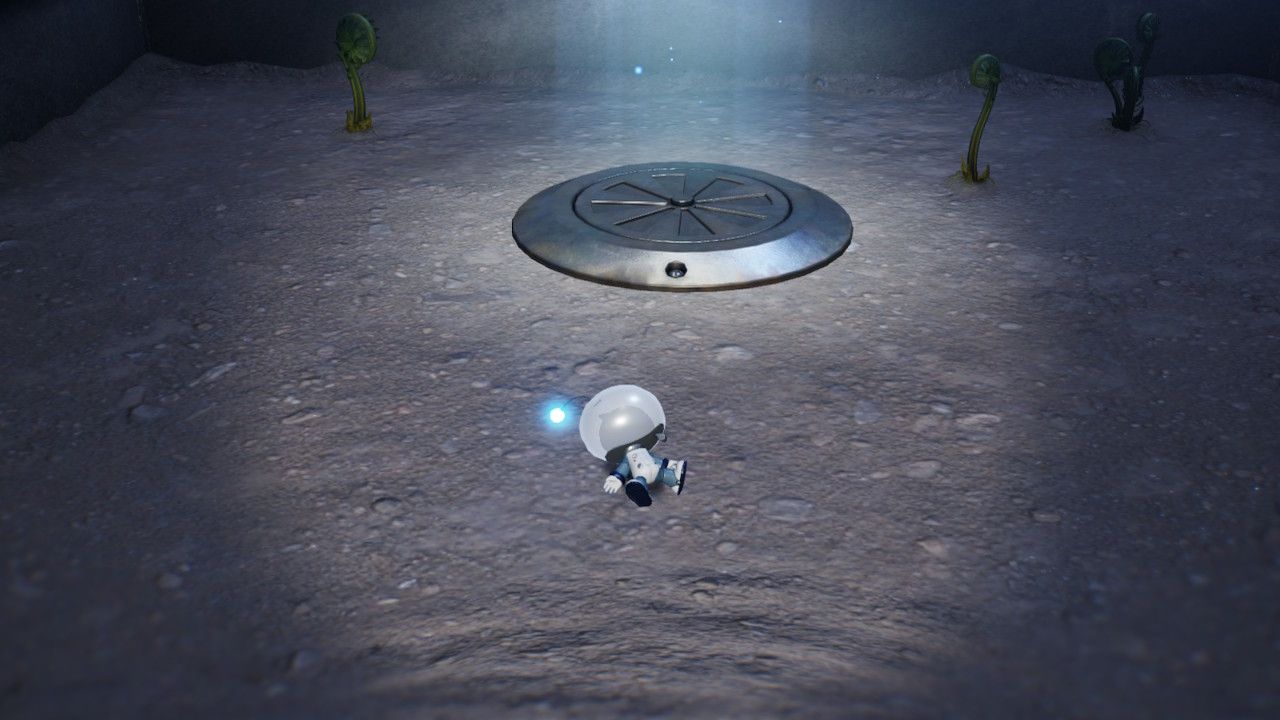 | Castaway Laying next to the cave exit |
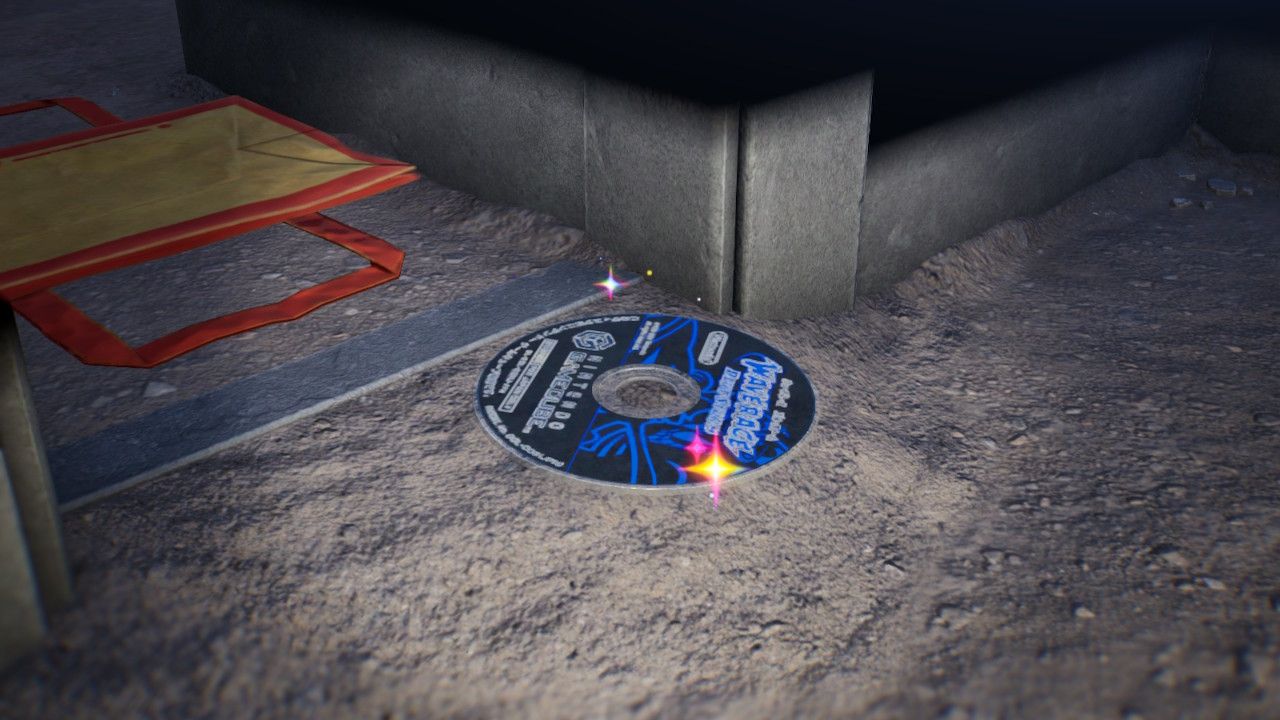 | Glinty Circular Disc Dropped by the Waterwraith |
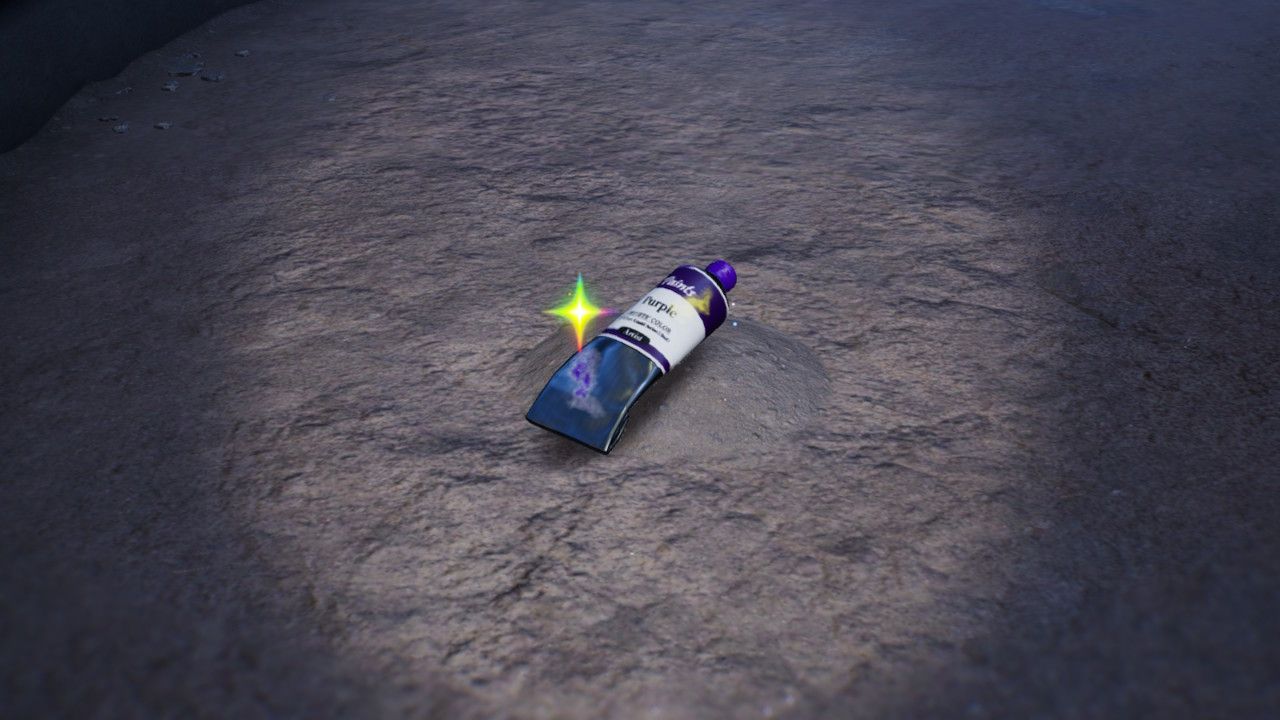 | Noble Goo West part of Waterwraith room, use Oatchi |

