The newest Sea Of Thieves adventure is live right now, and it features the surprising demise of a character who's been around since nearly the beginning. Yes, poor Merrick has been murdered, and it's up to you - and thousands of other pirates - to uncover the truth behind his assassination.
To help you get through this adventure before it ends, this guide will show you how to discover the identity of the despicable person behind this crime. So let's get pirating.
How To Complete The Adventure
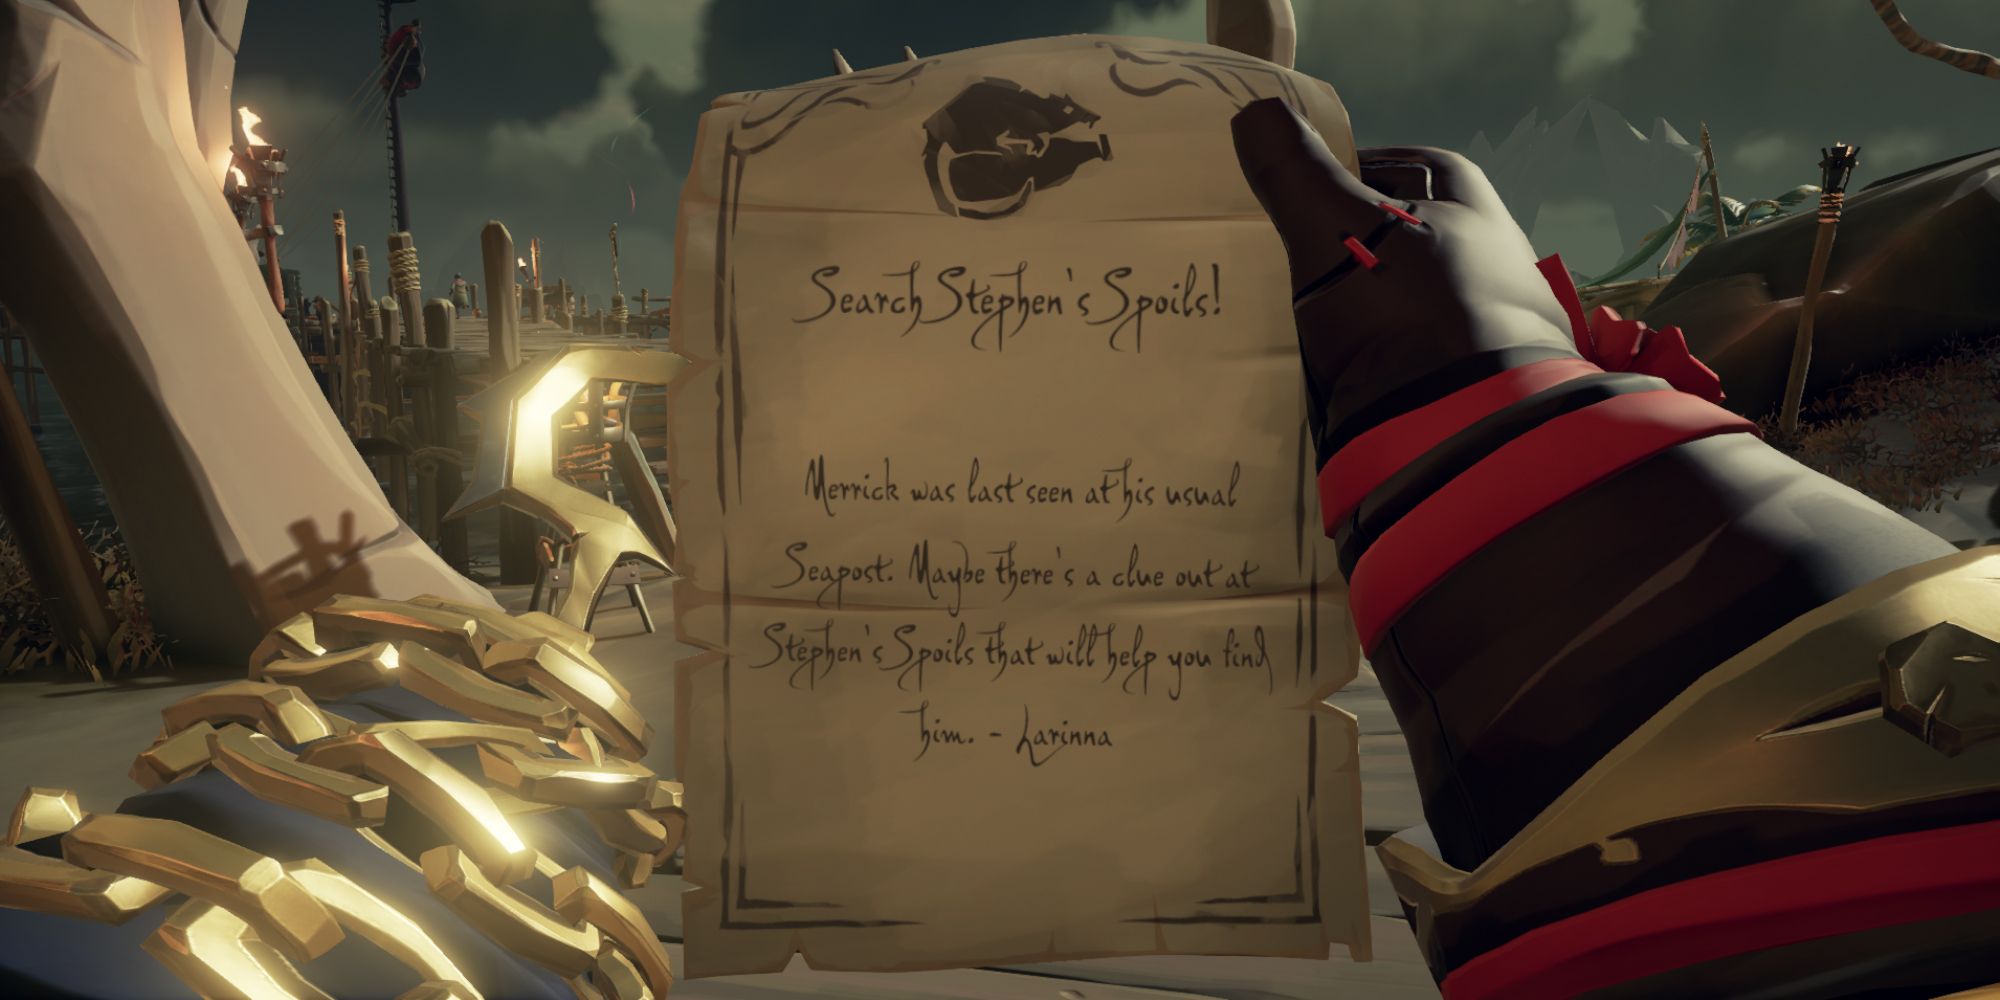
As with most of these adventures, you need to speak with Larinna at the tavern of whichever outpost you're currently at and select the "begin adventure" dialogue option to, well, begin the adventure. After that, she'll tell you that Merrick has gone missing and will hand you a note suggesting that there may be a clue to his location at Stephen's Spoils. So head on over there.
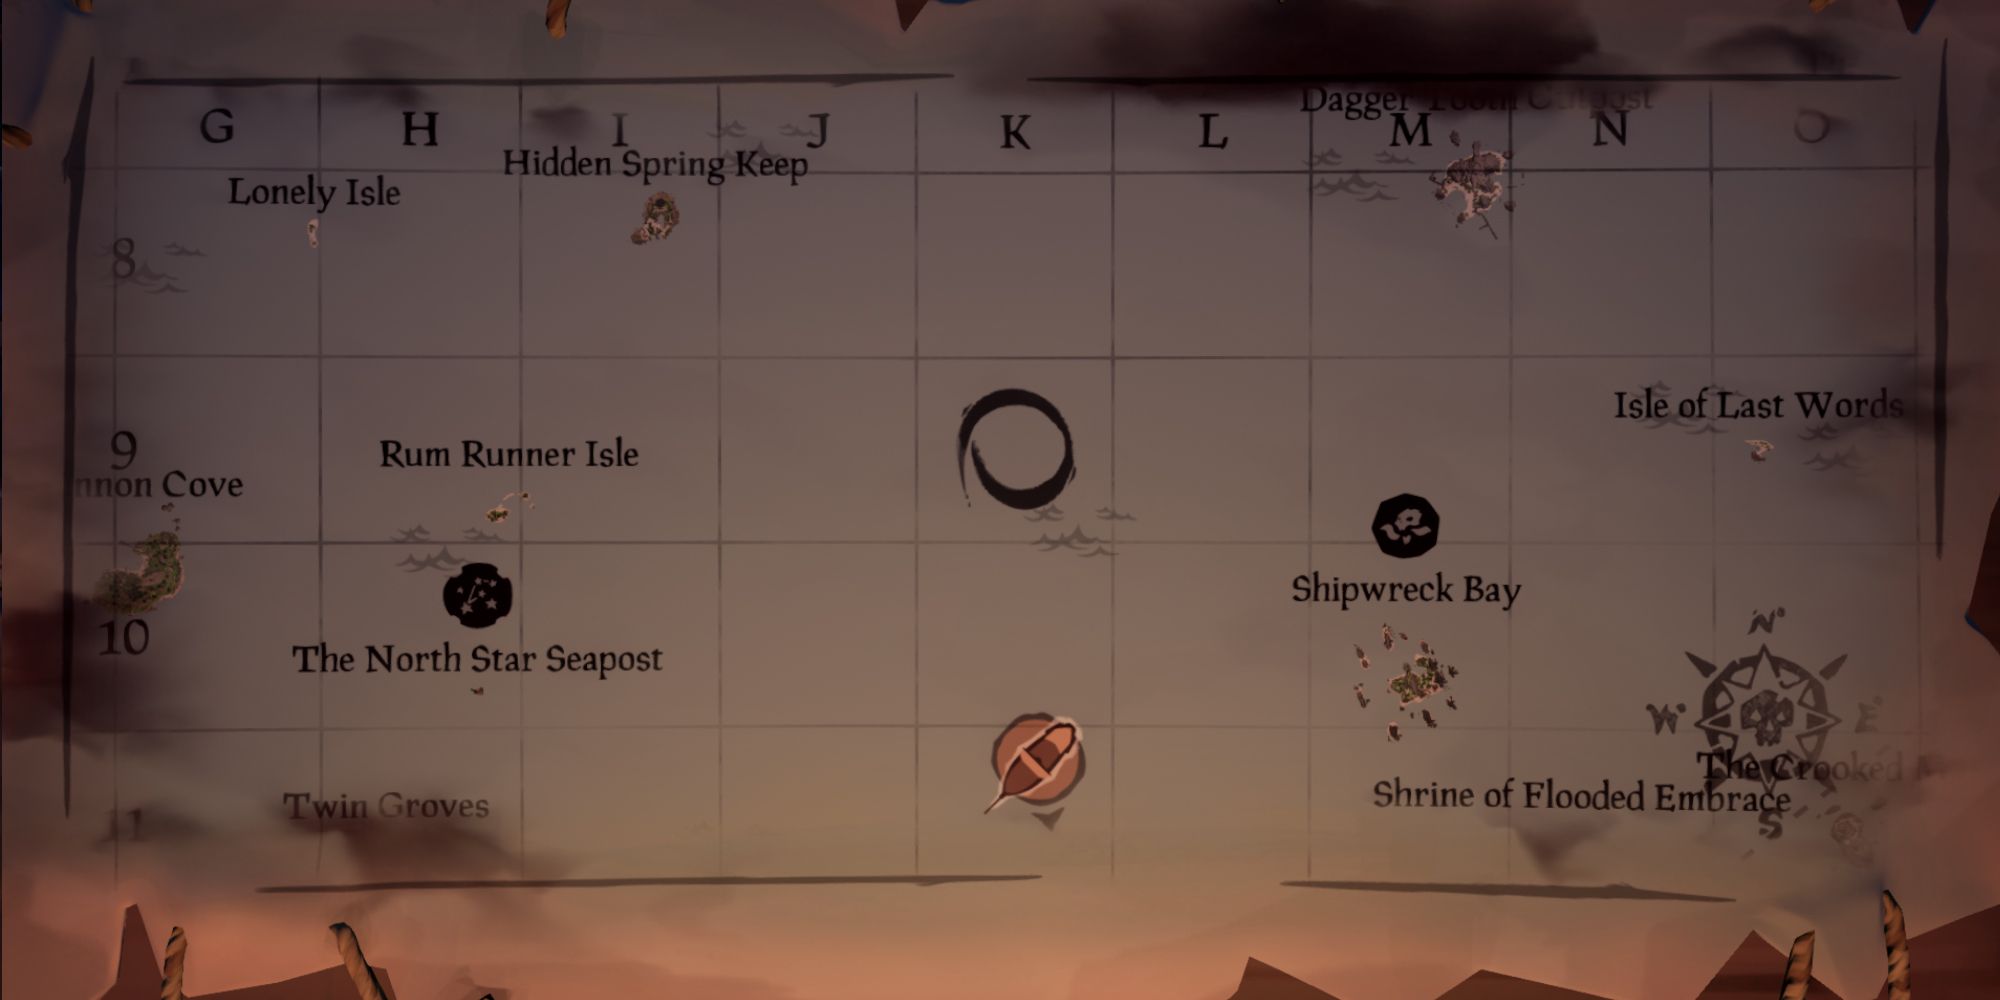
When you arrive at Stephen's Spoils, you'll find another note titled "A Letter For Merrick" on the dock next to a cauldron. Pick it up, read it, and it'll tell you to seek land located between Shipwreck Bay and Hidden Spring Keep. This spot is not listed on the map, but it'll be found at the K9 coordinates on the map as shown in the picture below:
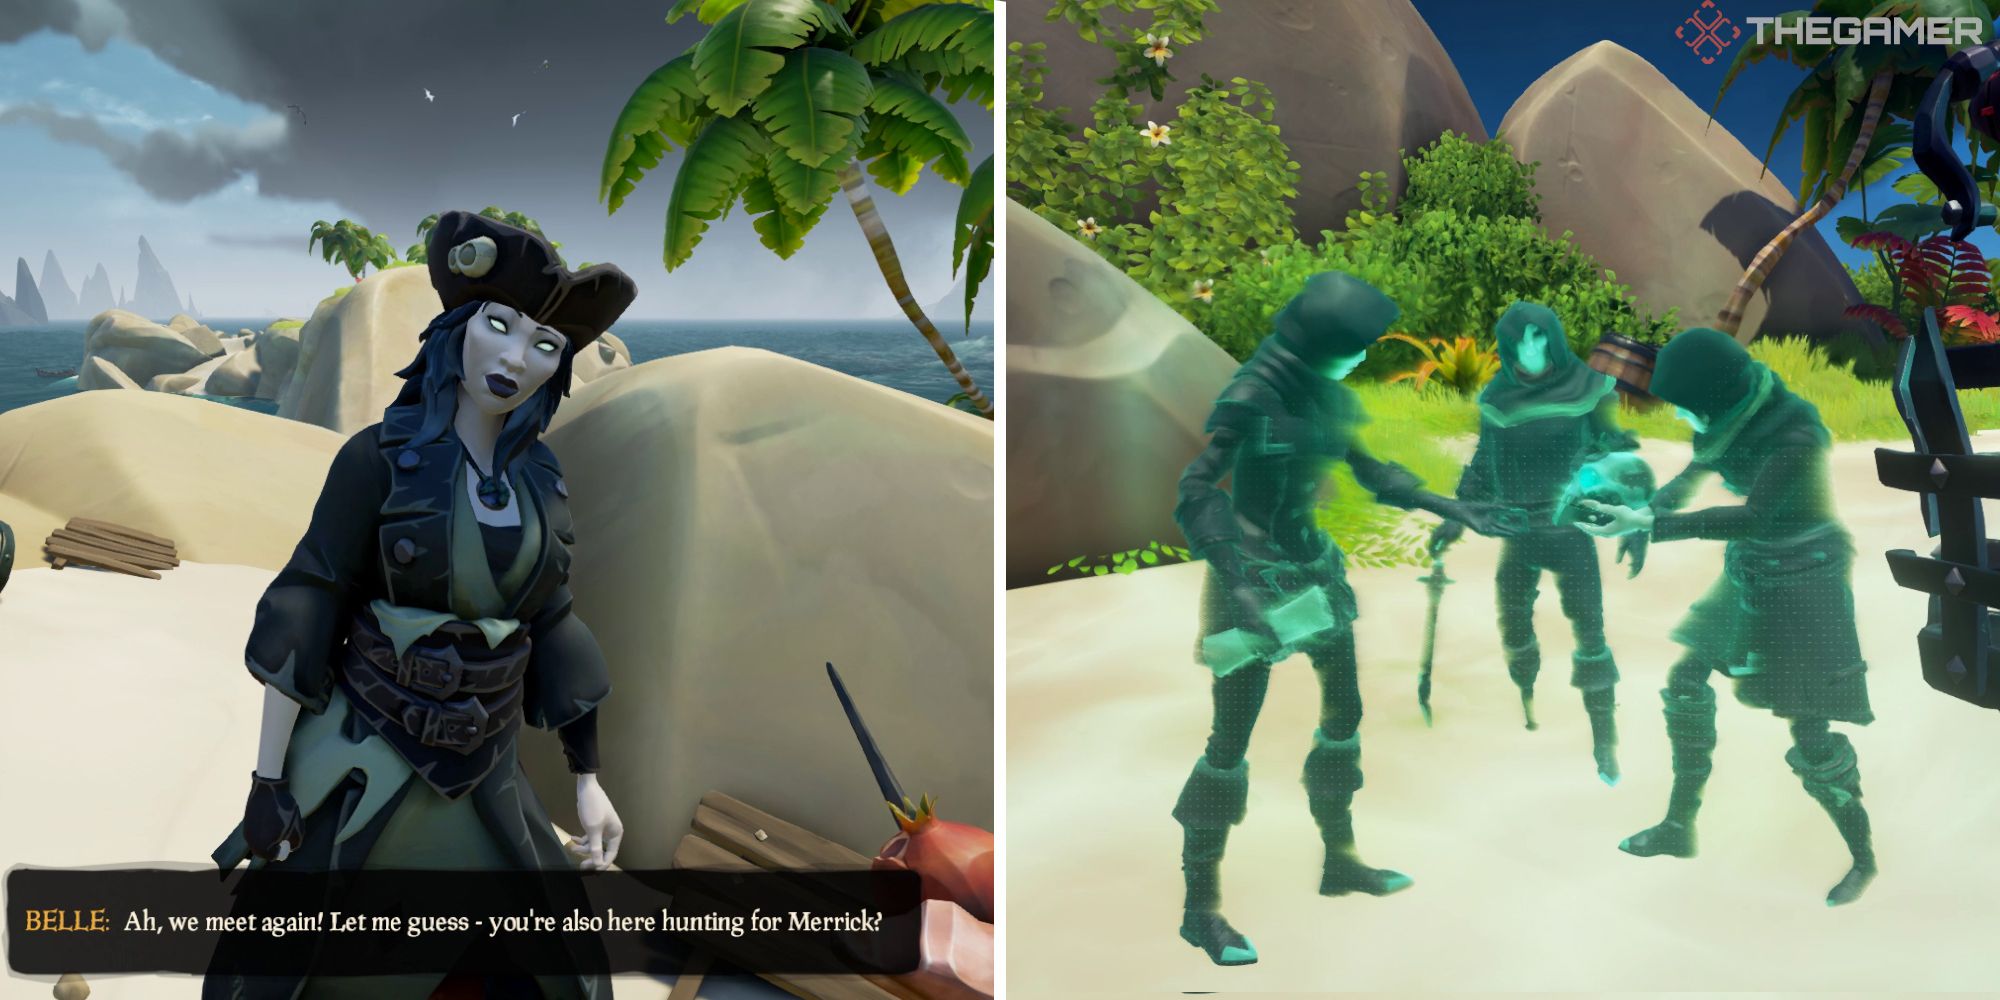
Sail to this unlisted island and you'll find Belle waiting for you. Talk to her, select the "complete chapter" dialogue option, and she'll tell that she too is searching for Merrick. Now make sure that everyone in your crew is with you as Belle won't continue the adventure unless all players are present. Then choose the "continue adventure" dialogue option to learn about the cruel fate of Merrick. He was murdered by a masked assassin and it's up to you to find out the killer's identity. Belle will then hand you a Tattered Journal and her lantern. Now it's time to start investigating a pirate crime.
Read the journal and it'll have a page showing a bowling pin-shaped island, which is Wanderer's Refuge. The other page will tell you to "follow the underground river to find shelter. When safe inside, the skull is the key."
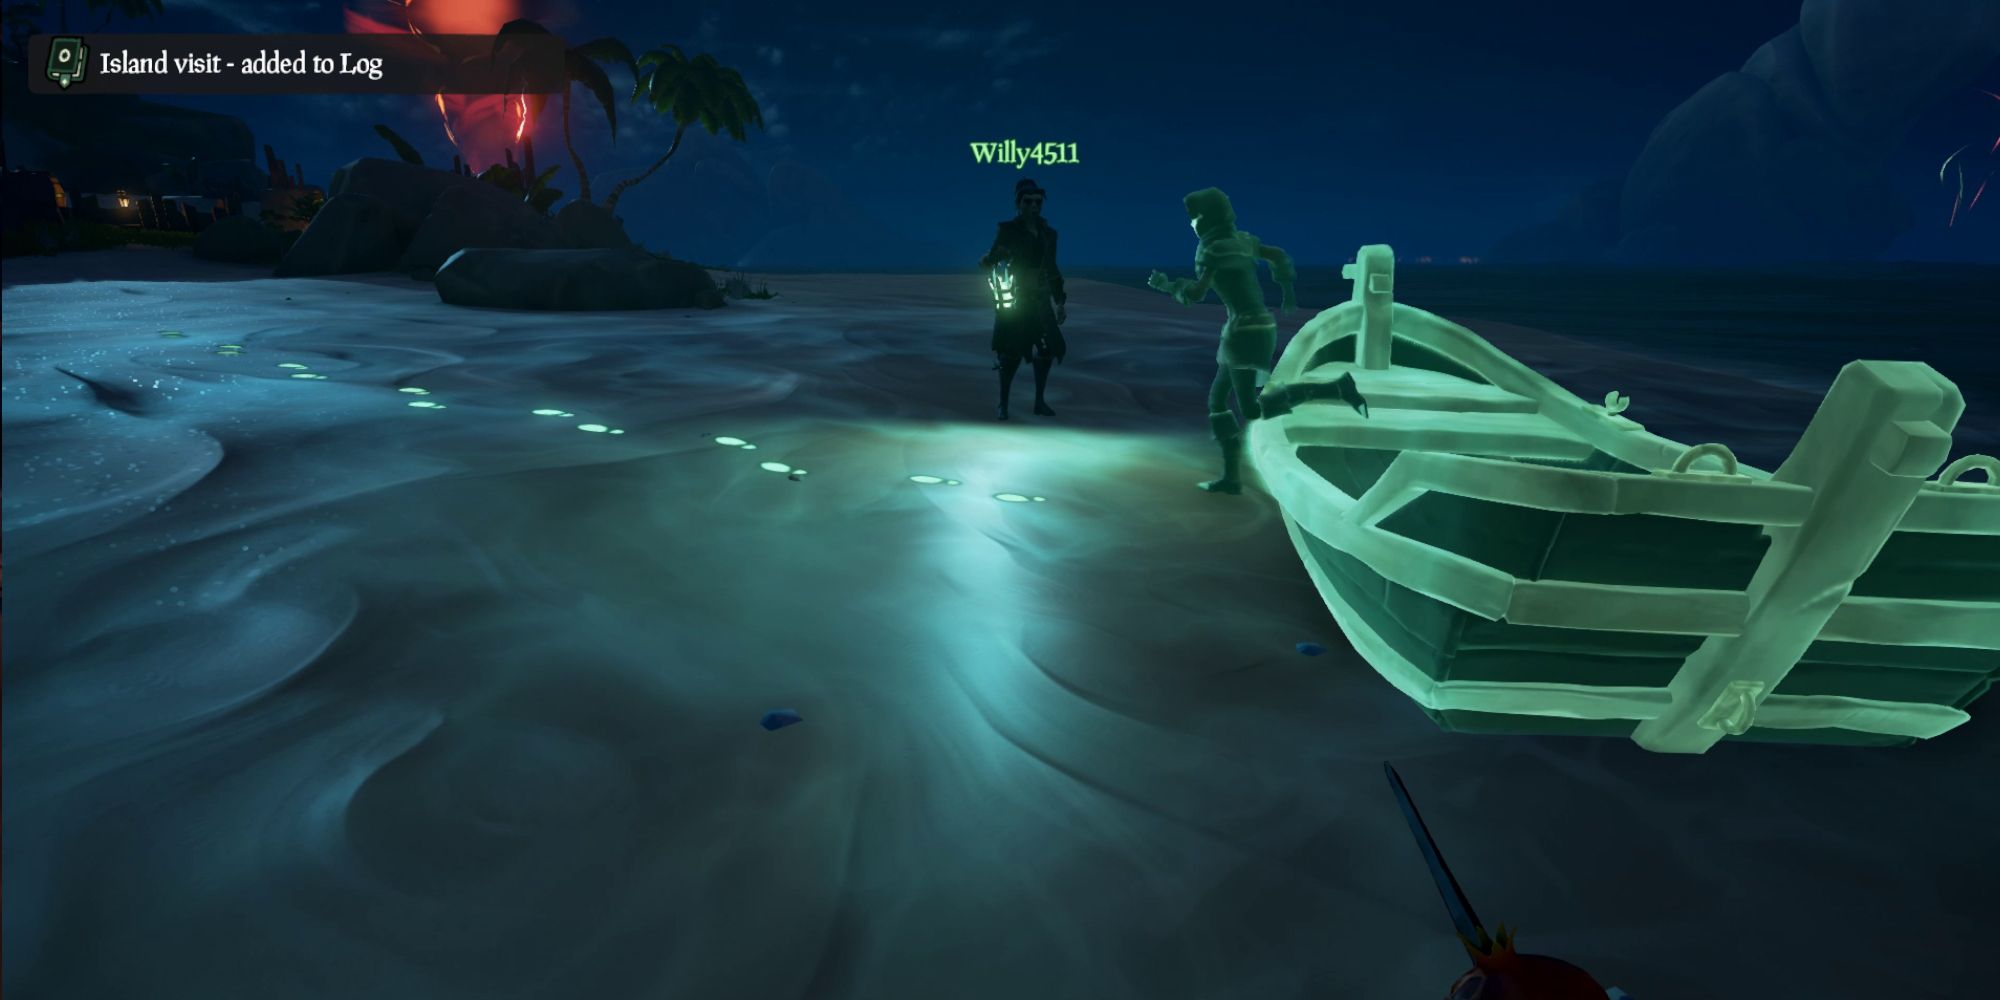

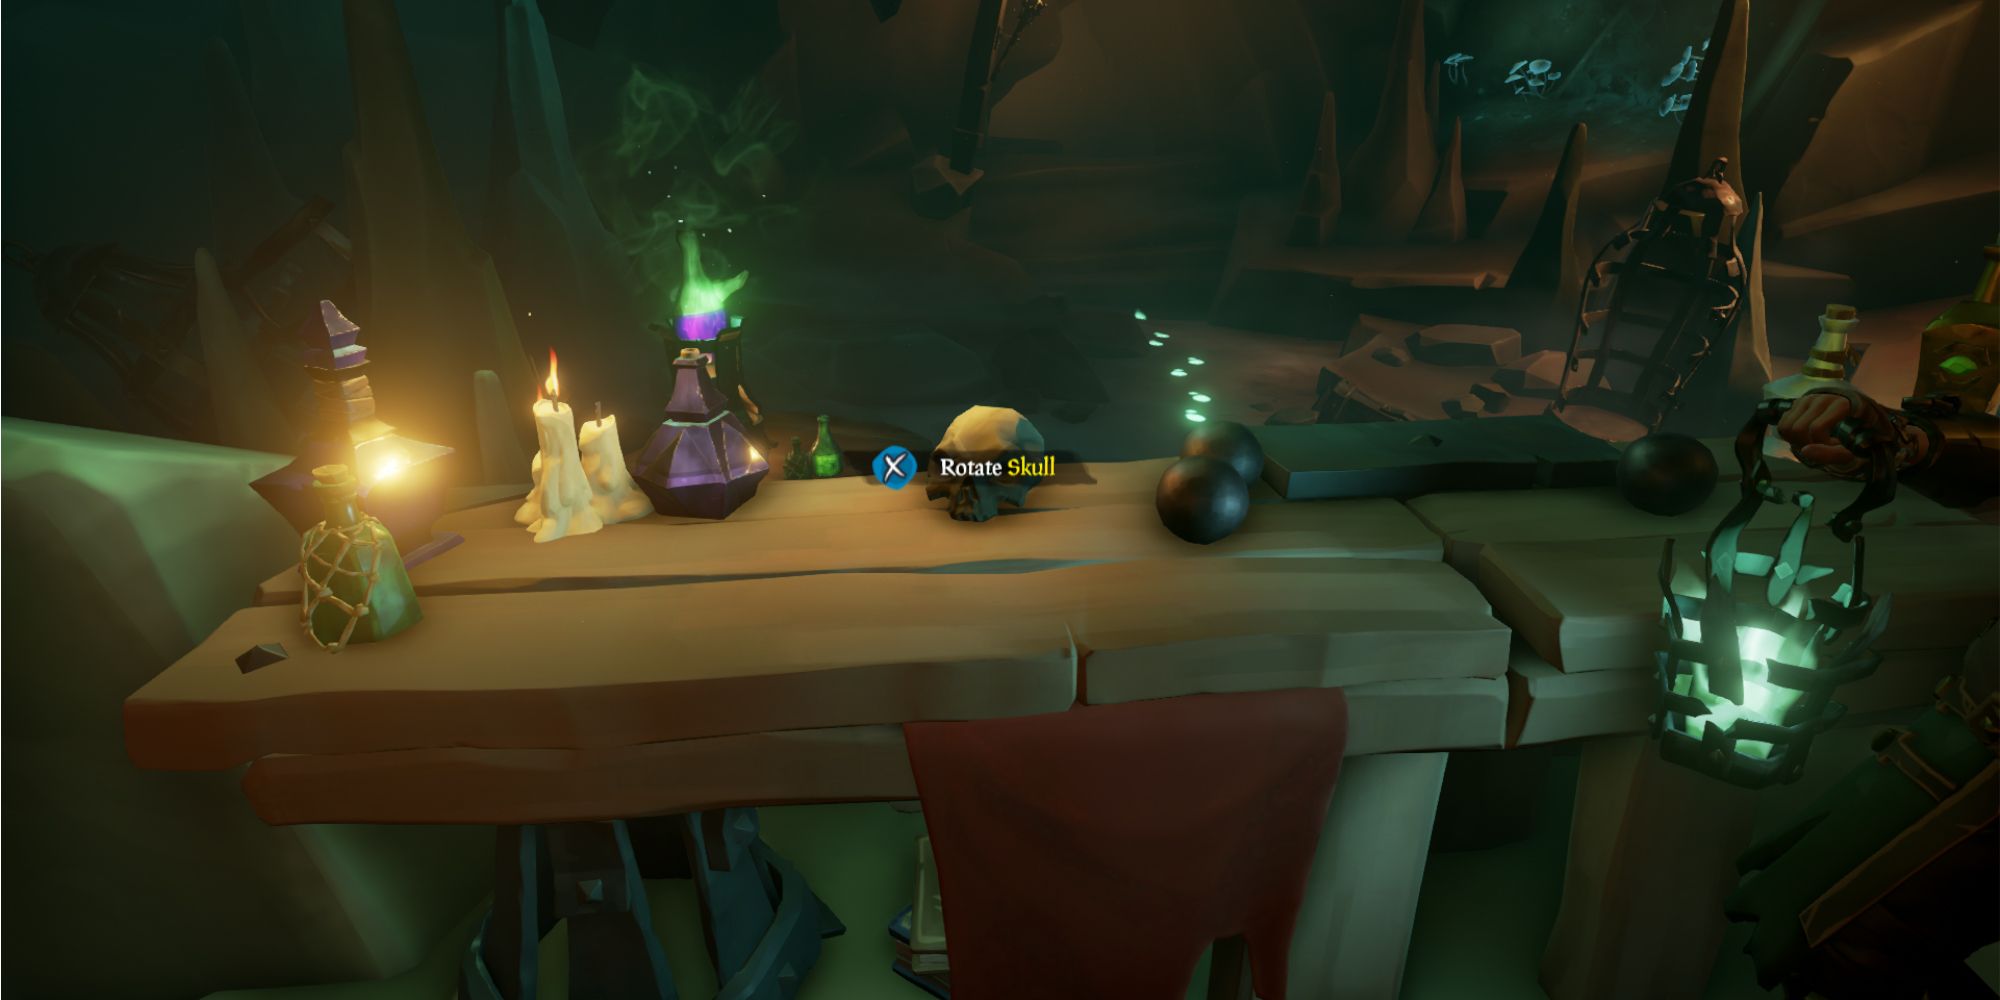
Travel to Wanderer's Refuge. When you set foot upon the island, take out Belle's Lantern in your mission inventory to reveal the ghostly memory of the killer getting out of a rowboat along with their footprints in the sand. Keep the lantern out and follow the footprint trail. It'll lead you to a hidden hideout, but to get any further inside you'll need to rotate the skull as shown in the image below.
Once you've rotated that skull, head through the door that opens and continue to see another ghostly memory. The killer will be speaking to someone known as the Warsmith through some kind of magical treasure chest. After you've listened to their conversation, take out Belle's lantern again and follow another footprint trail out of this hideout.
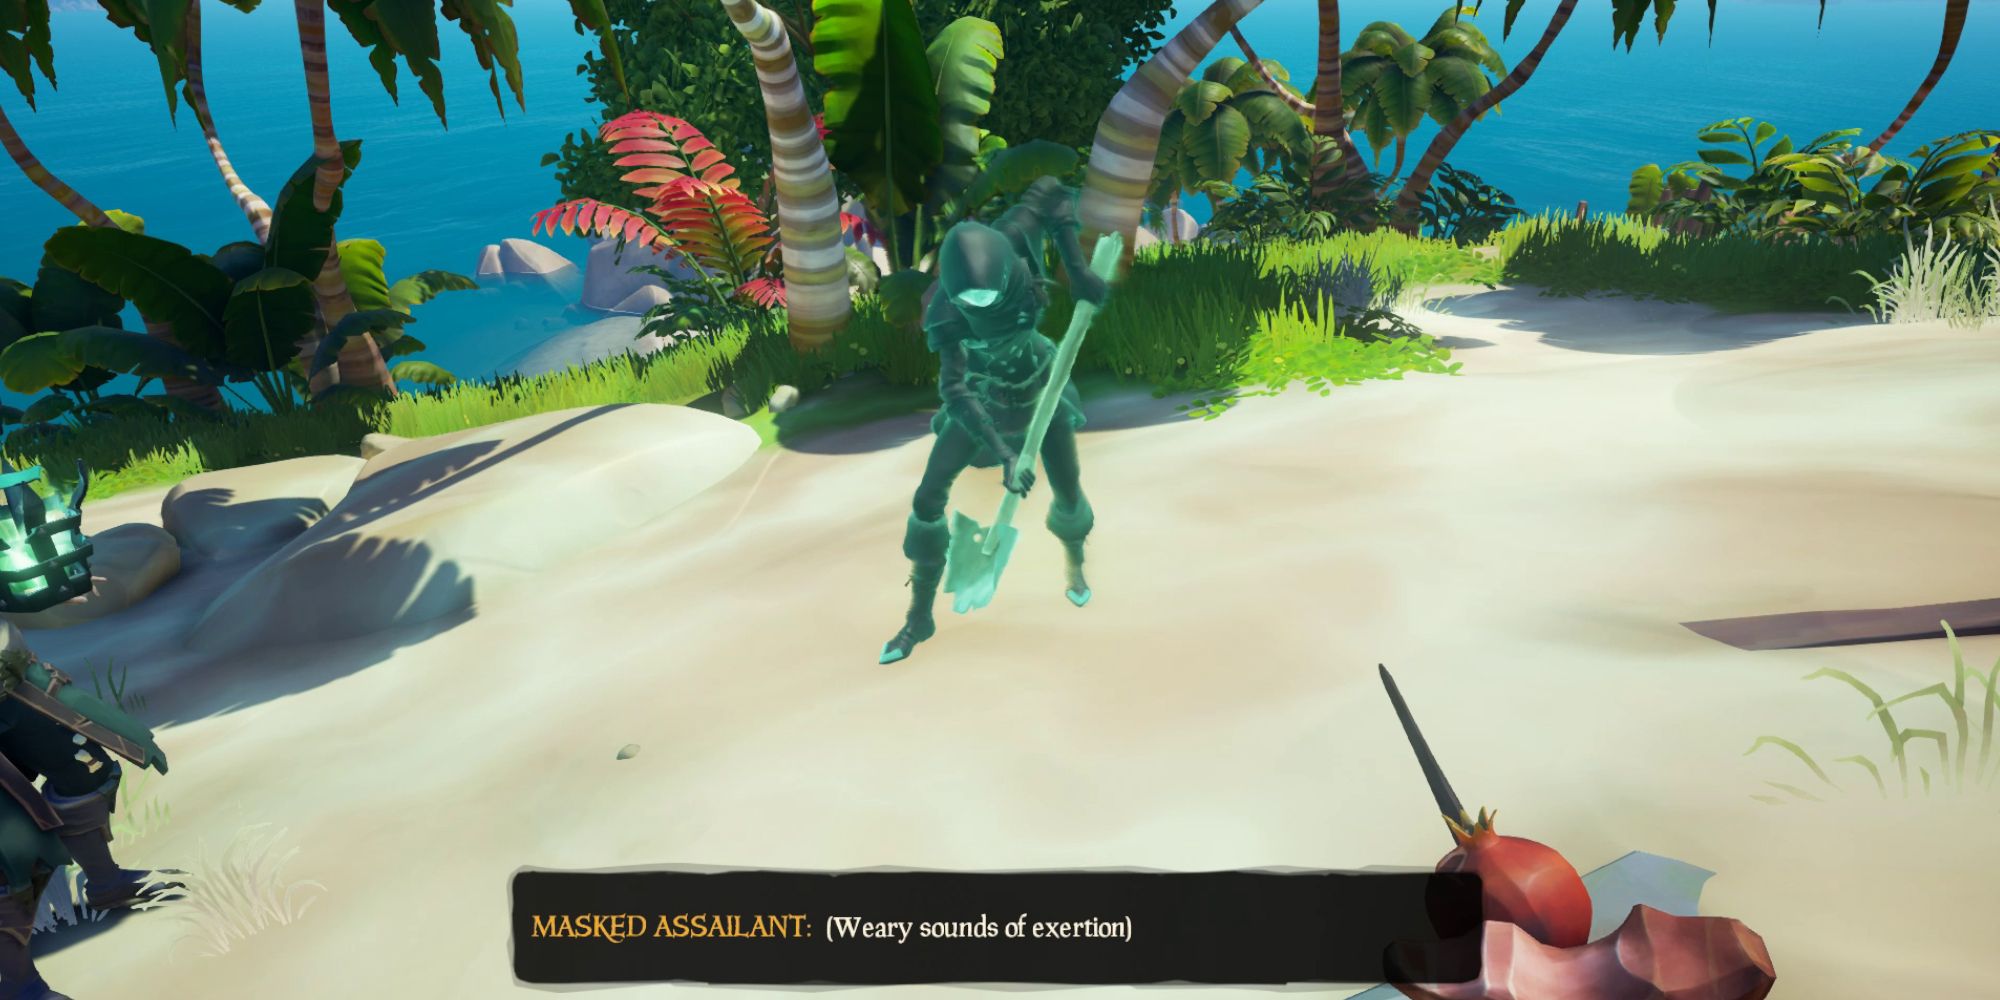
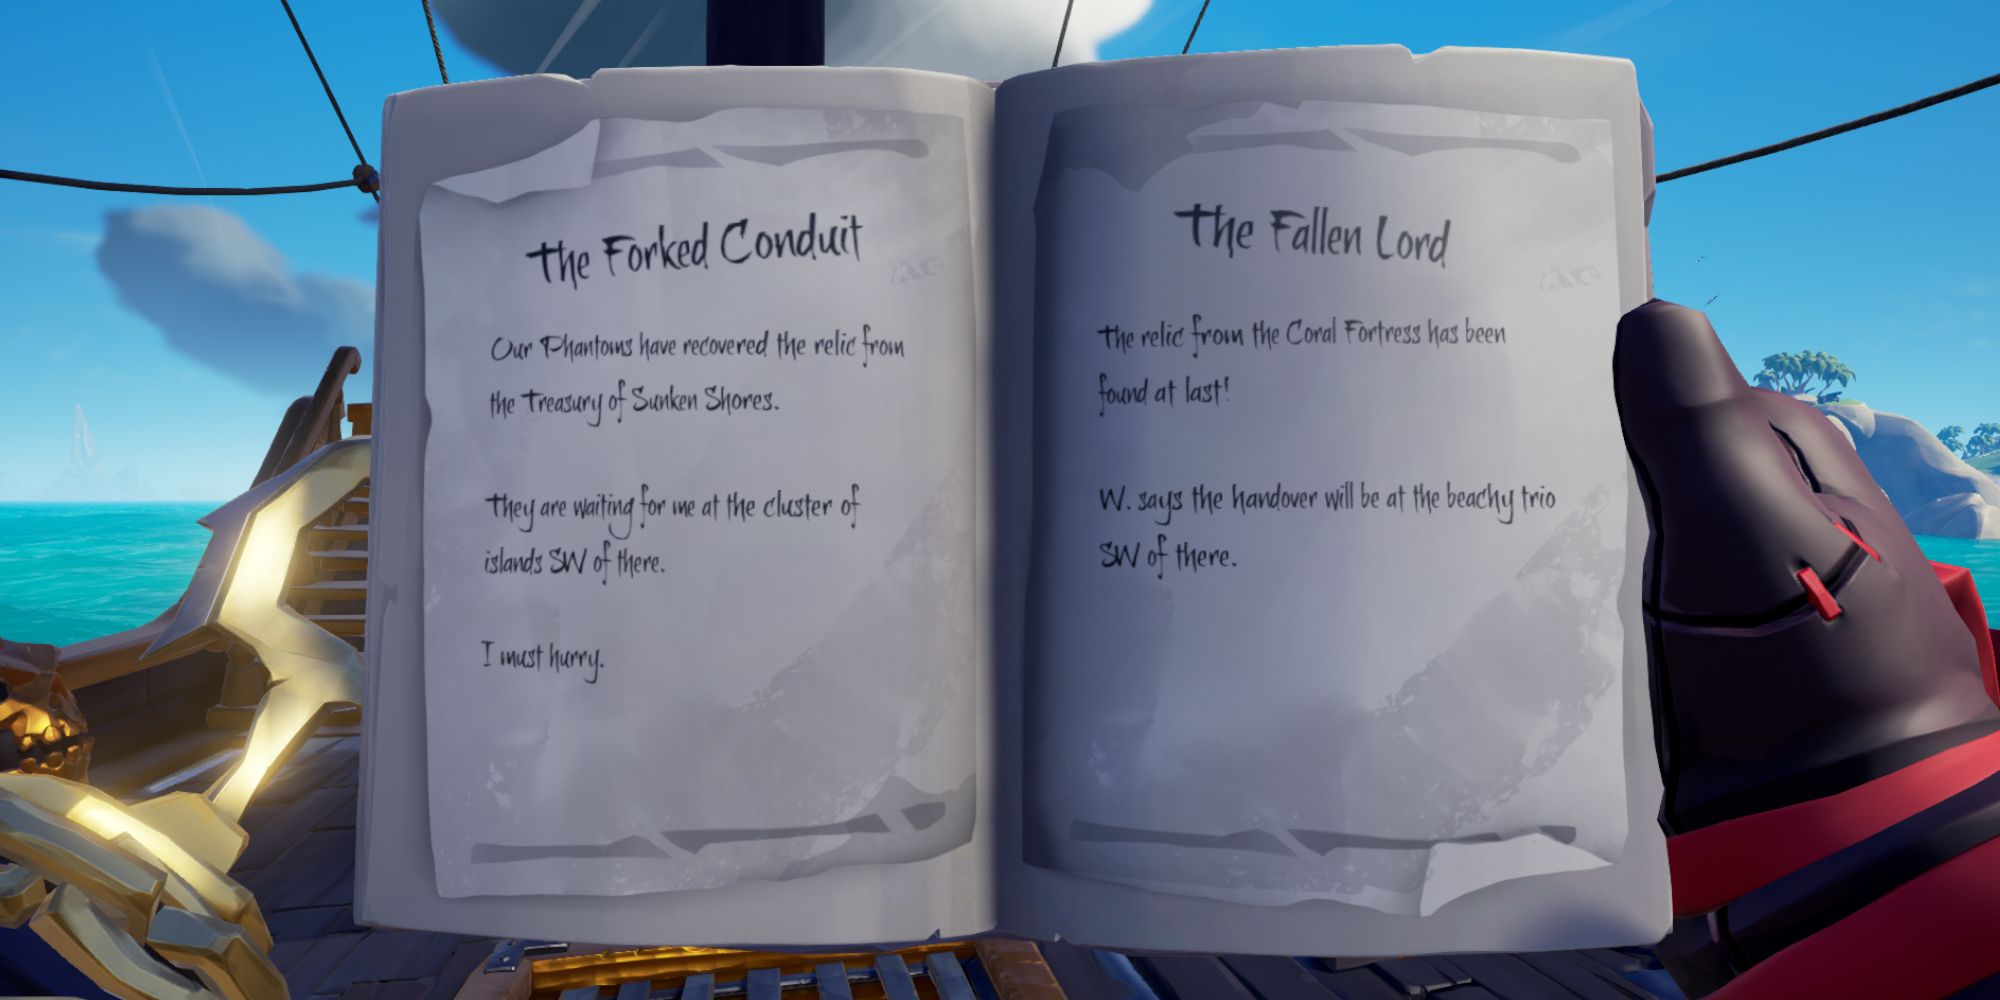
The footprints will lead you to another memory of the killer burying something. Dig at that spot to uncover more pages of the Tattered Journal. Open the journal and there will now be two new pages. The page titled The Forked Conduit will say that phantoms are waiting for the killer at a cluster of islands located southwest of the Treasury Of Sunken Shores. That's Sailor's Bounty, so sail on over there.
Get on the island, take out Belle's Lantern, and look for another memory of the killer getting out of their rowboat along with another trail of footprints. This will lead you to a memory of phantoms handing the killer a trident. After the memory ends, you'll be attacked by special phantoms called Brethren Phantoms. There's nothing different about these phantoms other than their name, so just defeat them like any group of regular phantoms. After this encounter, The Forked Conduit page should be crossed out in the Tattered Journal.
The other page is titled The Fallen Lord. It says that the handover of an ancient relic will be on a "beachy trio" southwest of The Coral Fortress. That's Salty Sands, which is where you need to go next.
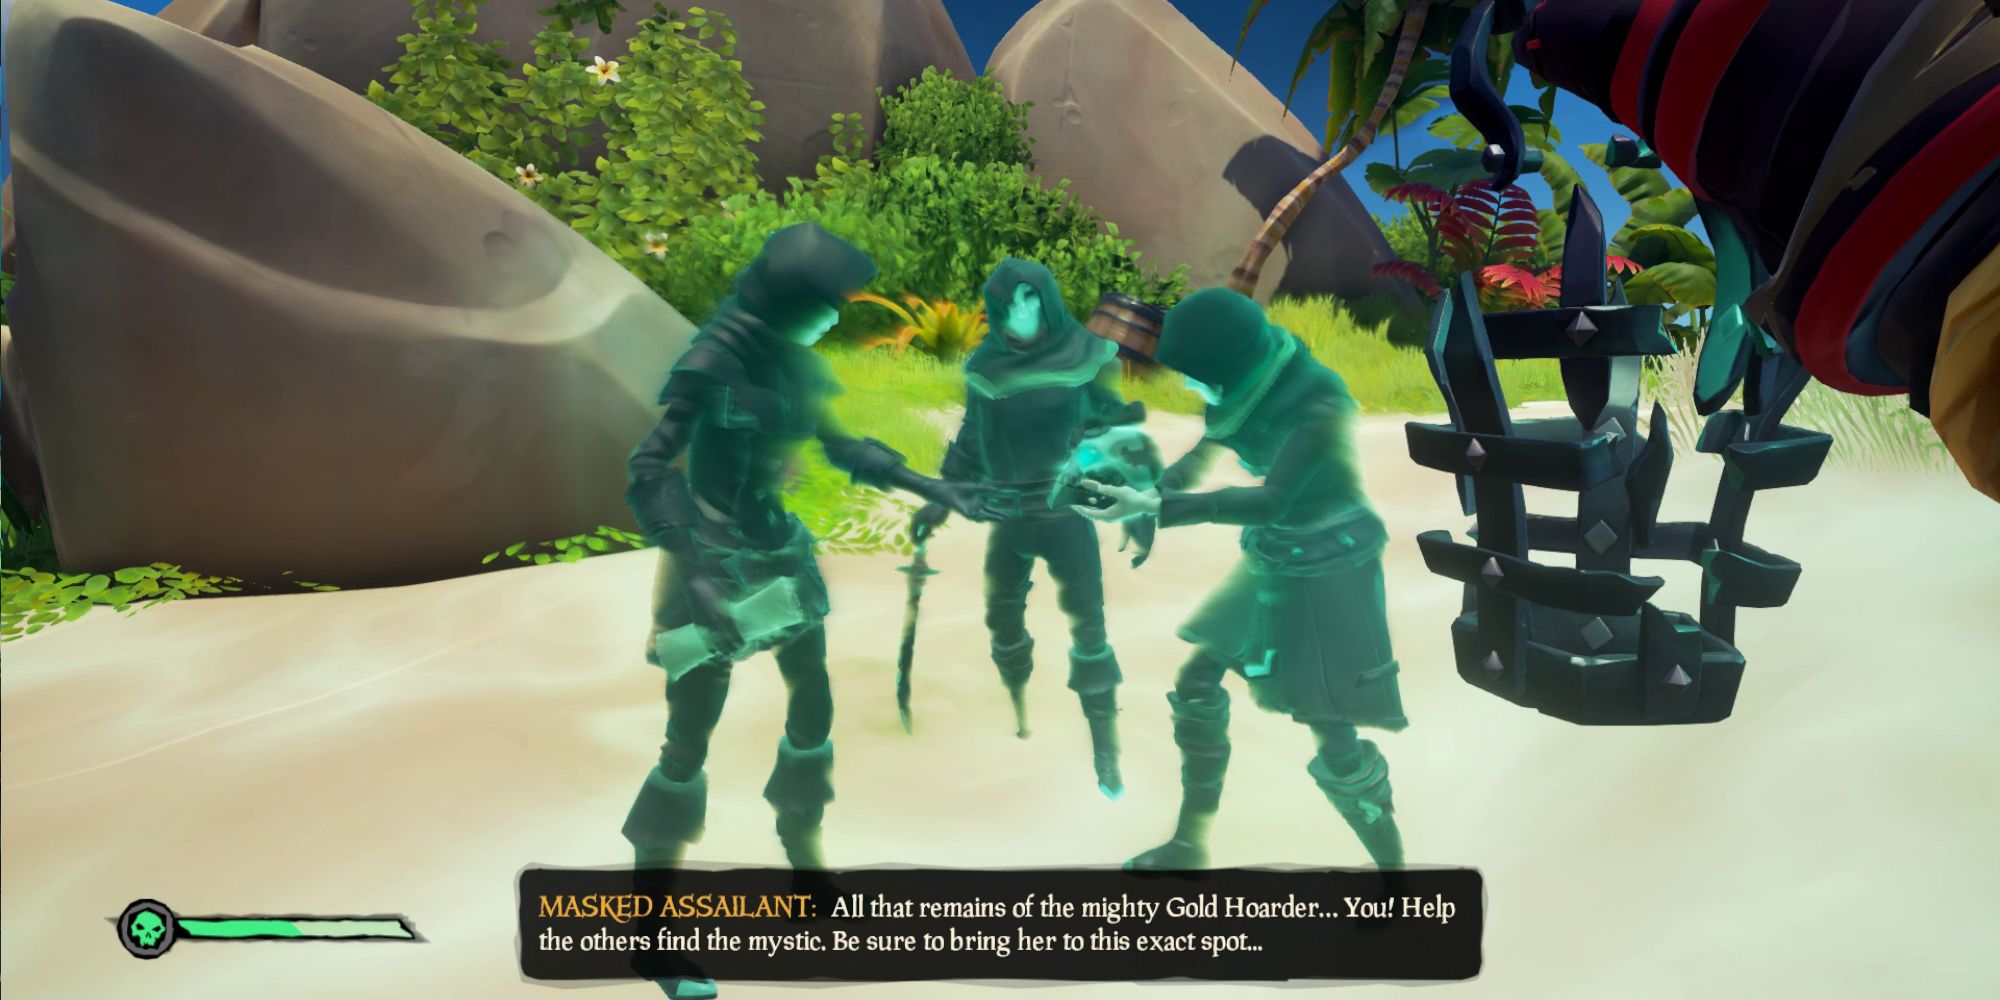
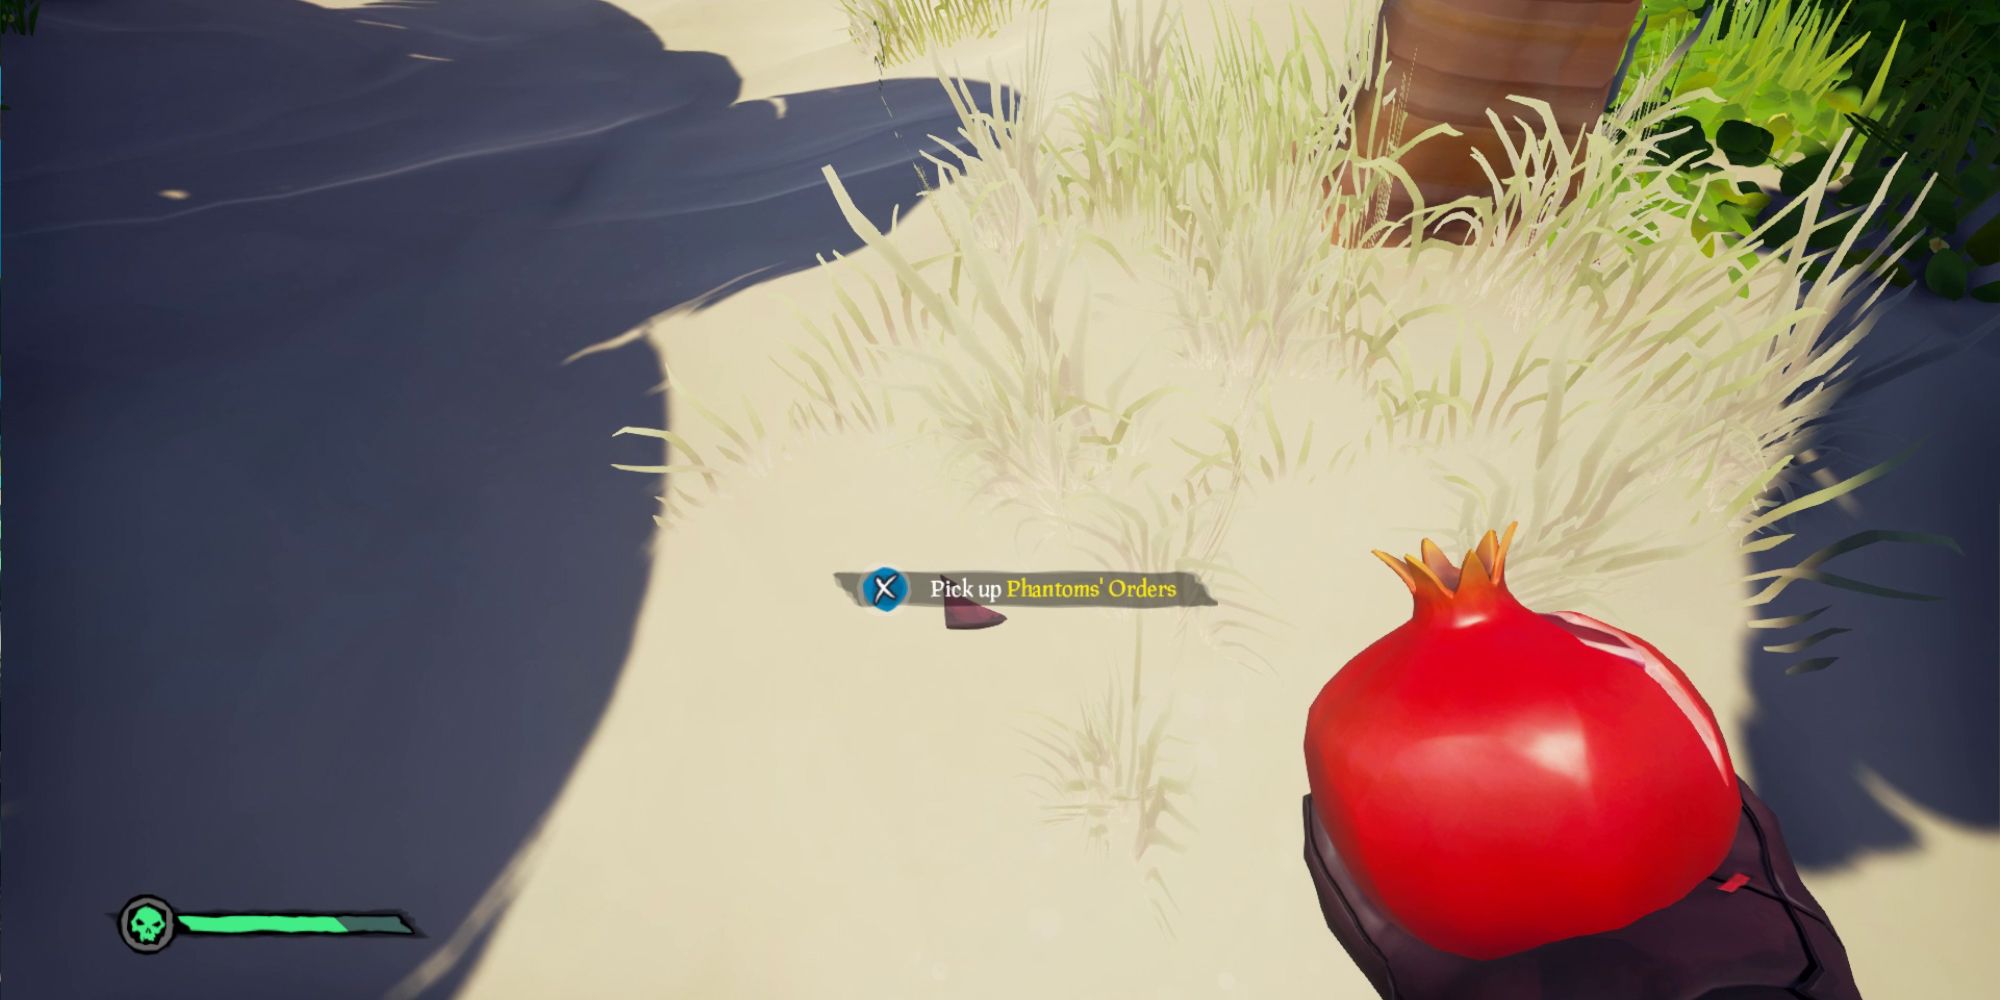
Reach Salty Sands and it's the same procedure as before. Take out Belle's Lantern, look for the ghostly rowboat, and follow a trail of footprints to the next memory. This memory will show phantoms handing the killer the skull of the Gold Hoarder. After the memory is finished, you'll be attacked by another group of Brethren Phantoms. Kill these phantoms, and one of them should drop the Phantoms' Orders. Pick that up to reveal more pages of the Tattered Journal.
These new pages show instructions to kidnap the Golden Sands mystic, bring her to an eastern island, and take her to the shadow underneath the peak of a cliff. This island is Cannon Cove, which is your next stop.
Once again, get on the beach of Cannon Cove, take out Belle's Lantern, look for yet another ghostly rowboat, and follow yet another set of footprints. You shouldn't have to walk very far to find the next memory, which will show the mystic being forced to perform some sort of ritual on the combined trident and skull. Another gang of Brethren Phantoms will show up afterward, so beat them up. They'll drop another set of Phantom's Orders, which will add one more page to the Tattered Journal.
This page will be titled Your Last Orders, which will give instructions to bring the mystic home so they can pass a note to the Weaponsmith. Since the mystic was taken from Golden Sands, that's where you need to go, so set a course to the New Golden Sands Outpost.
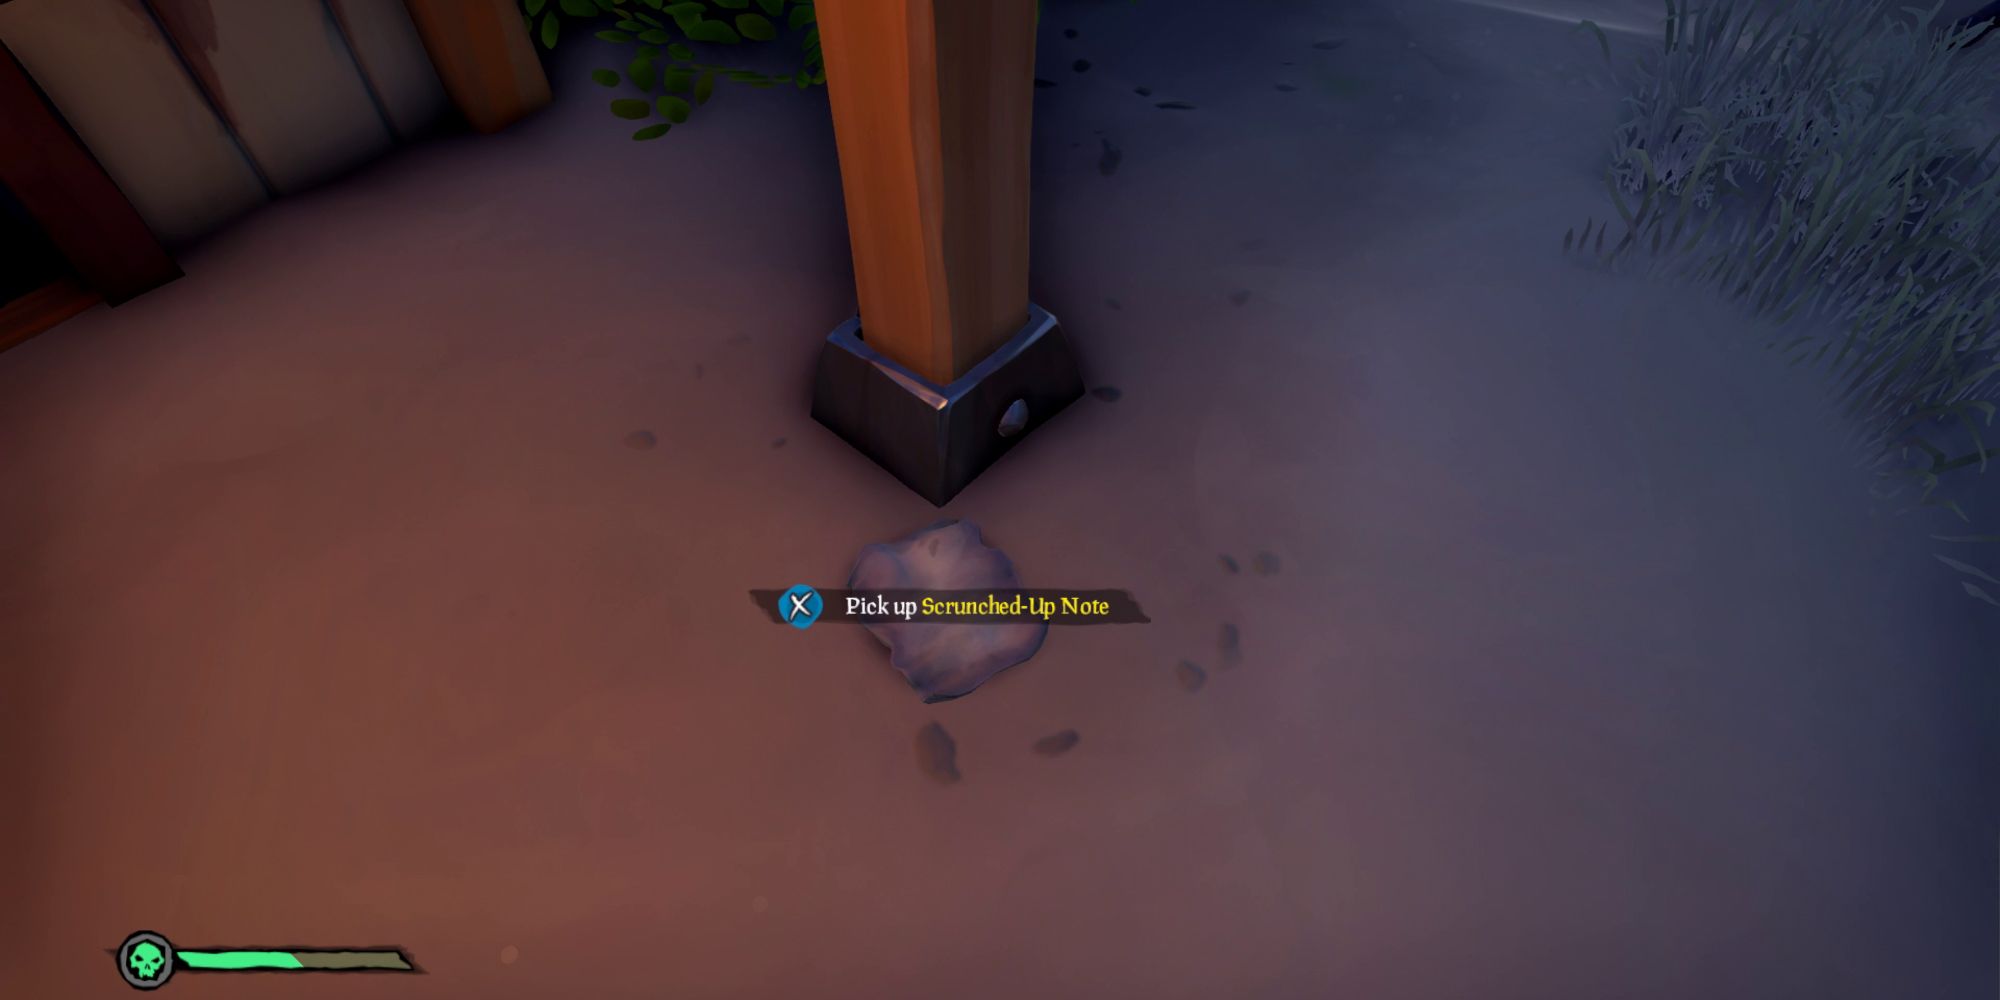
When you reach Golden Sands, you can speak with the mystic and the weaponsmith for a little extra lore, but all you need to do is find the Scrunched-Up Note located outside of the weaponsmith's shop. With that, the Tattered Journal should be complete, so return to Belle at the unmarked island at the K9 coordinates from before.
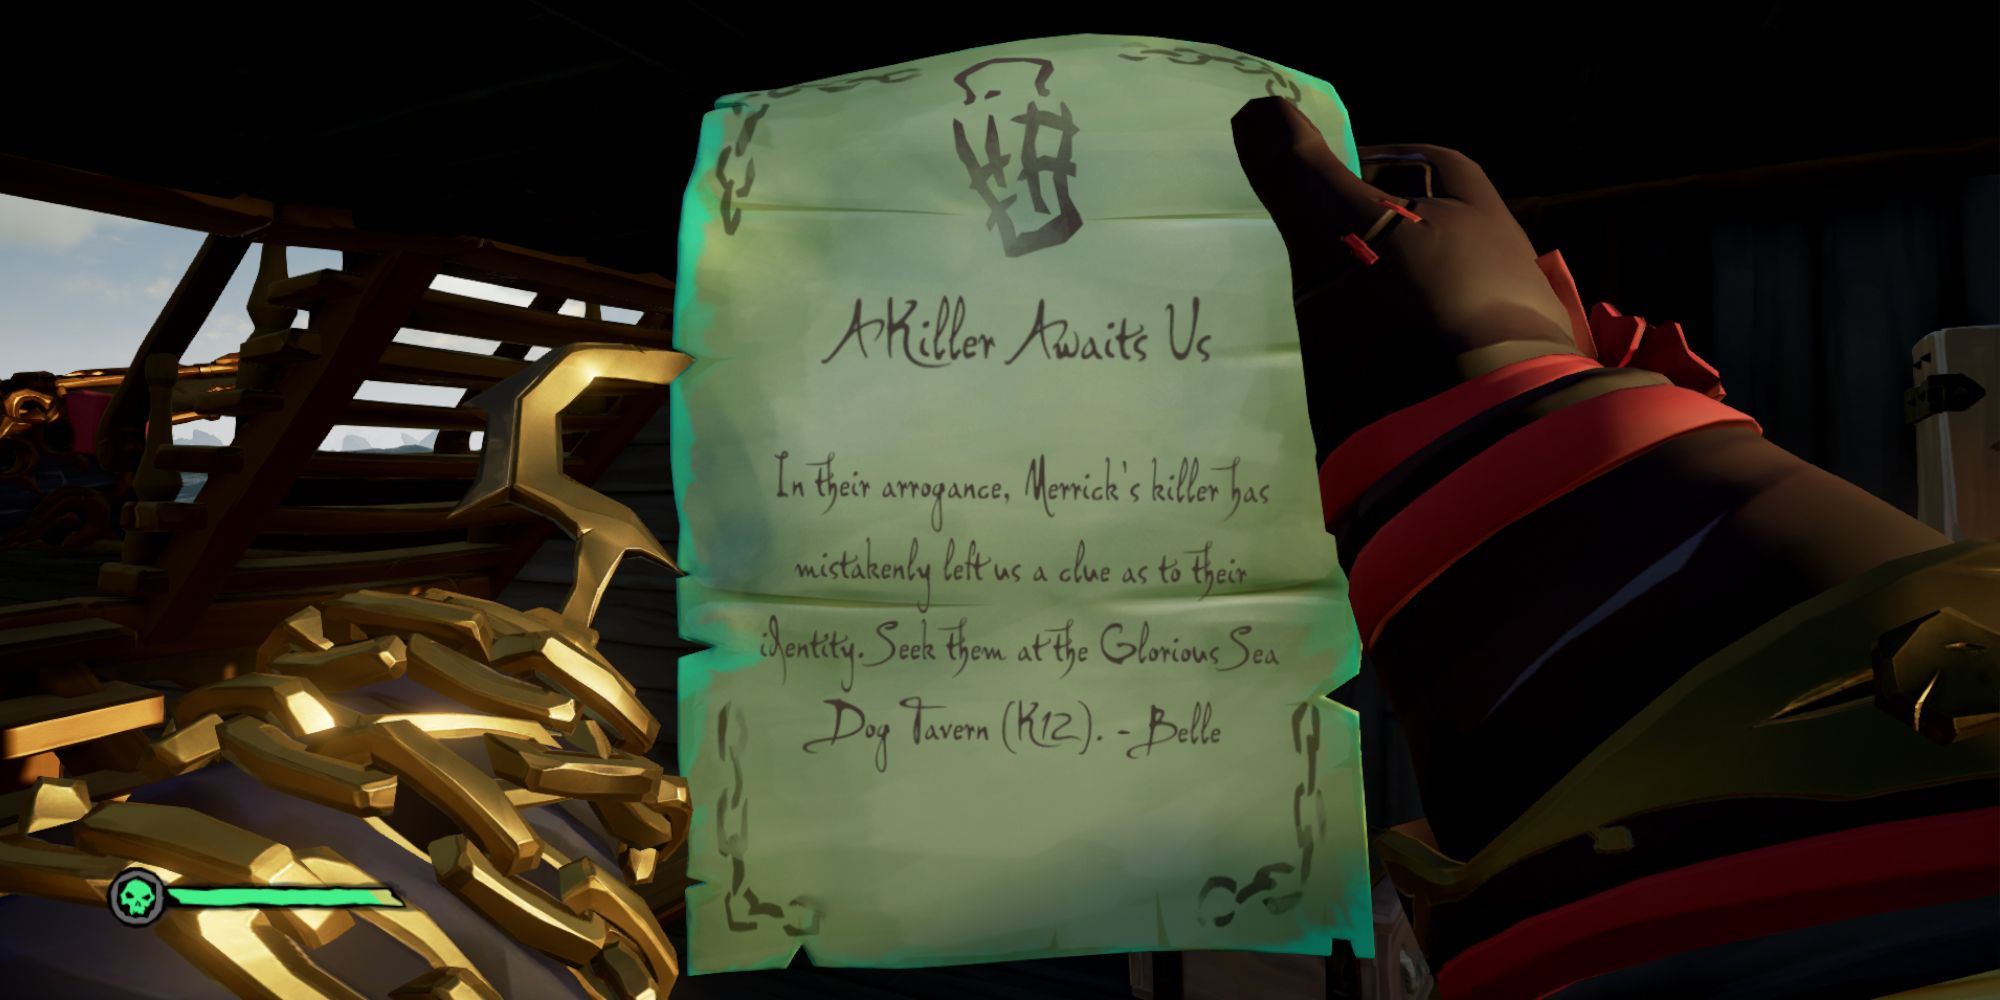
Assemble your crew in front of Belle and choose the "complete chapter" dialogue option to continue. Once she's done talking, choose the "complete adventure" dialogue option to get to the finale of this adventure and confront Merrick's killer. You'll receive Belle's Instructions, which will tell you to sail to the Glorious Sea Dog Tavern located at the K12 coordinates on the map.
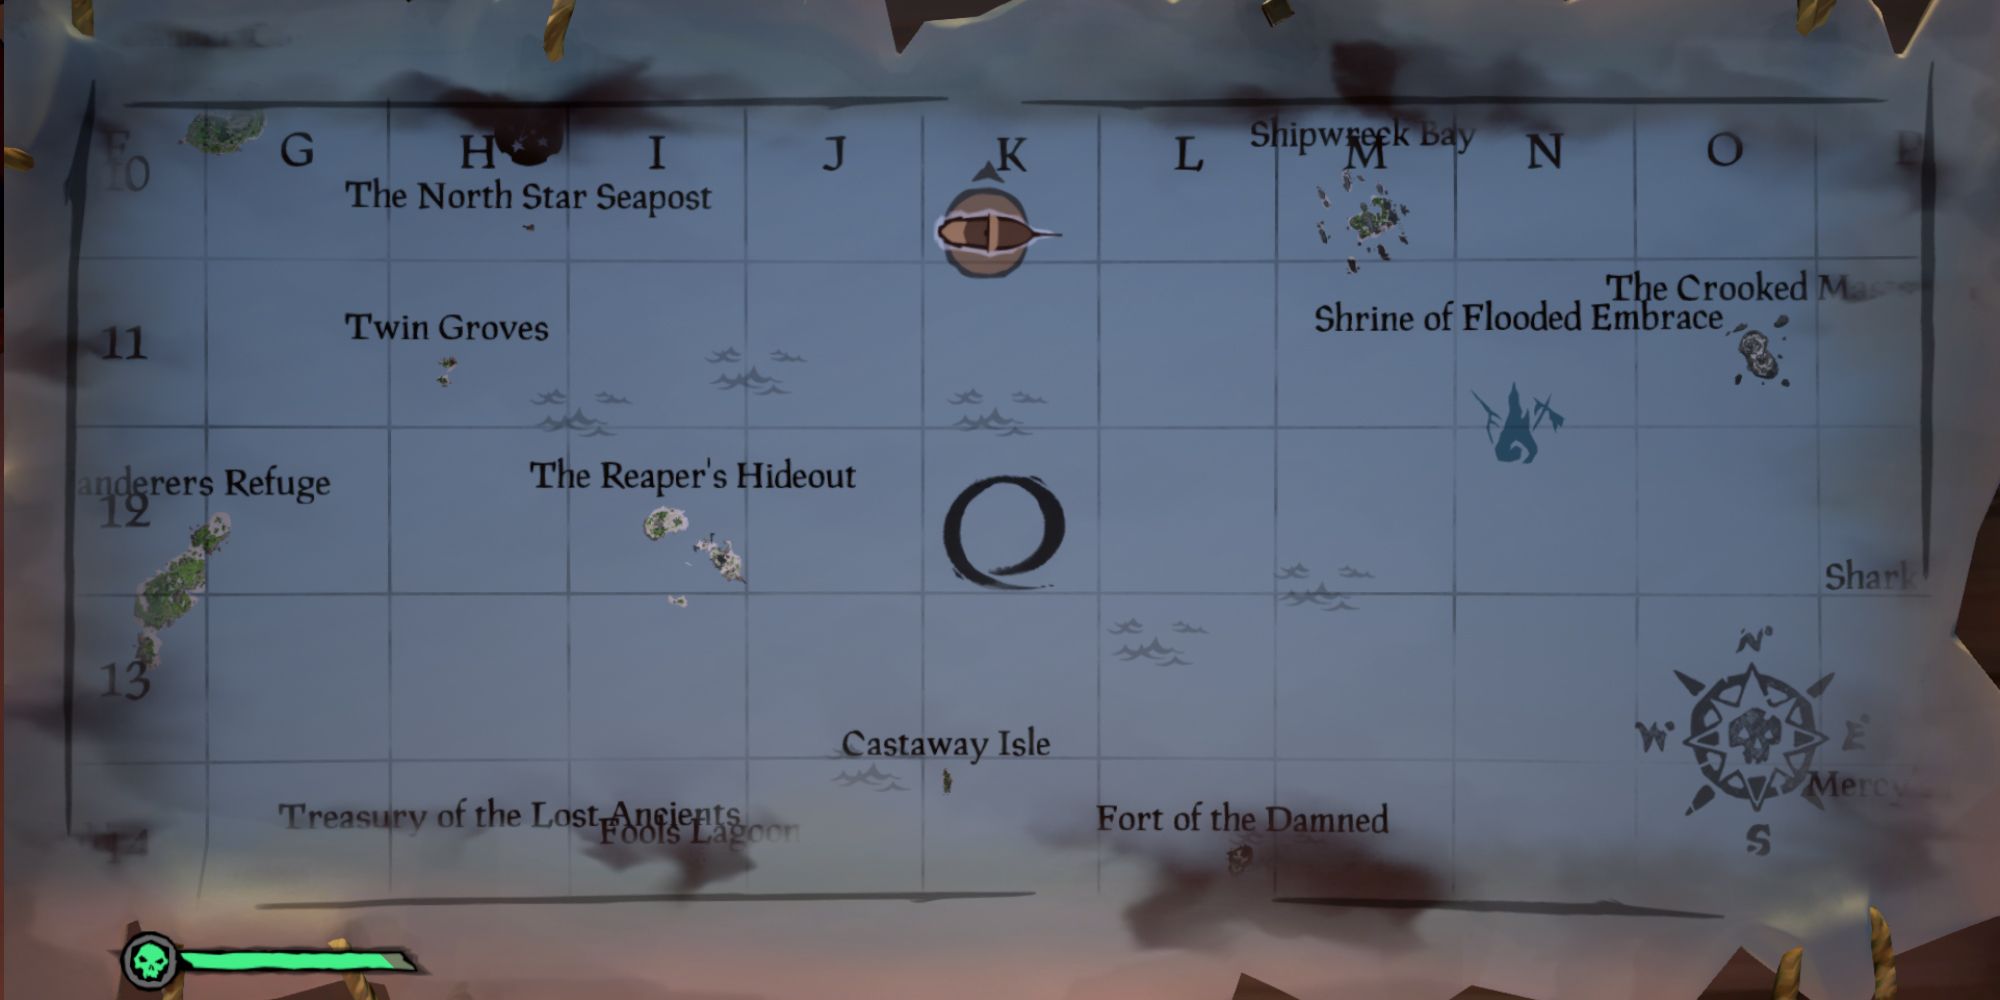
Upon reaching this location, you should be able to spot the killer standing on the dock fiddling with their new fancy staff. Get on the dock and speak with this masked stranger. The killer will begin ranting and raving before removing their mask to reveal their true identity (which I won't spoil here as that's part of the fun.) Shortly after, Belle will arrive to confront the killer, but they'll reveal that Merrick's soul has been captured by the Dark Brethren. Soon after, they'll use the staff to warp to The Sea Of The Damned. Belle will swear to find a way to rescue Merrick and that will be the end of the adventure.
As a reward for completing the adventure, you'll receive the Mask Of Deceit emote.
Where To Find Every Forsaken Hunter Journal
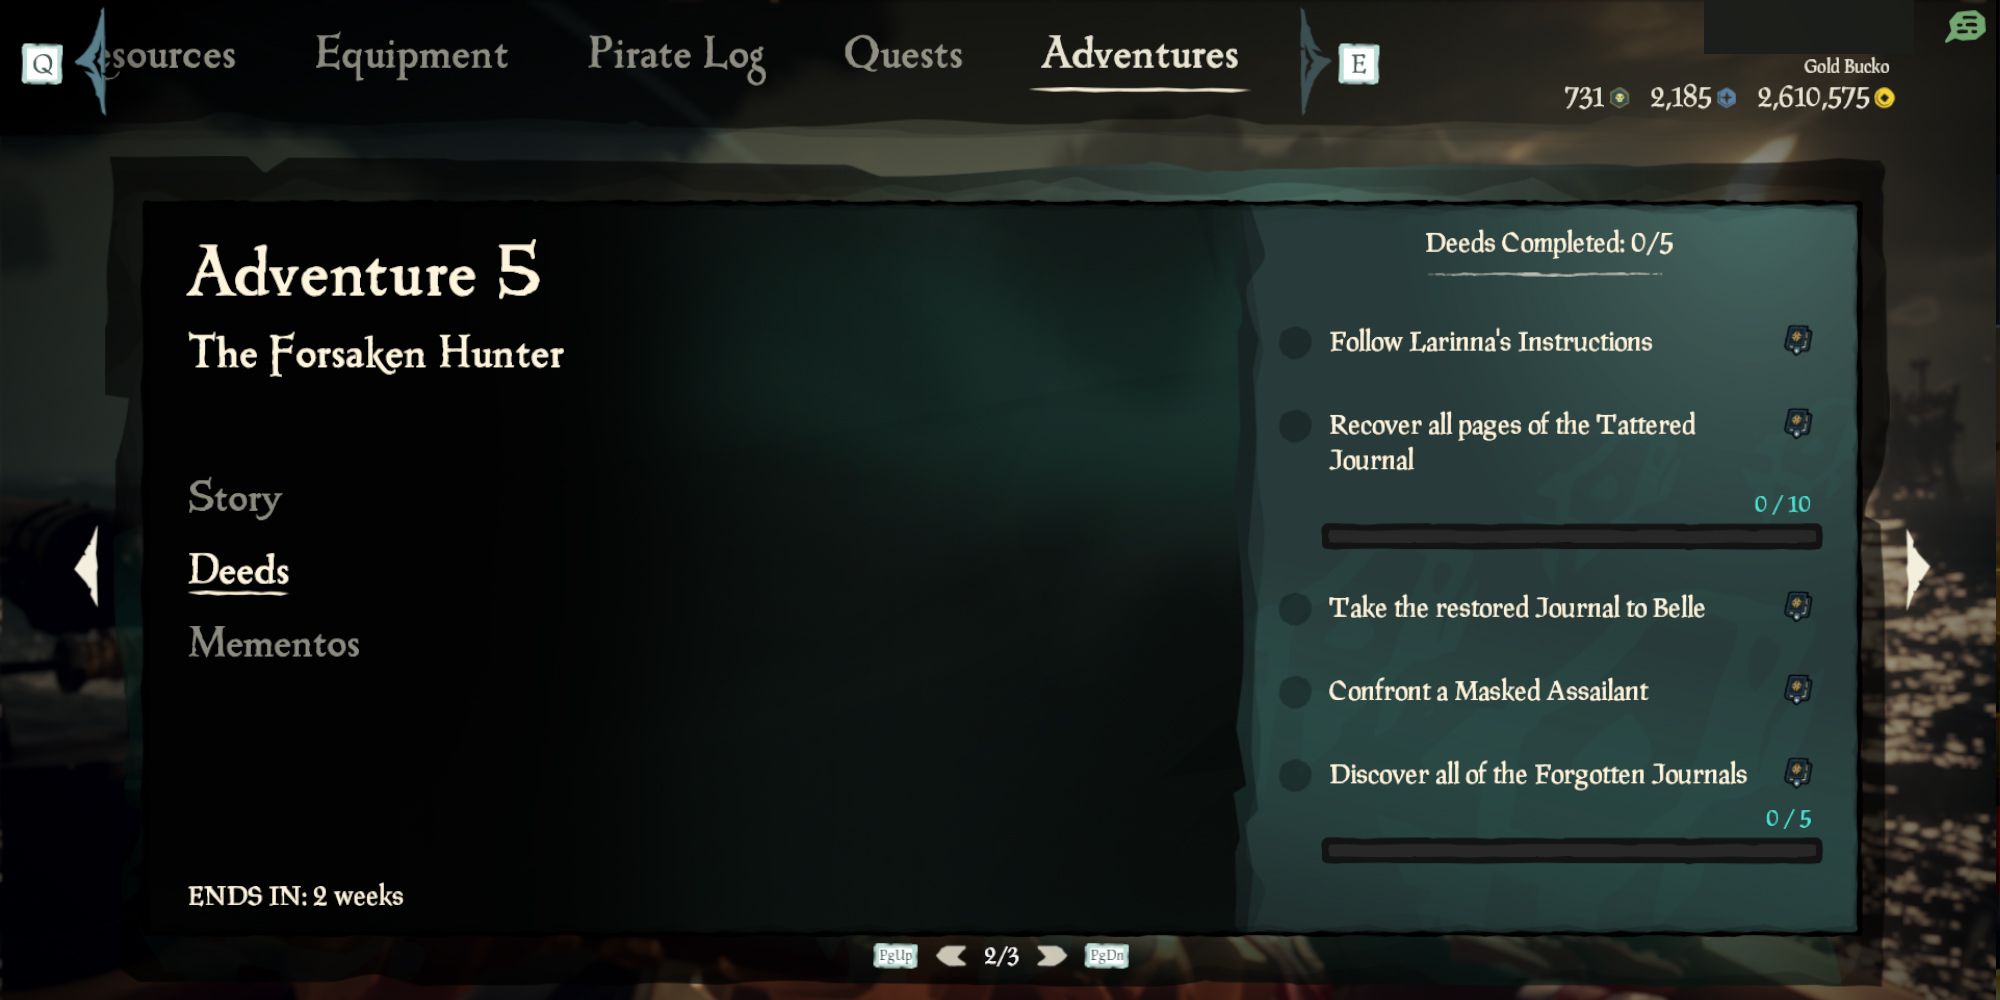
As with most of these adventures, there are deeds that you need to complete to receive an additional reward. However, all of the deeds for The Forsaken Hunter will be finished by simply following this adventure to its conclusion. The only deed that you'll need to go out of your way for will be to find the Forgotten Journals located on the various islands you'll travel to. Thankfully, we have the locations for these journals to make your search easier.
Forgotten Journal #1
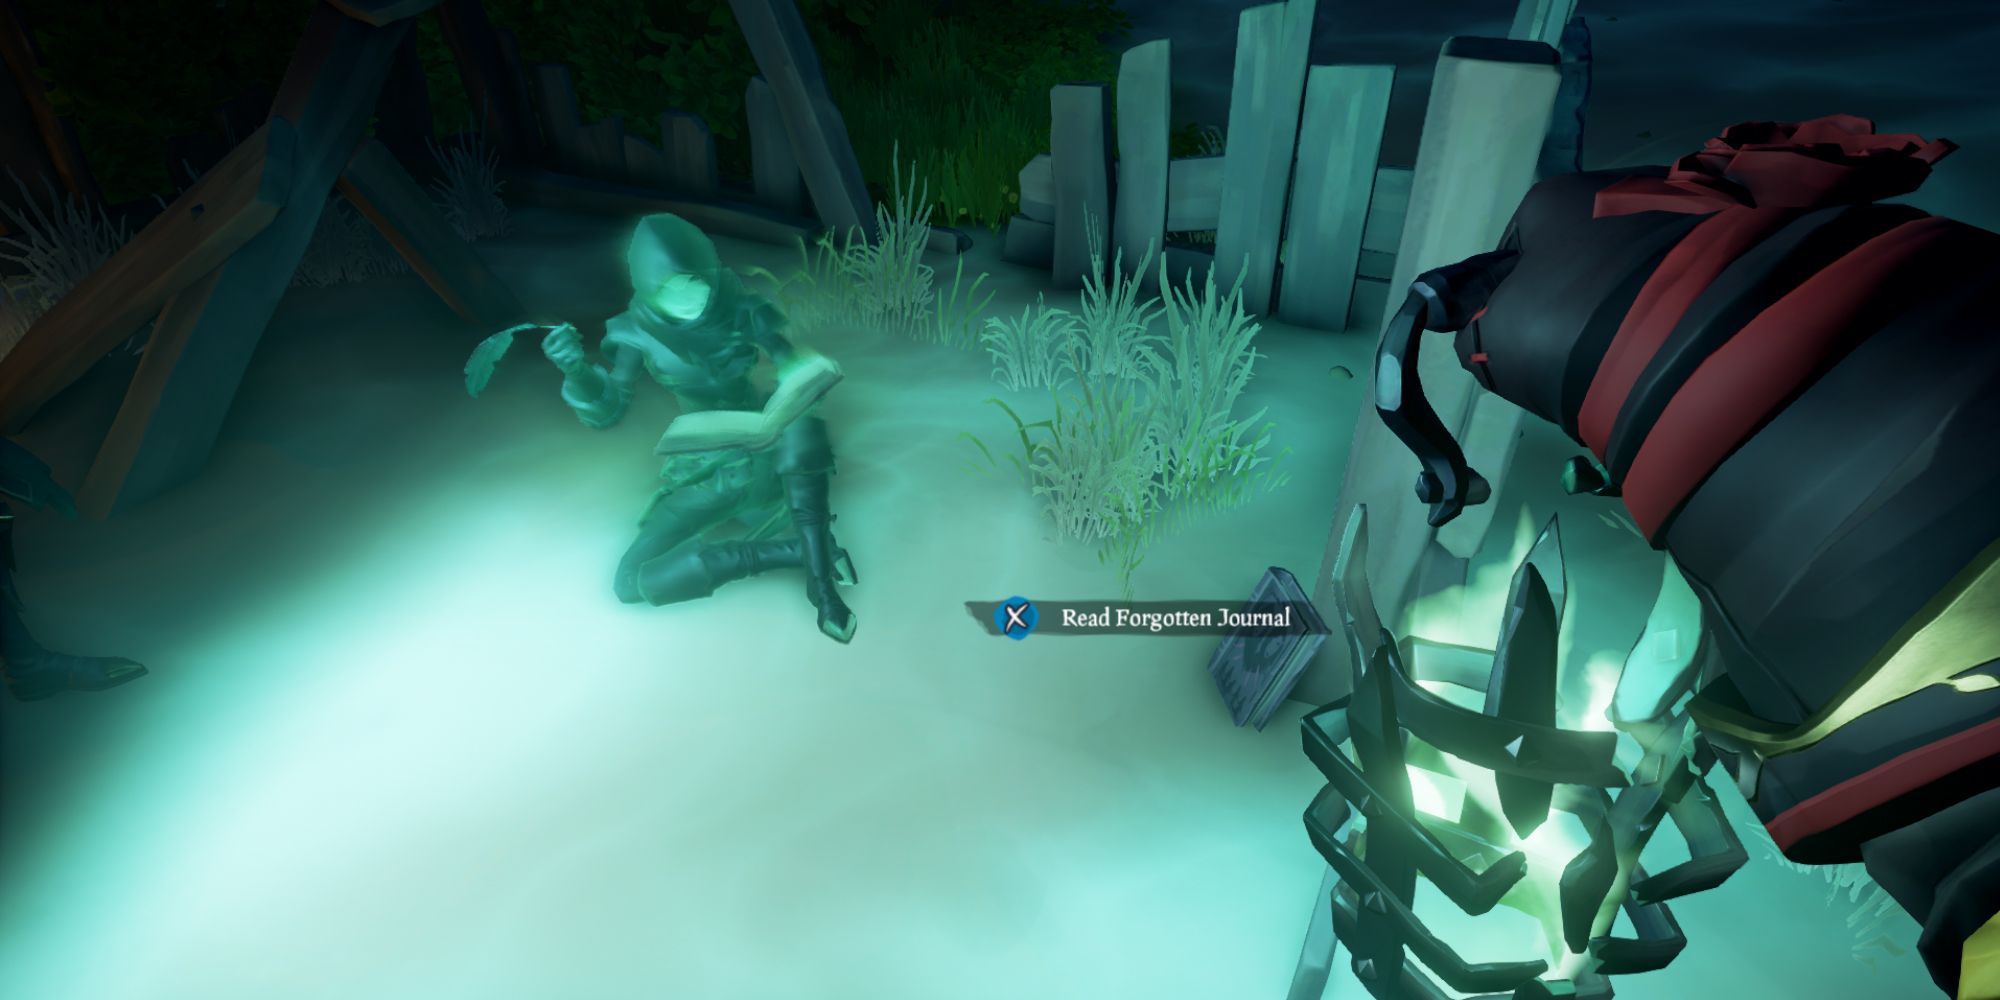
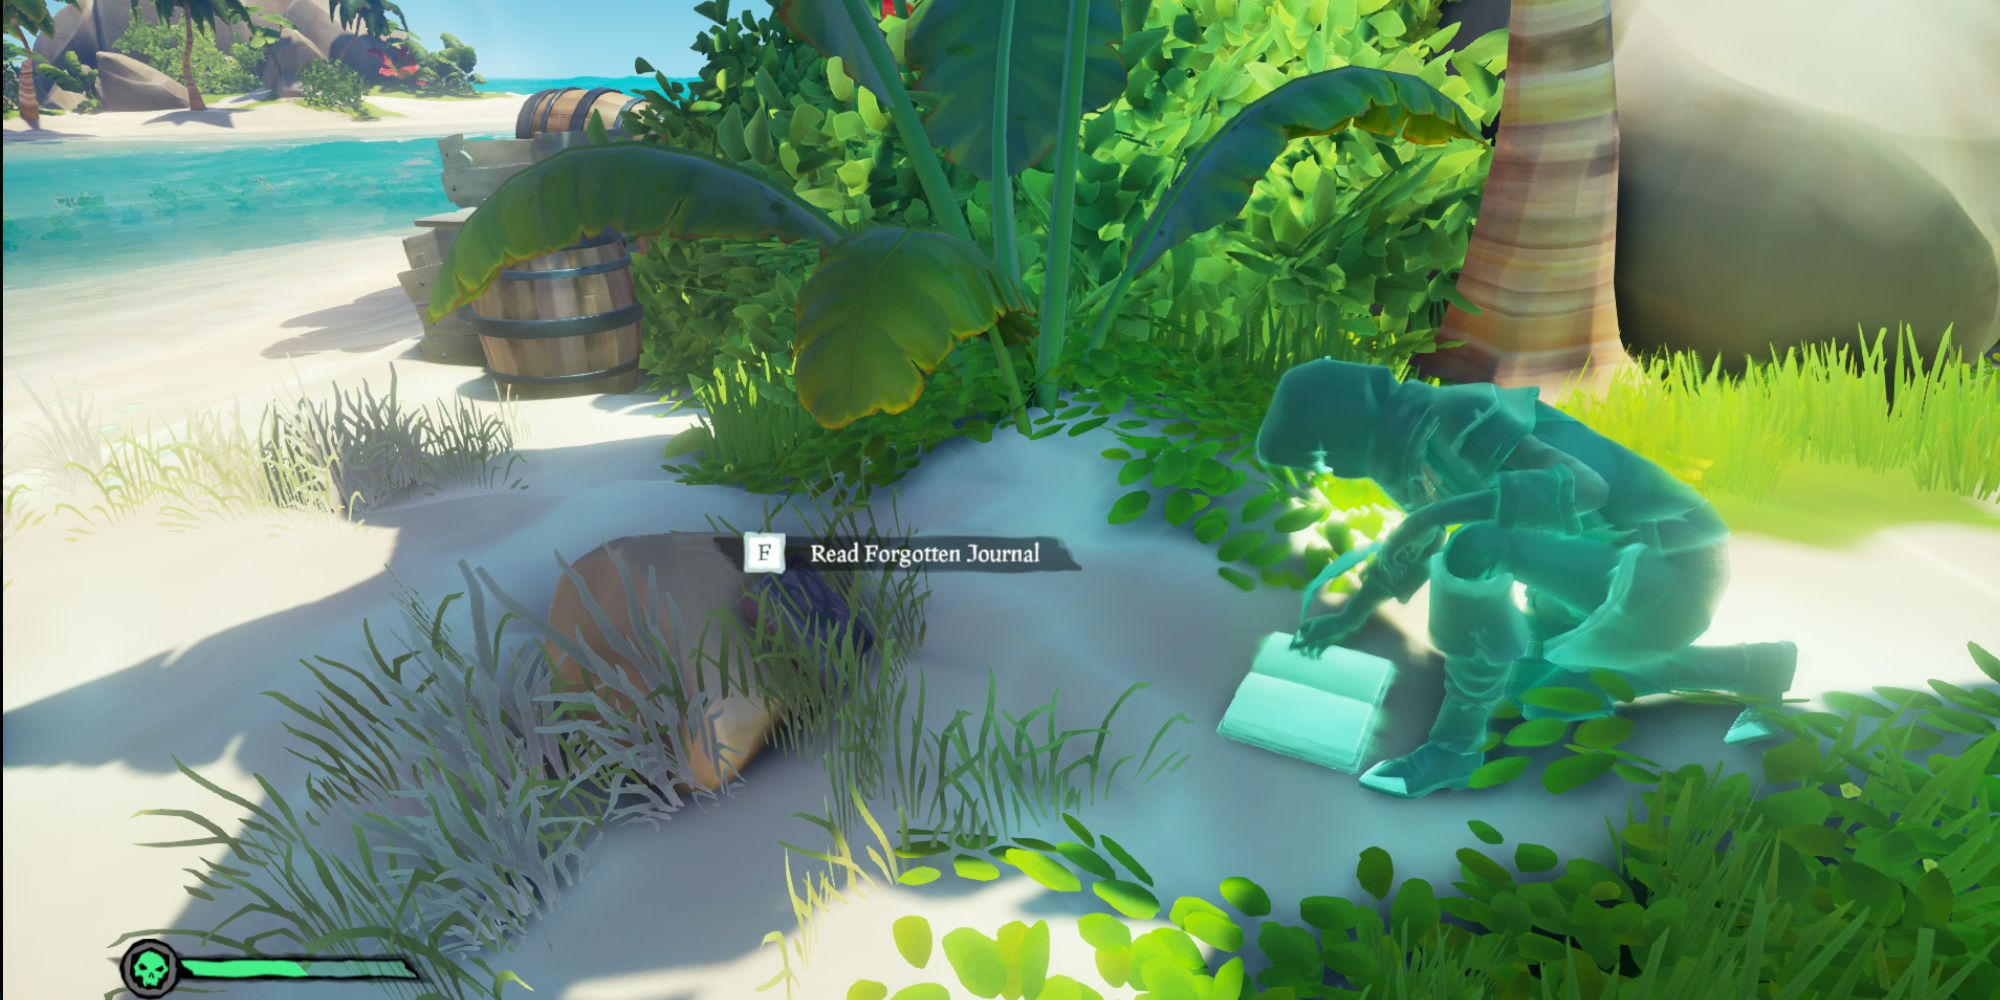
The first journal will be found on Wanderer's Refuge. As you get on the island and take out Belle's Lantern, follow the footprint trail. You should come across a ghostly green memory of the killer sitting on the ground. This journal will be next to them leaning against a wooden fence post.
Forgotten Journal #2

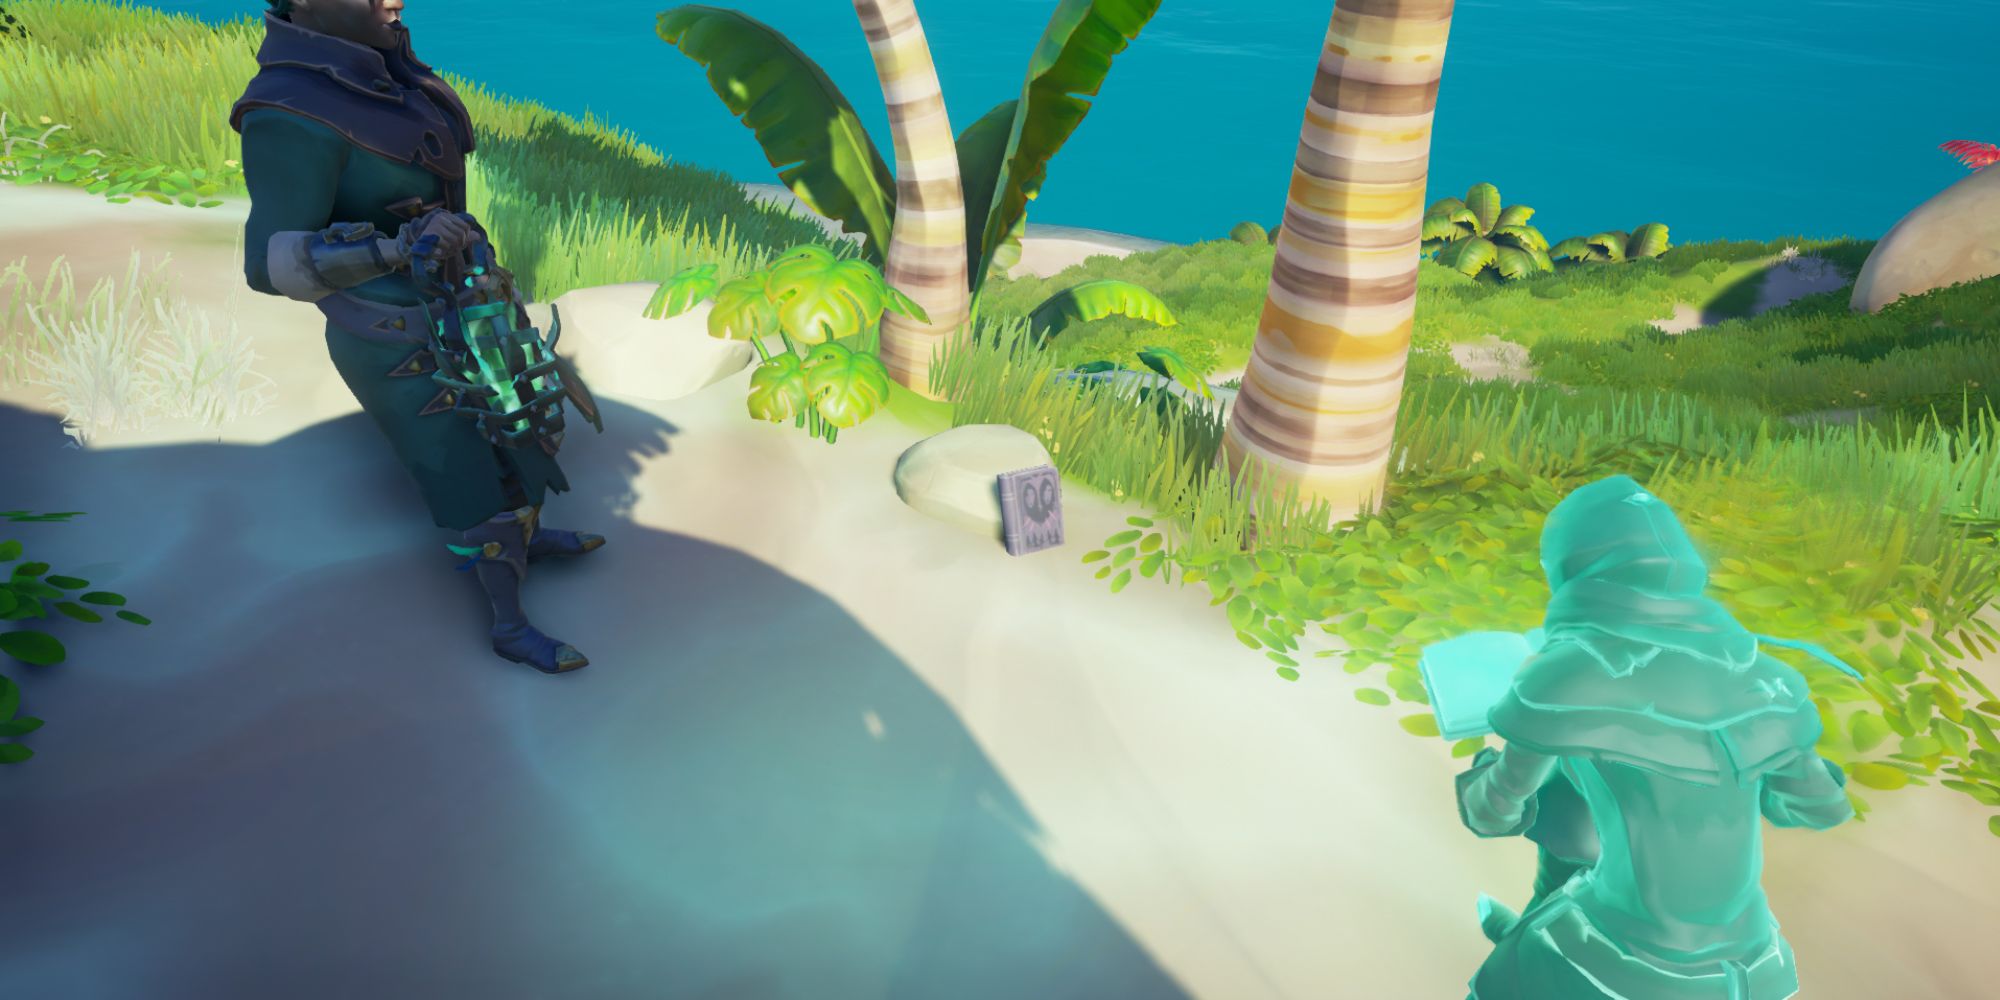
This one is also on Wanderer's Refuge. After you've entered the killer's secret hideout, follow the footprints back outside. Keep following the footprints around the island and you'll head up a hill. To your right, you'll see a pair of palm trees. Head towards them and you'll see another ghostly memory of the killer. The journal will be leaning against a rock on the ground.
Forgotten Journal #3
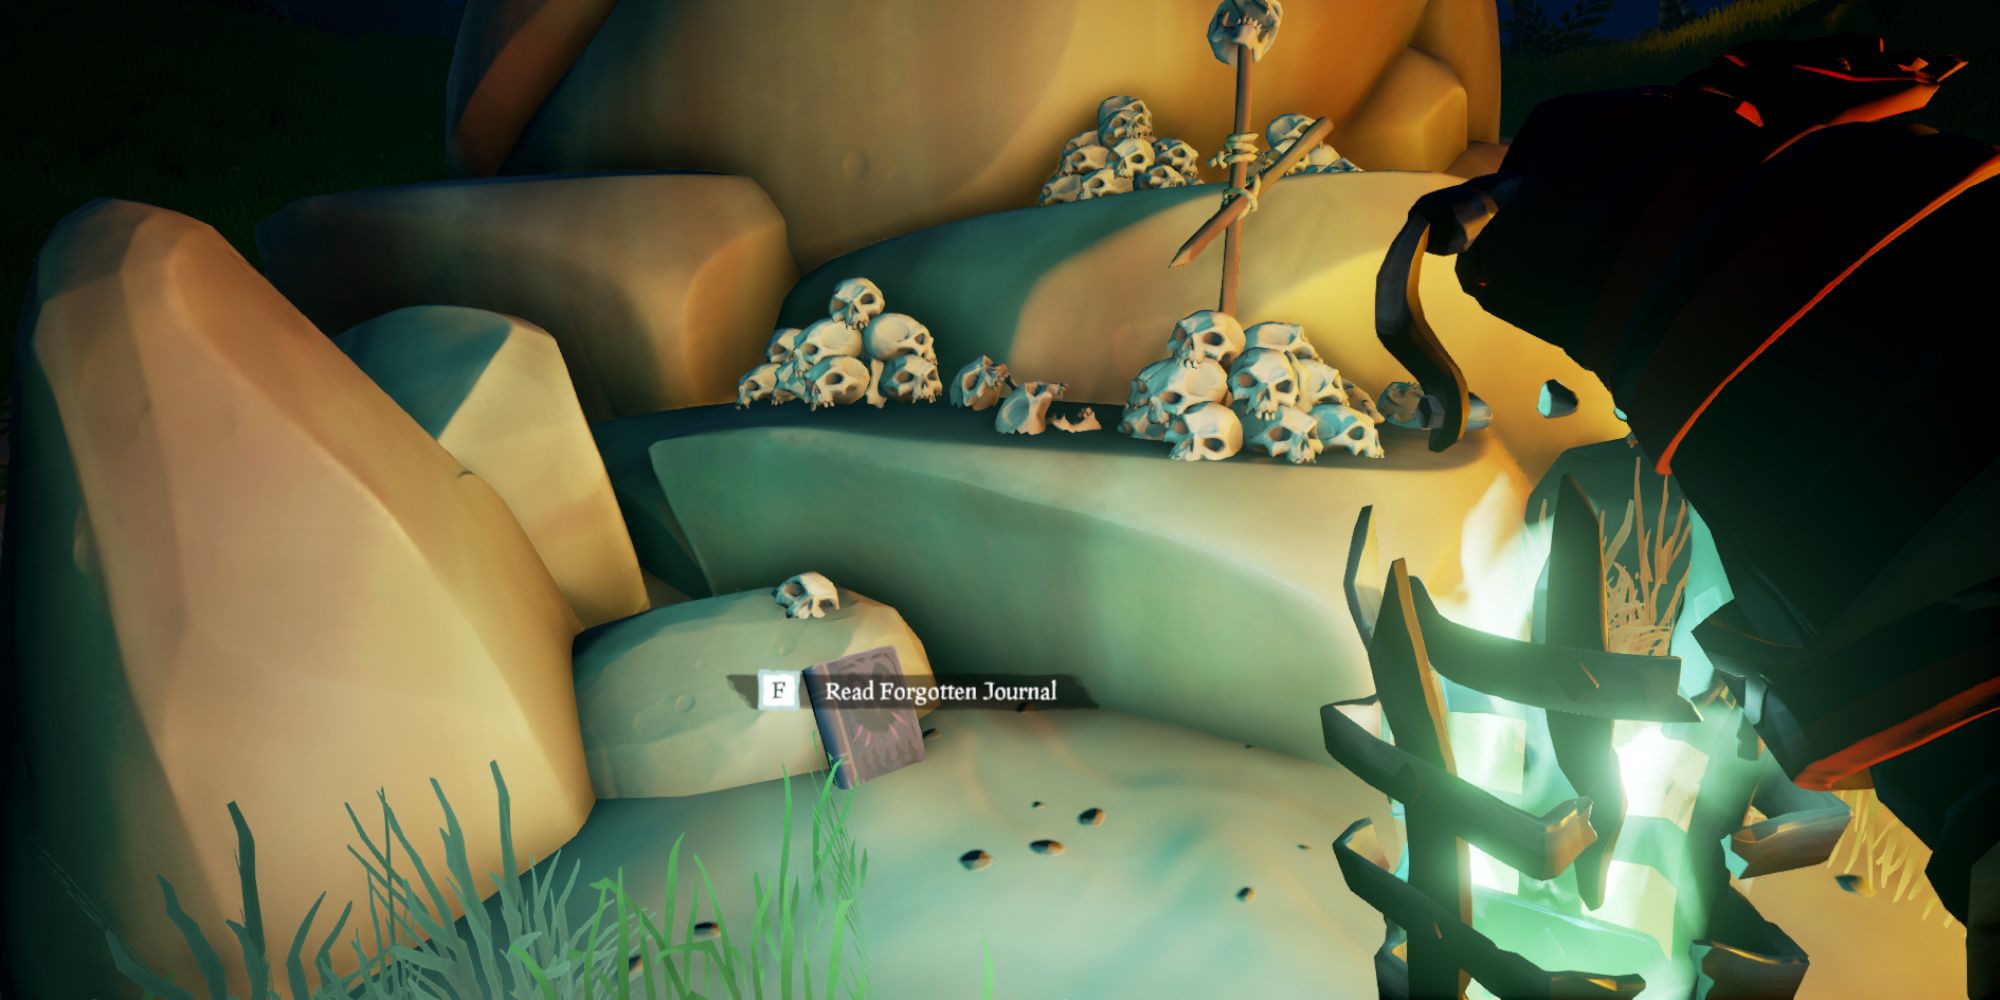
The next journal will be found on Sailor's Bounty. As you head up the footprint trail from the memory of the killer's rowboat, you'll find it near some piles of skulls sitting on some rocks.
Forgotten Journal #4
You'll find this journal on Salty Sands. Once again, follow the footprint trail from the rowboat, and along the way you'll see yet another ghostly memory of the killer jotting some notes down in their journal. The journal will be on the ground leaning against a rock partially covered by grass.
Forgotten Journal #5
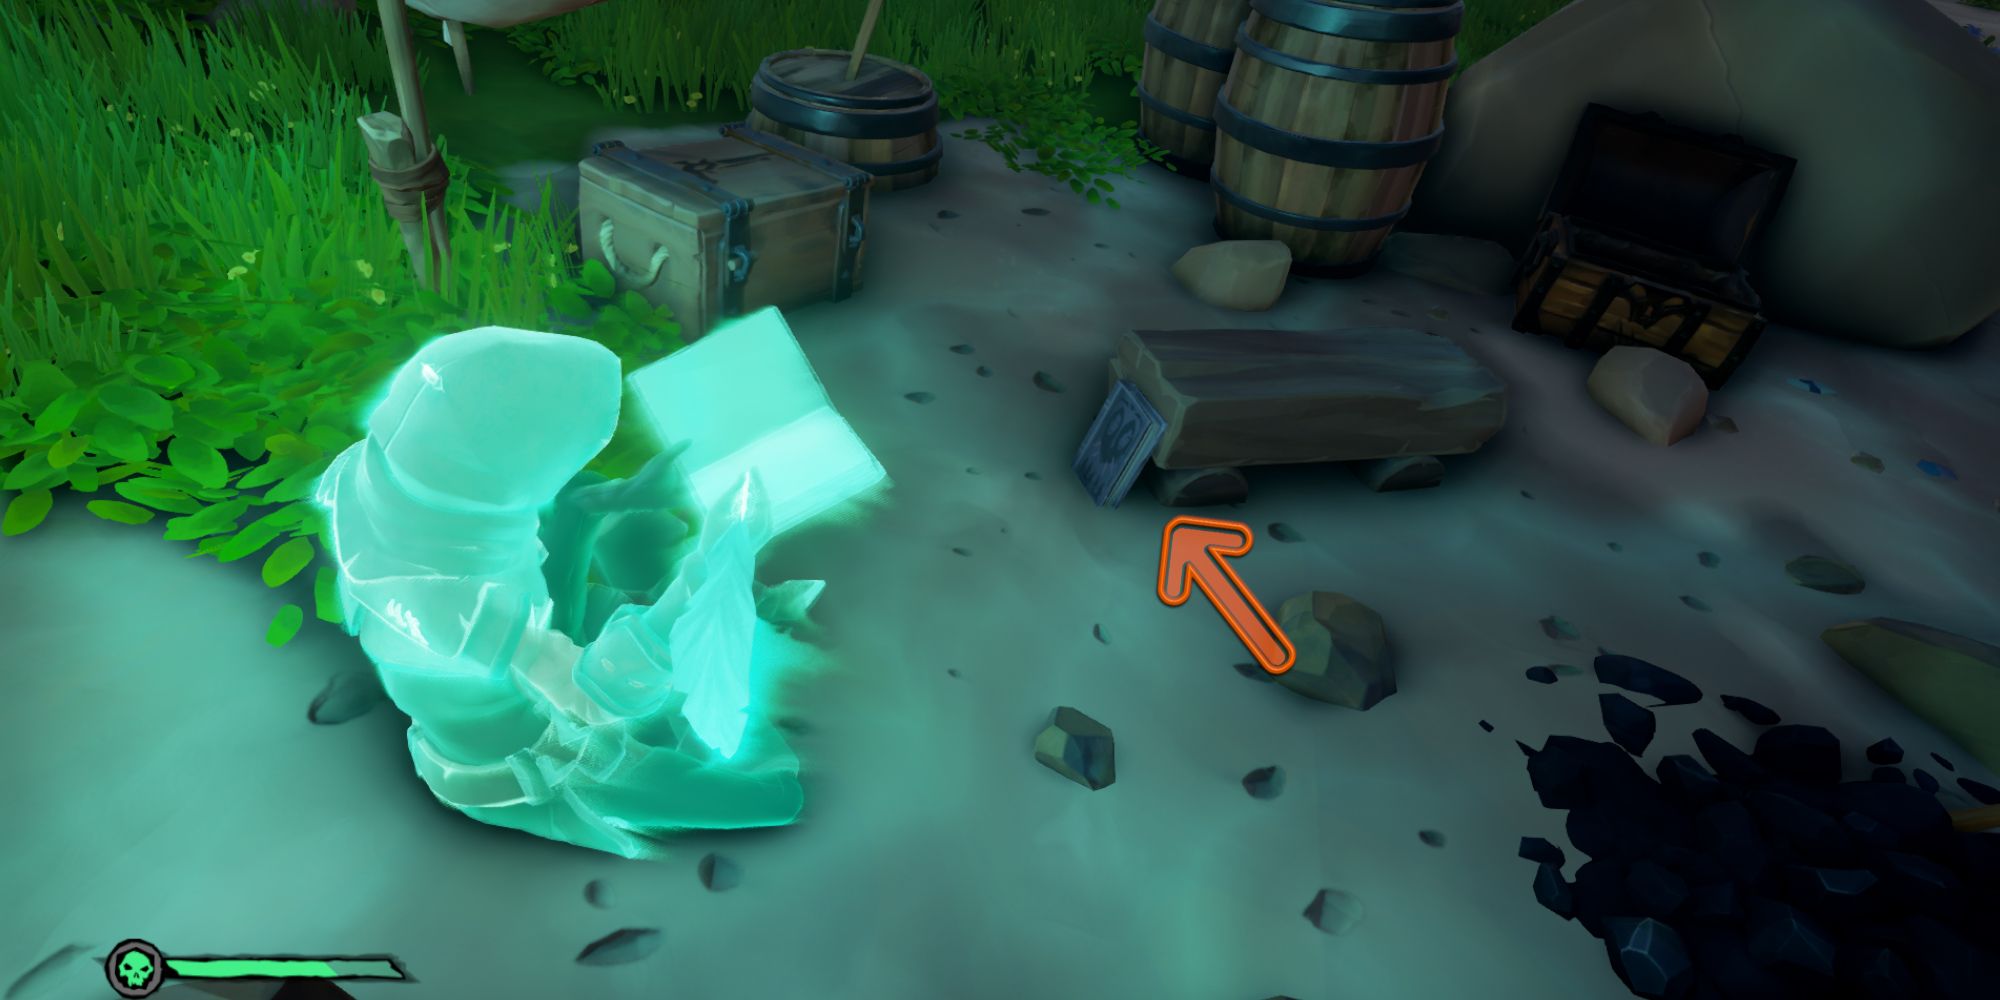
The final journal is located on Cannon Cove. As you set foot upon the beach and find the rowboat memory and footprint trail, there'll be a little campsite. You'll see a memory of the killer sitting and writing. The journal will be leaning against a bench.
Complete all the deeds and find all the journals, and you'll earn the Investigator Of Dark Intrigue title.

