Quick Links
Star Wars Jedi: Survivor continues the adventure of Cal Kestis and BD-1 as they continue their fight against the Empire. However, opposing the Empire is no longer the top priority after Kestis awakened Dagan Gera.
The corrupted Jedi is hellbent on reclaiming Tanalorr, an undetectable planet deep in the Koboh Abyss. This guide follows Kestis journeying to the Shattered Moon, looking for information about Tanalorr.
Explore Hidden Path Base
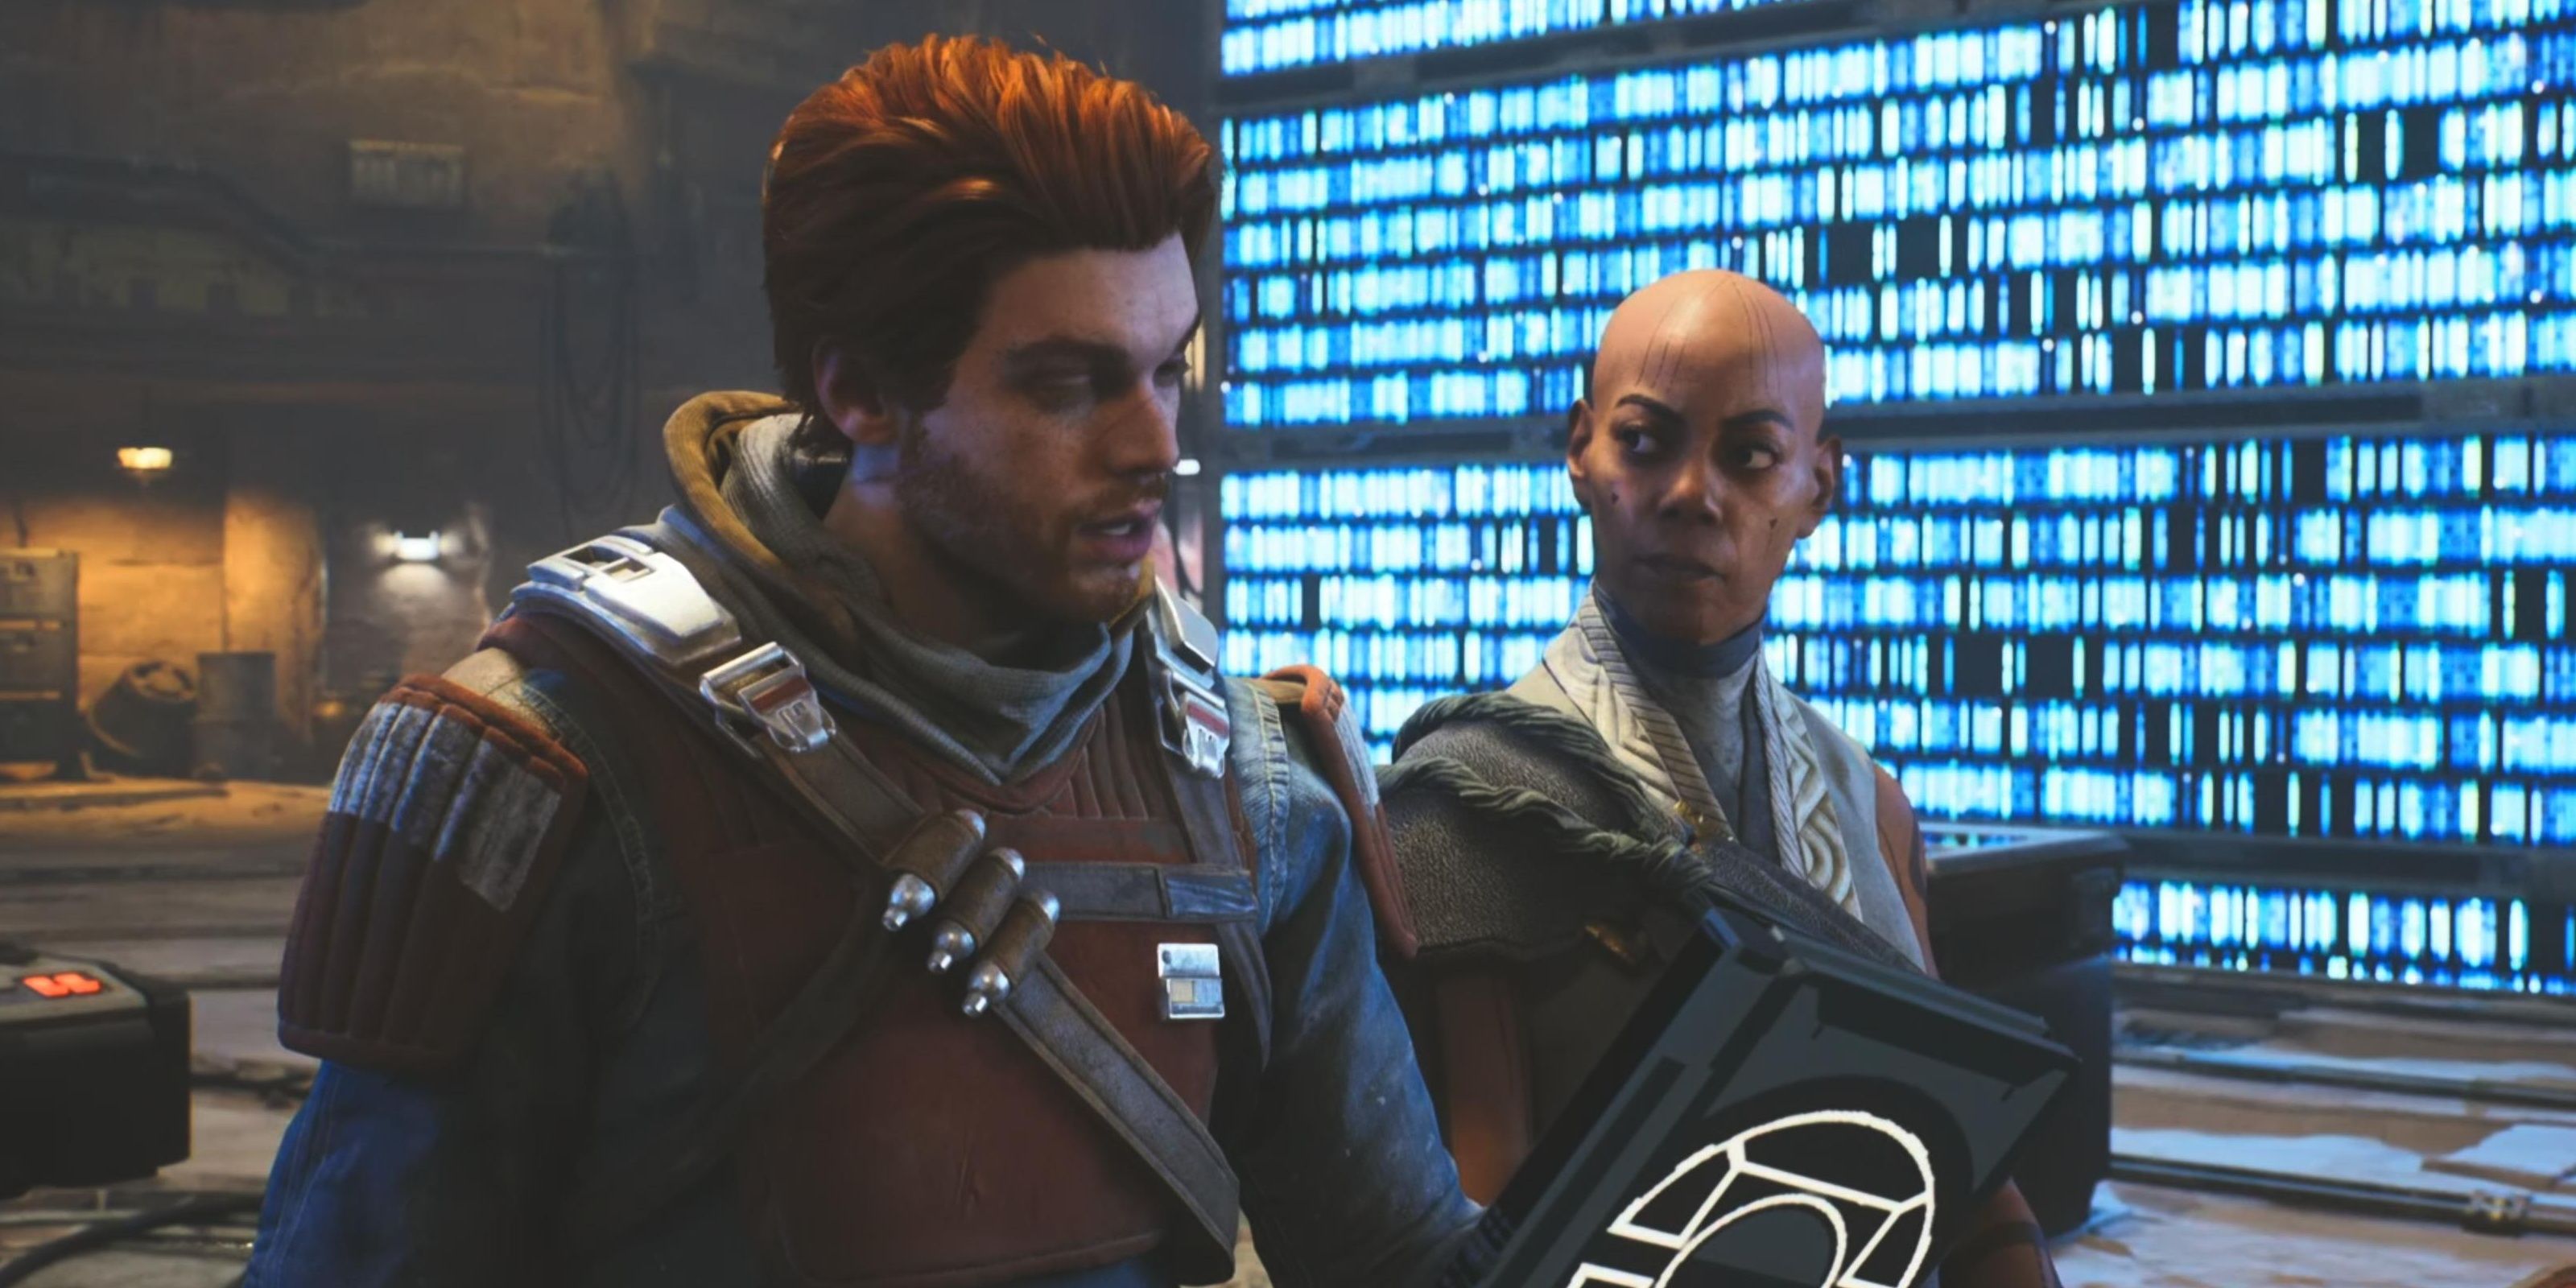
After locating Cere and the Hidden Path, Kestis will be sent to the Shattered Moon in orbit around Koboh to find more clues on how to reach Tanalorr. Speak to everyone in the Archives and activate the Meditation Point nearby, then follow the path behind the Meditation Point to find an Echo in the far left corner.
You’ll find the Sister Taste shop on the next level, where you can use Jedha Scrolls to purchase lightsaber parts and color palettes.
There is a workbench to the left behind the Sister Taste shop to customer your weapon with any new purchases.
Go up the lift and follow the curved path down to head through the door to find a hanger with a speeder. In the far right corner, you’ll find a chest with Solar BD-1 cosmetic parts.
Head back up the curved path and go back down the lift. Double jump to climb up the ledge on the right side, and you’ll find an Echo at the end of the path.
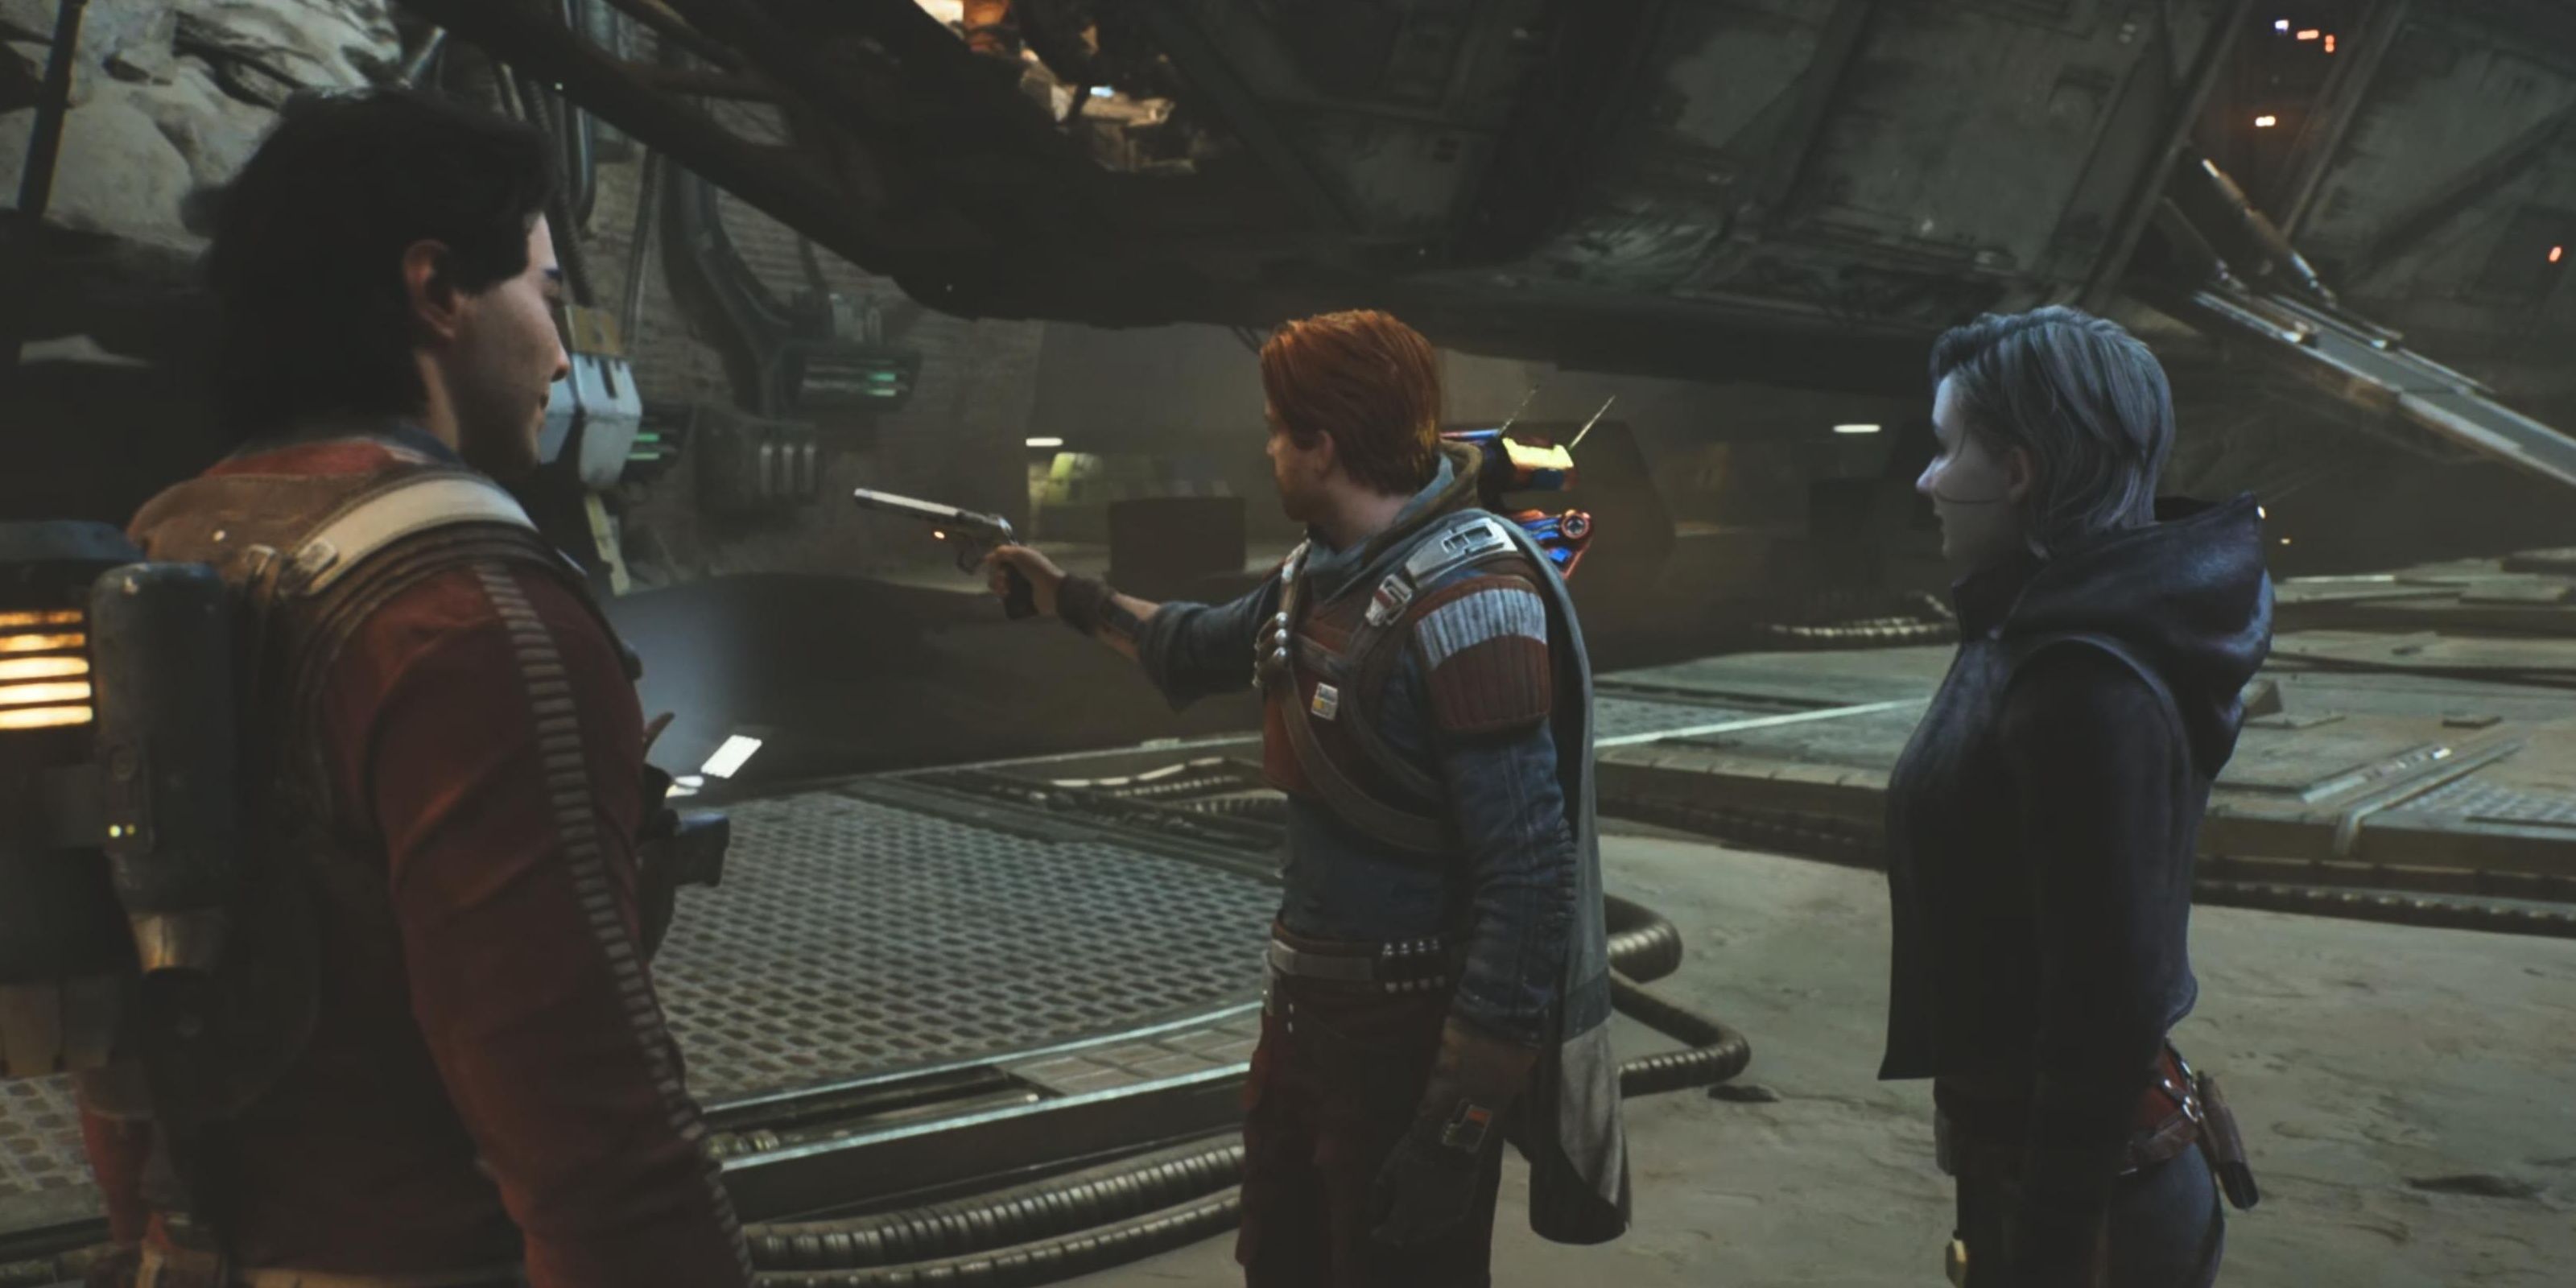
Return to the Archives and follow Merrin back to the Mantis. You’ll need to use the Force to push the orb to reopen the door to exit the Archives. Before you board the Mantis, a cutscene will trigger with Bode Akuna giving Kestis his old blaster, which unlocks the Blaster Stance.
Before boarding the Mantis, you can use the Stormtrooper dummy as a practice target for the Blaster Stance.
The Blaster Stance has an advantage over others that Kestis uses because of its ranged attacks. Kestis can fire seven bolts (or a charged shot that consumes two bolts), and melee attacks will replenish your ammo.
Landing On Shattered Moon
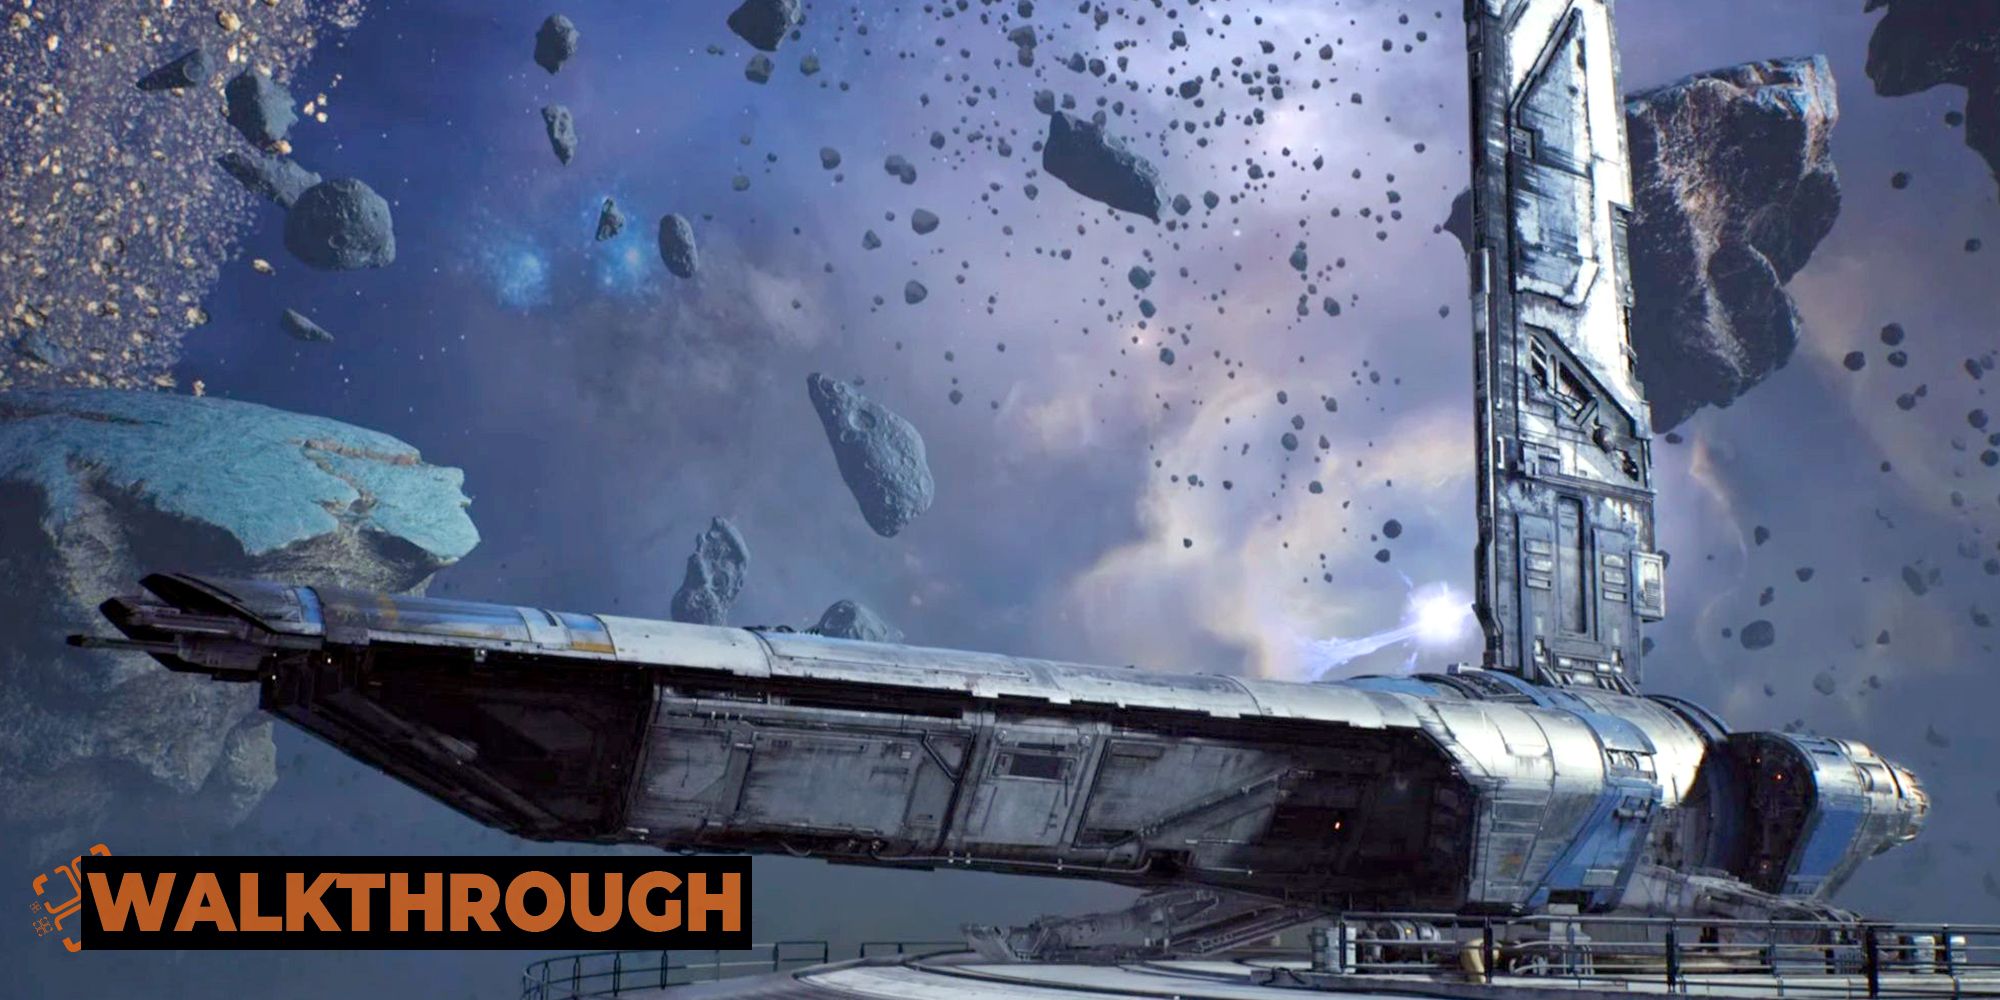
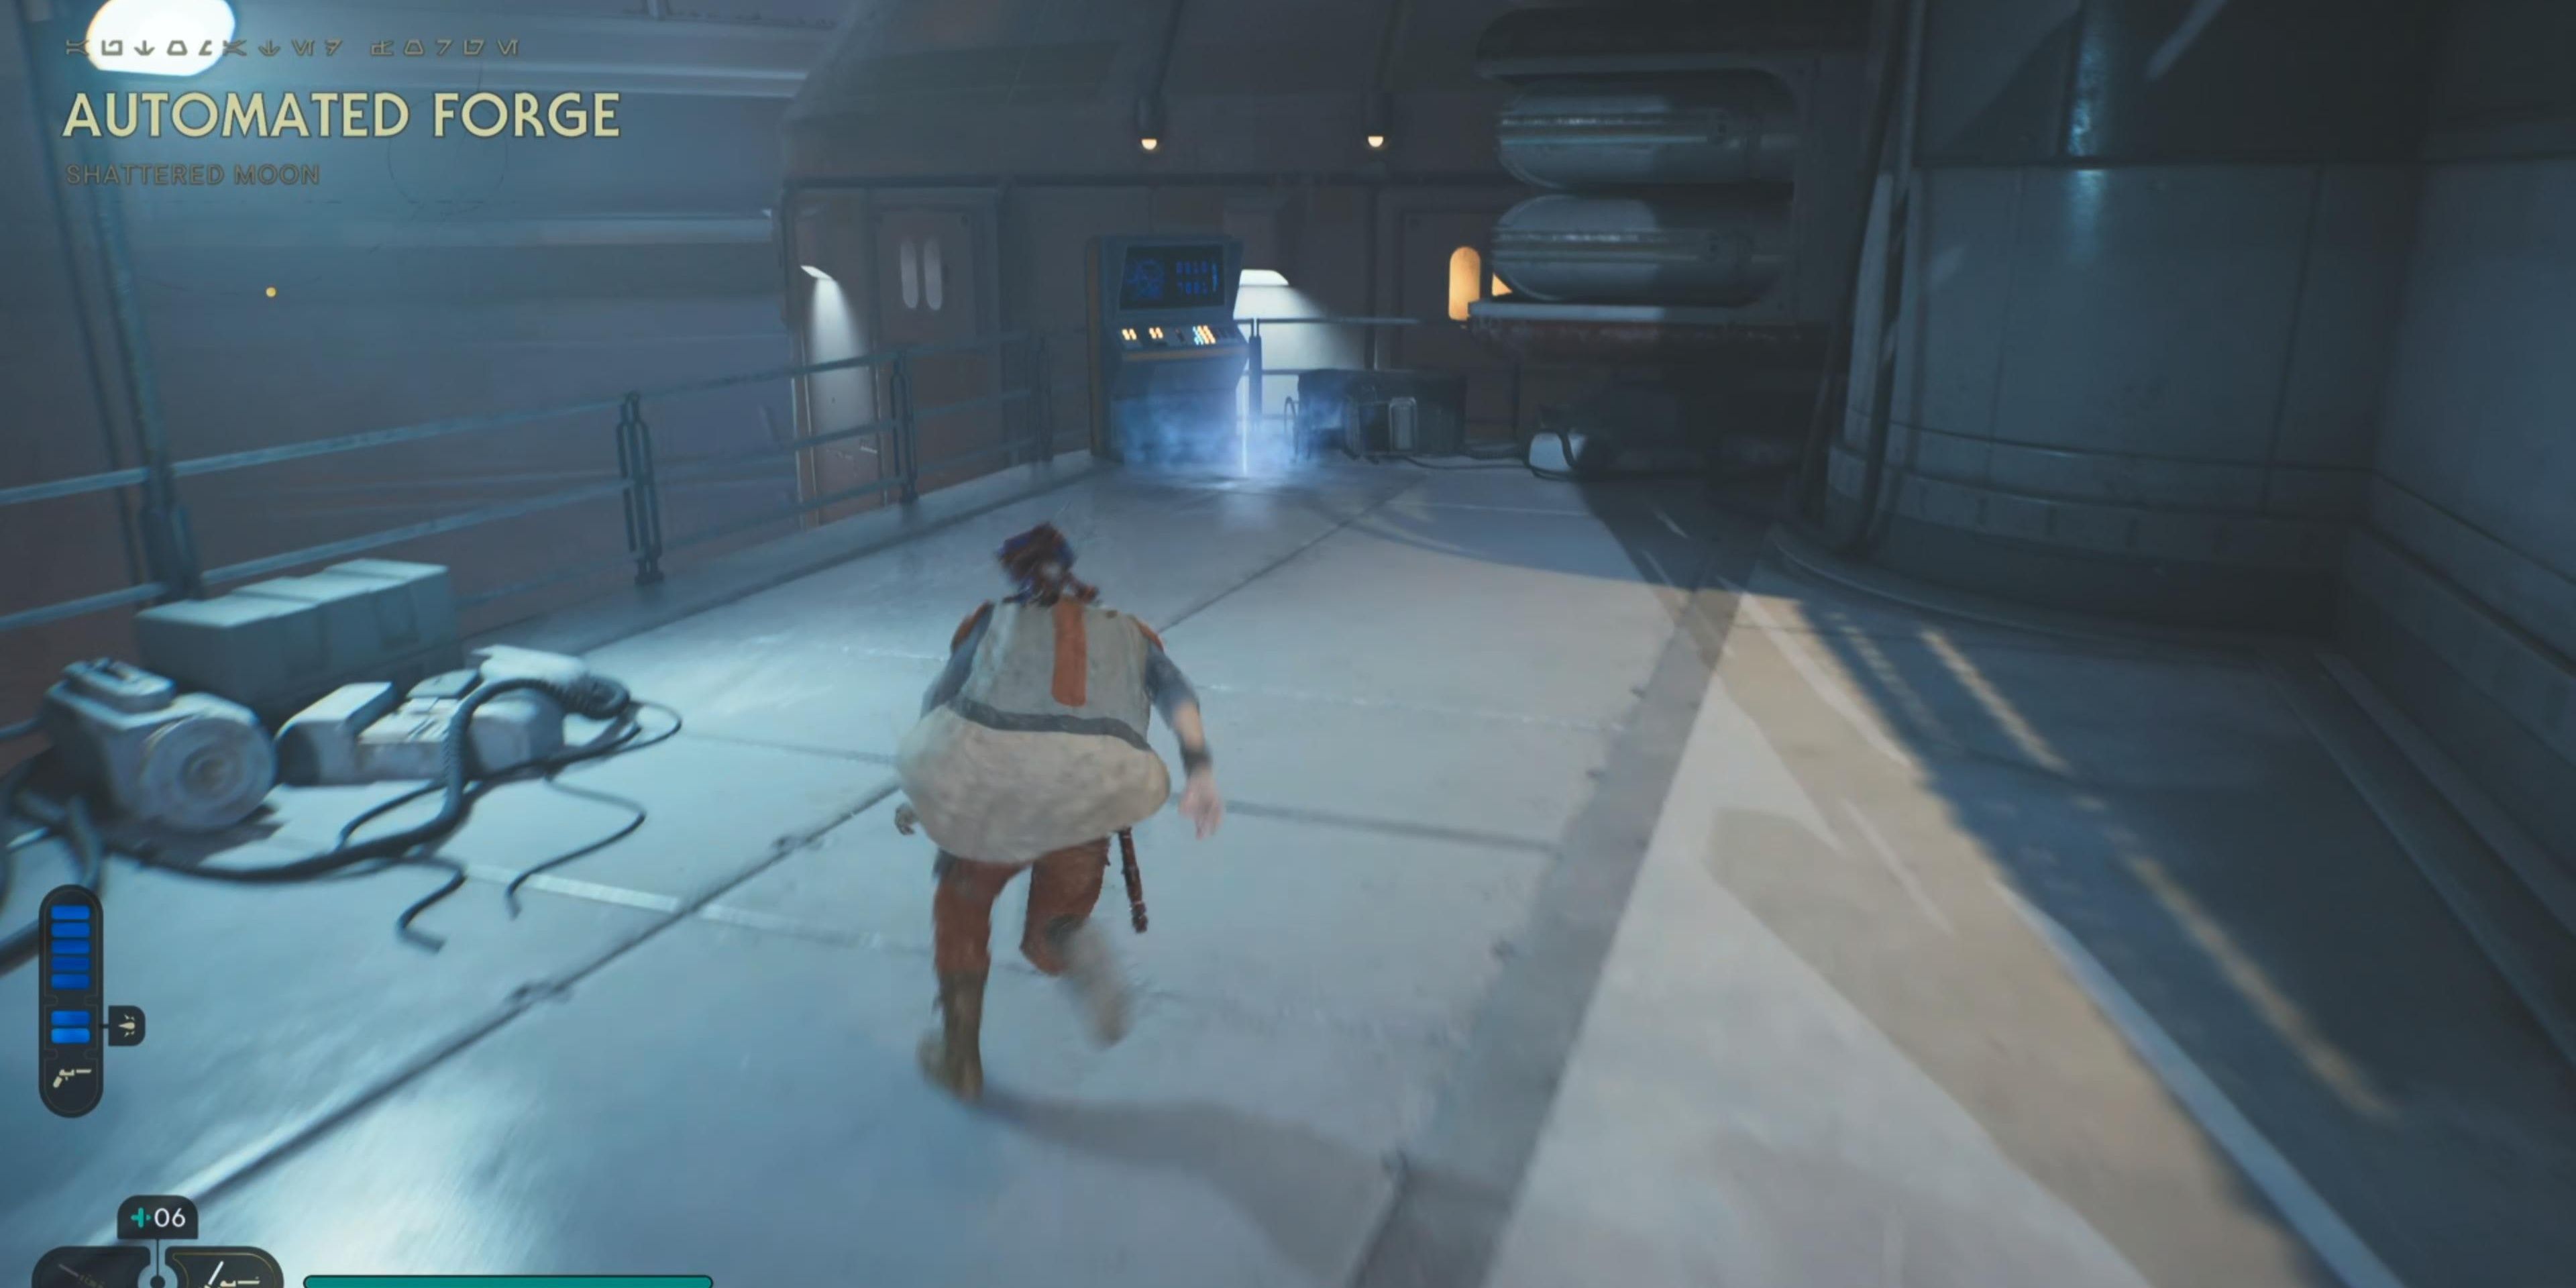
Once you’re ready to leave Jedha, enter the Mantis and select the Shattered Moon on the holotable. When you land at the space base, proceed down the lift to the Automated Forge and walk down the steps.
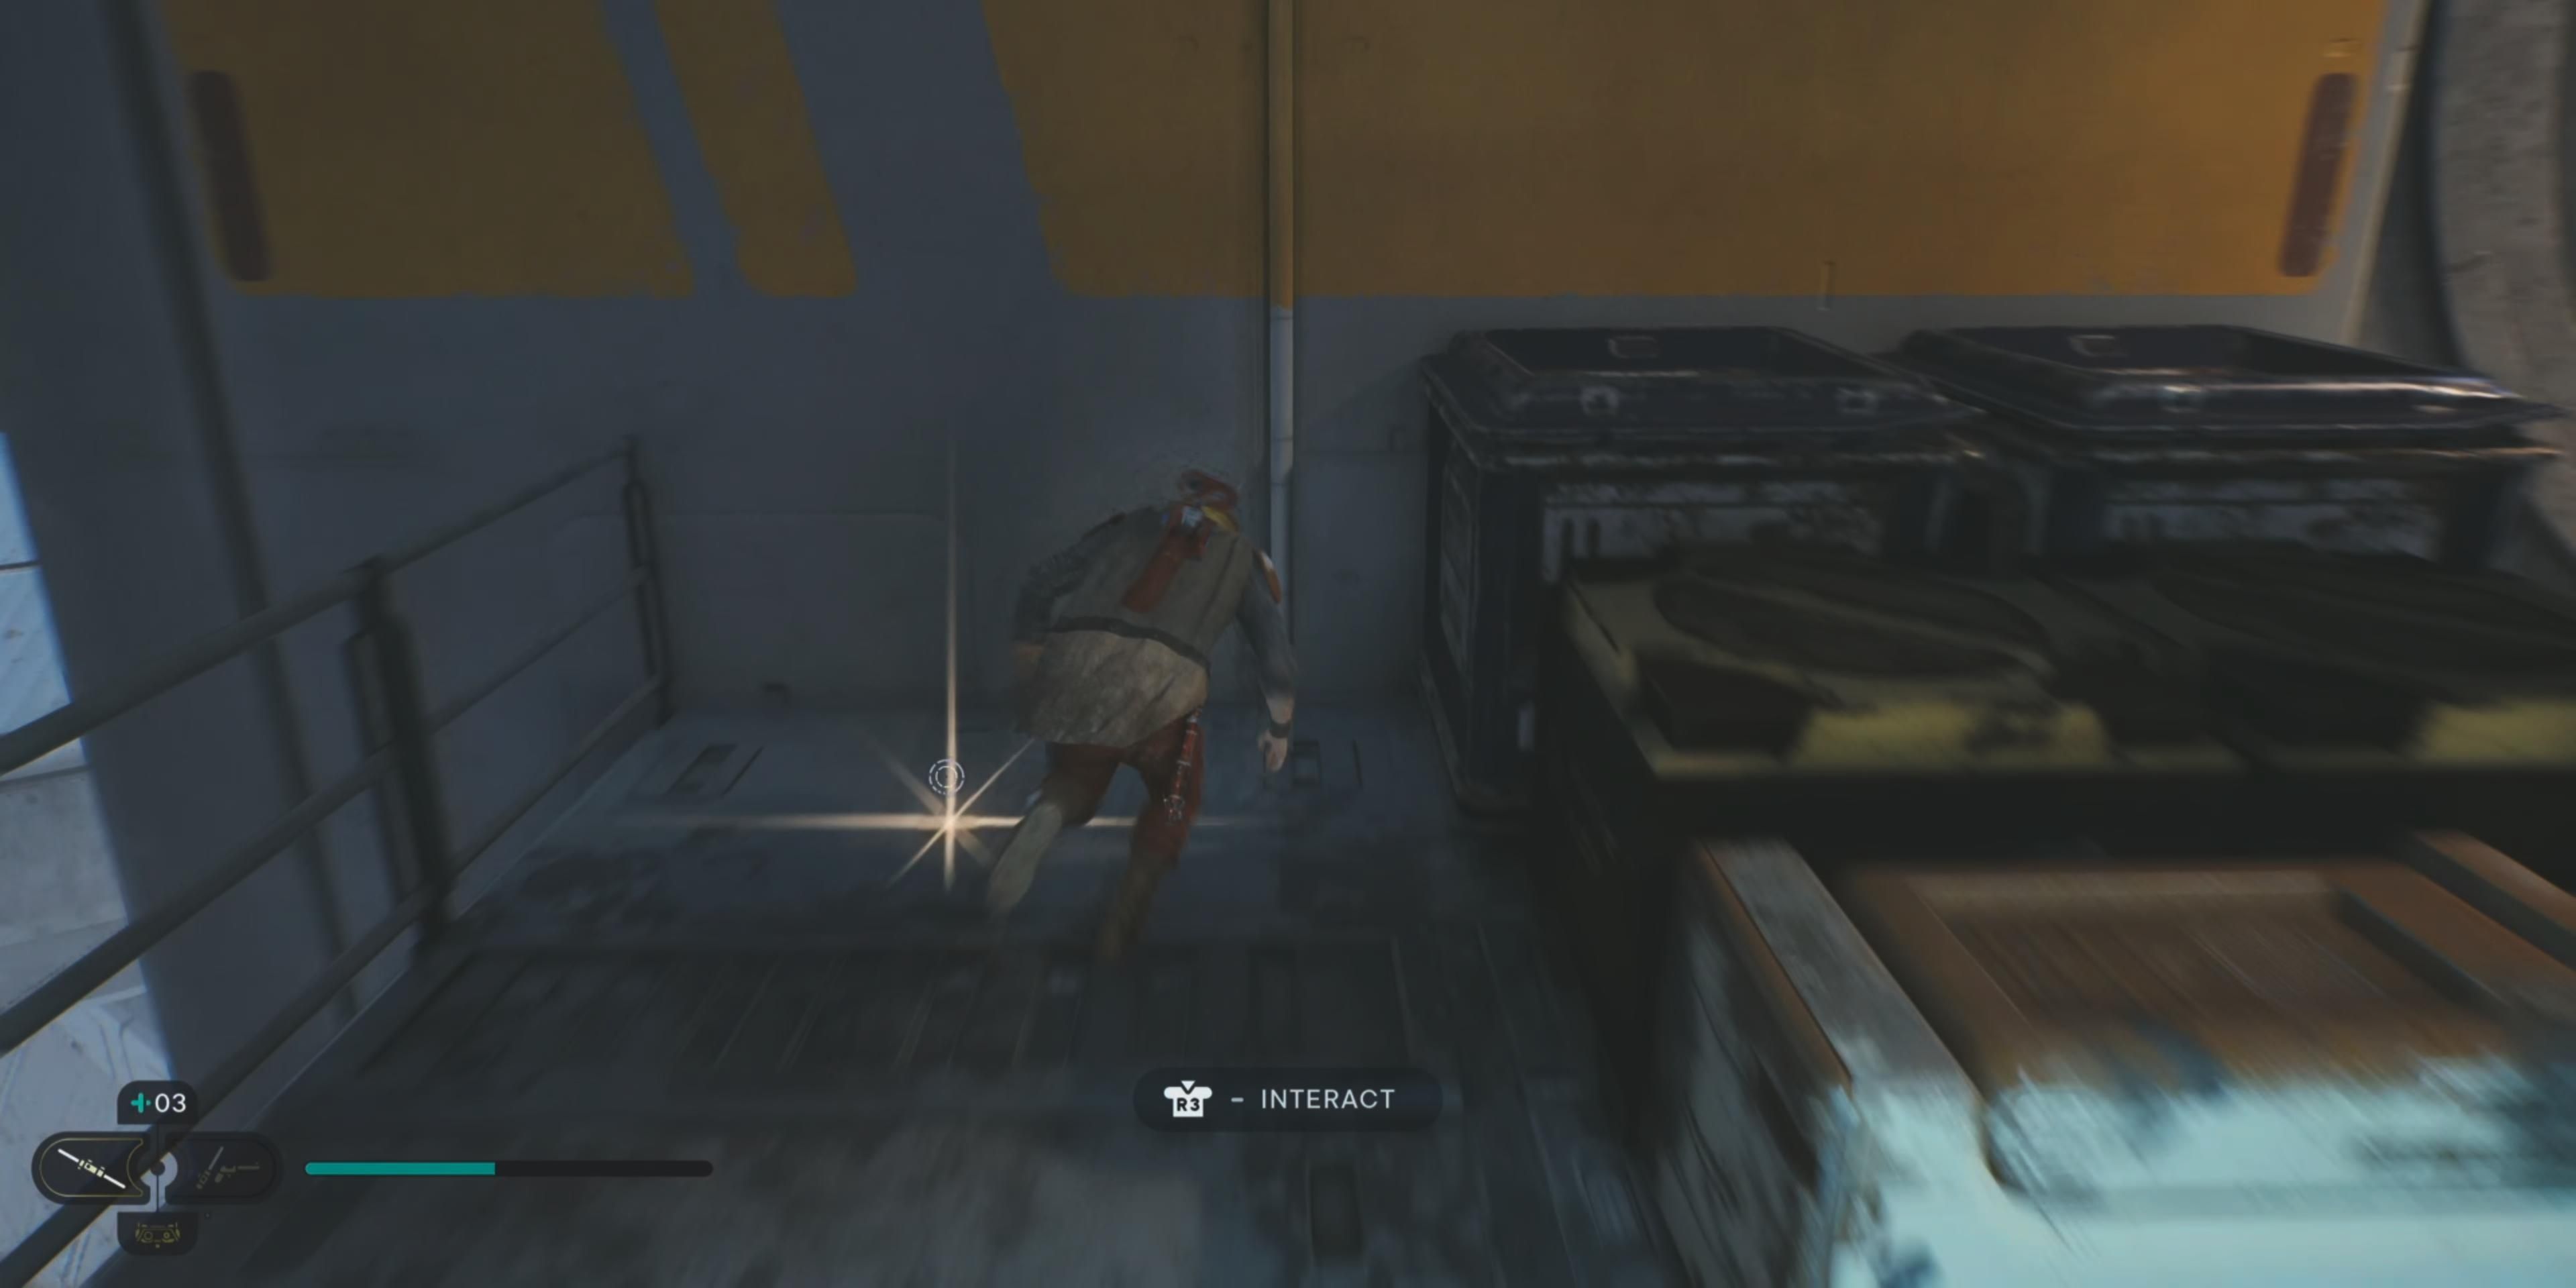
Before continuing forward, turn around to the back of the steps to find an Echo. Now, head down the path where the middle will break apart. Peer over the edge on the left side, and you’ll see a holder for your ascension cable.
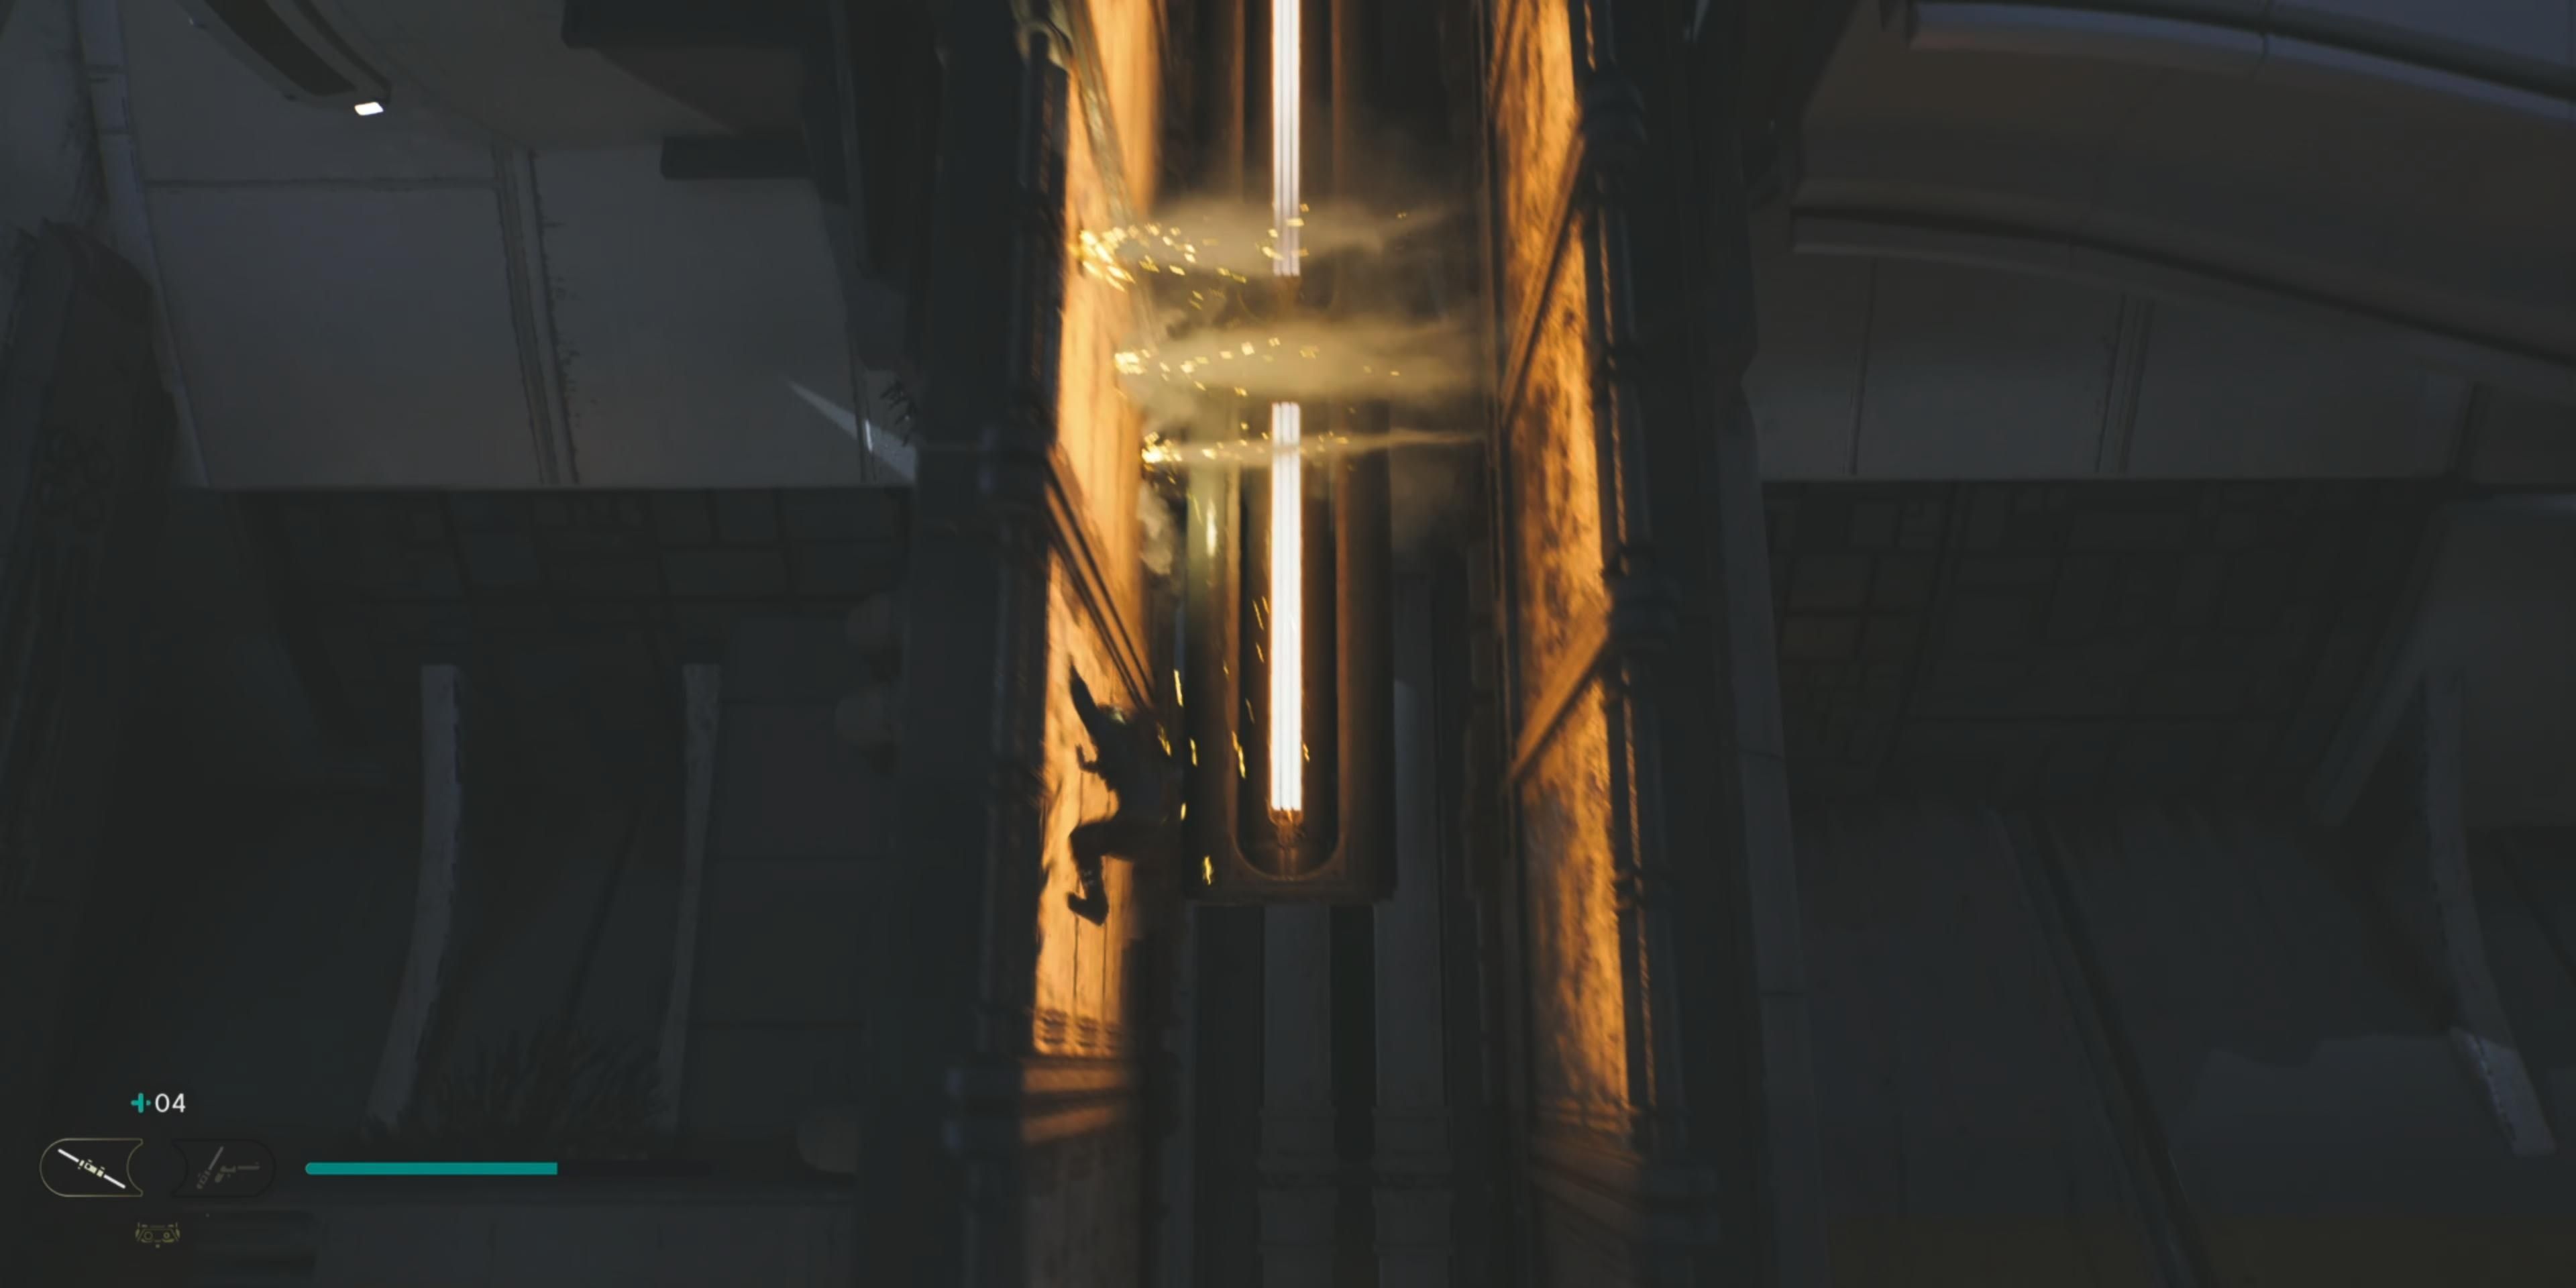
Climb up the grate and walk across the pipe sticking out. Use your ascension cable again to attach to the next wall grate and scale around the right side. When you reach the grate with fire sparks spewing from it, wait until it dies down to jump across.
Keep climbing up and onto the ceiling and then drop down to access the Meditation Point. BD-1 will activate the pillar and create a shortcut back to the main lift to the Mantis. Continue moving forward past the large door and head down the left path of the maintenance droid to find an Echo in the side room.
Retreat back to the droid and continue heading forward but be careful of the Bedlam Raider hiding on the left. After defeating the raider, squeeze through the narrow opening after using the Force to open it up and walk on the pipe. Drop down to the lower pipe and wait for the sparks to clear and leap on the wall grate.
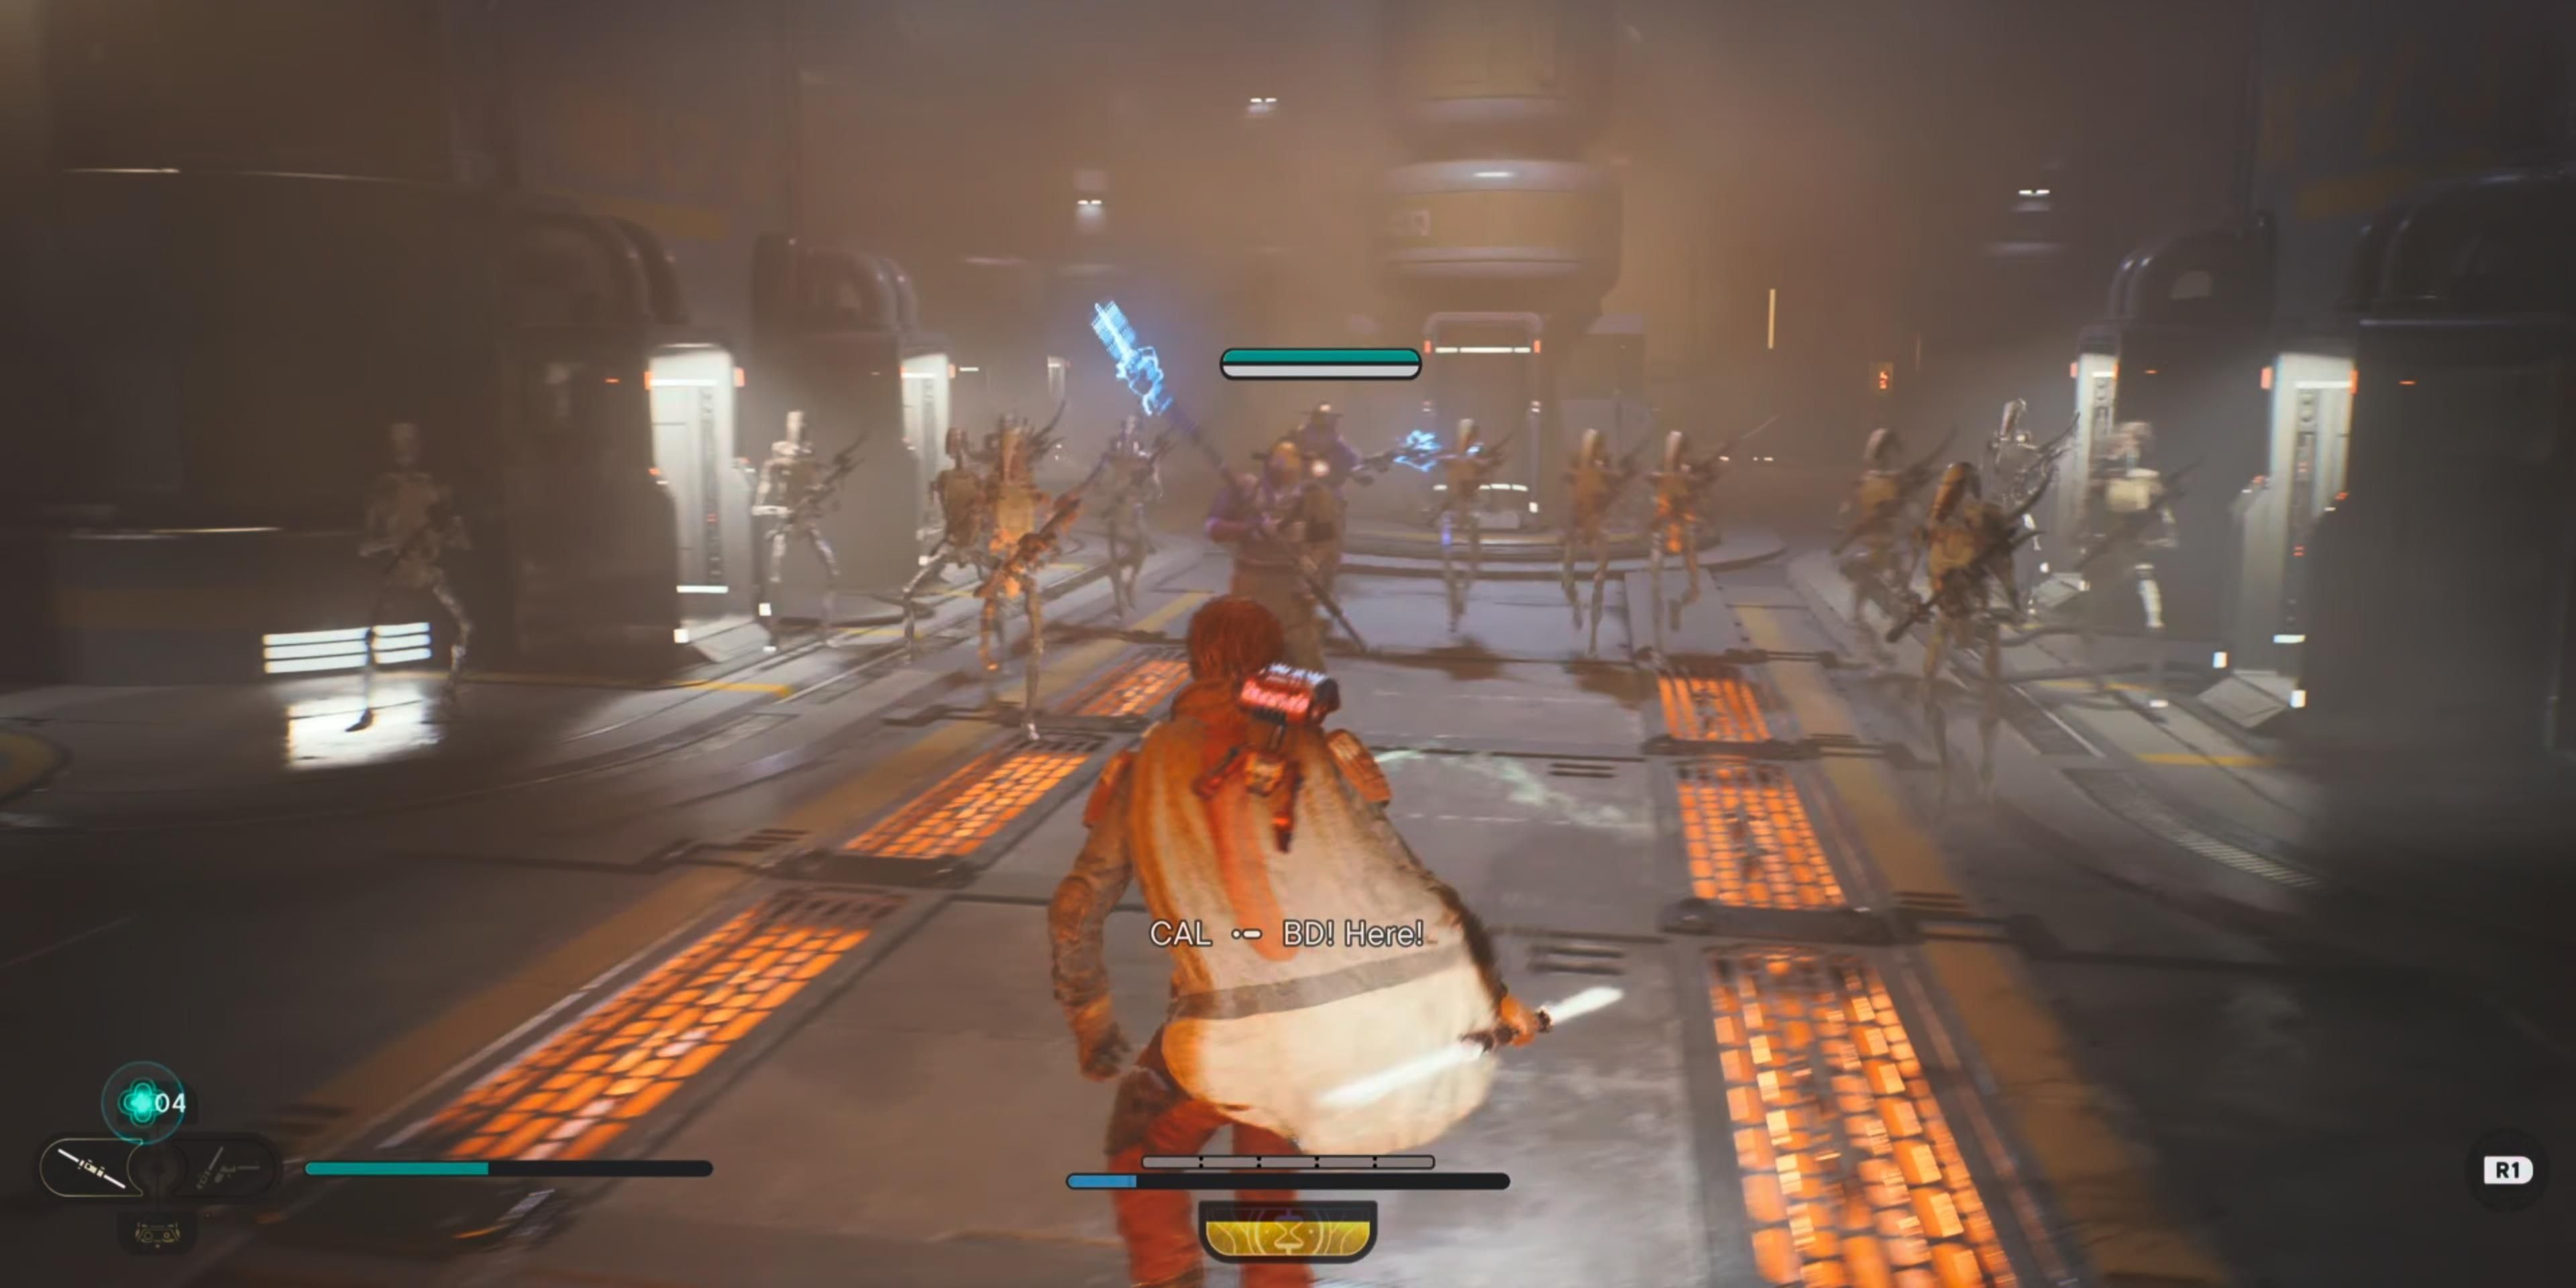
Scale up the grate and defeat the raiders patrolling the area. The large yellow door on the left will be locked on the other side, so head up the steps and take down another raider hiding behind the shipment crates. Head down the yellow-lighted hall into a foggy room. Another raider will be hiding on the left and another from the other side until several droids attack you.
Most of the droids can be destroyed in one hit, so focus on clearing them out first before targeting the raiders. Kestis’s time-slow ability is a key move to use here.
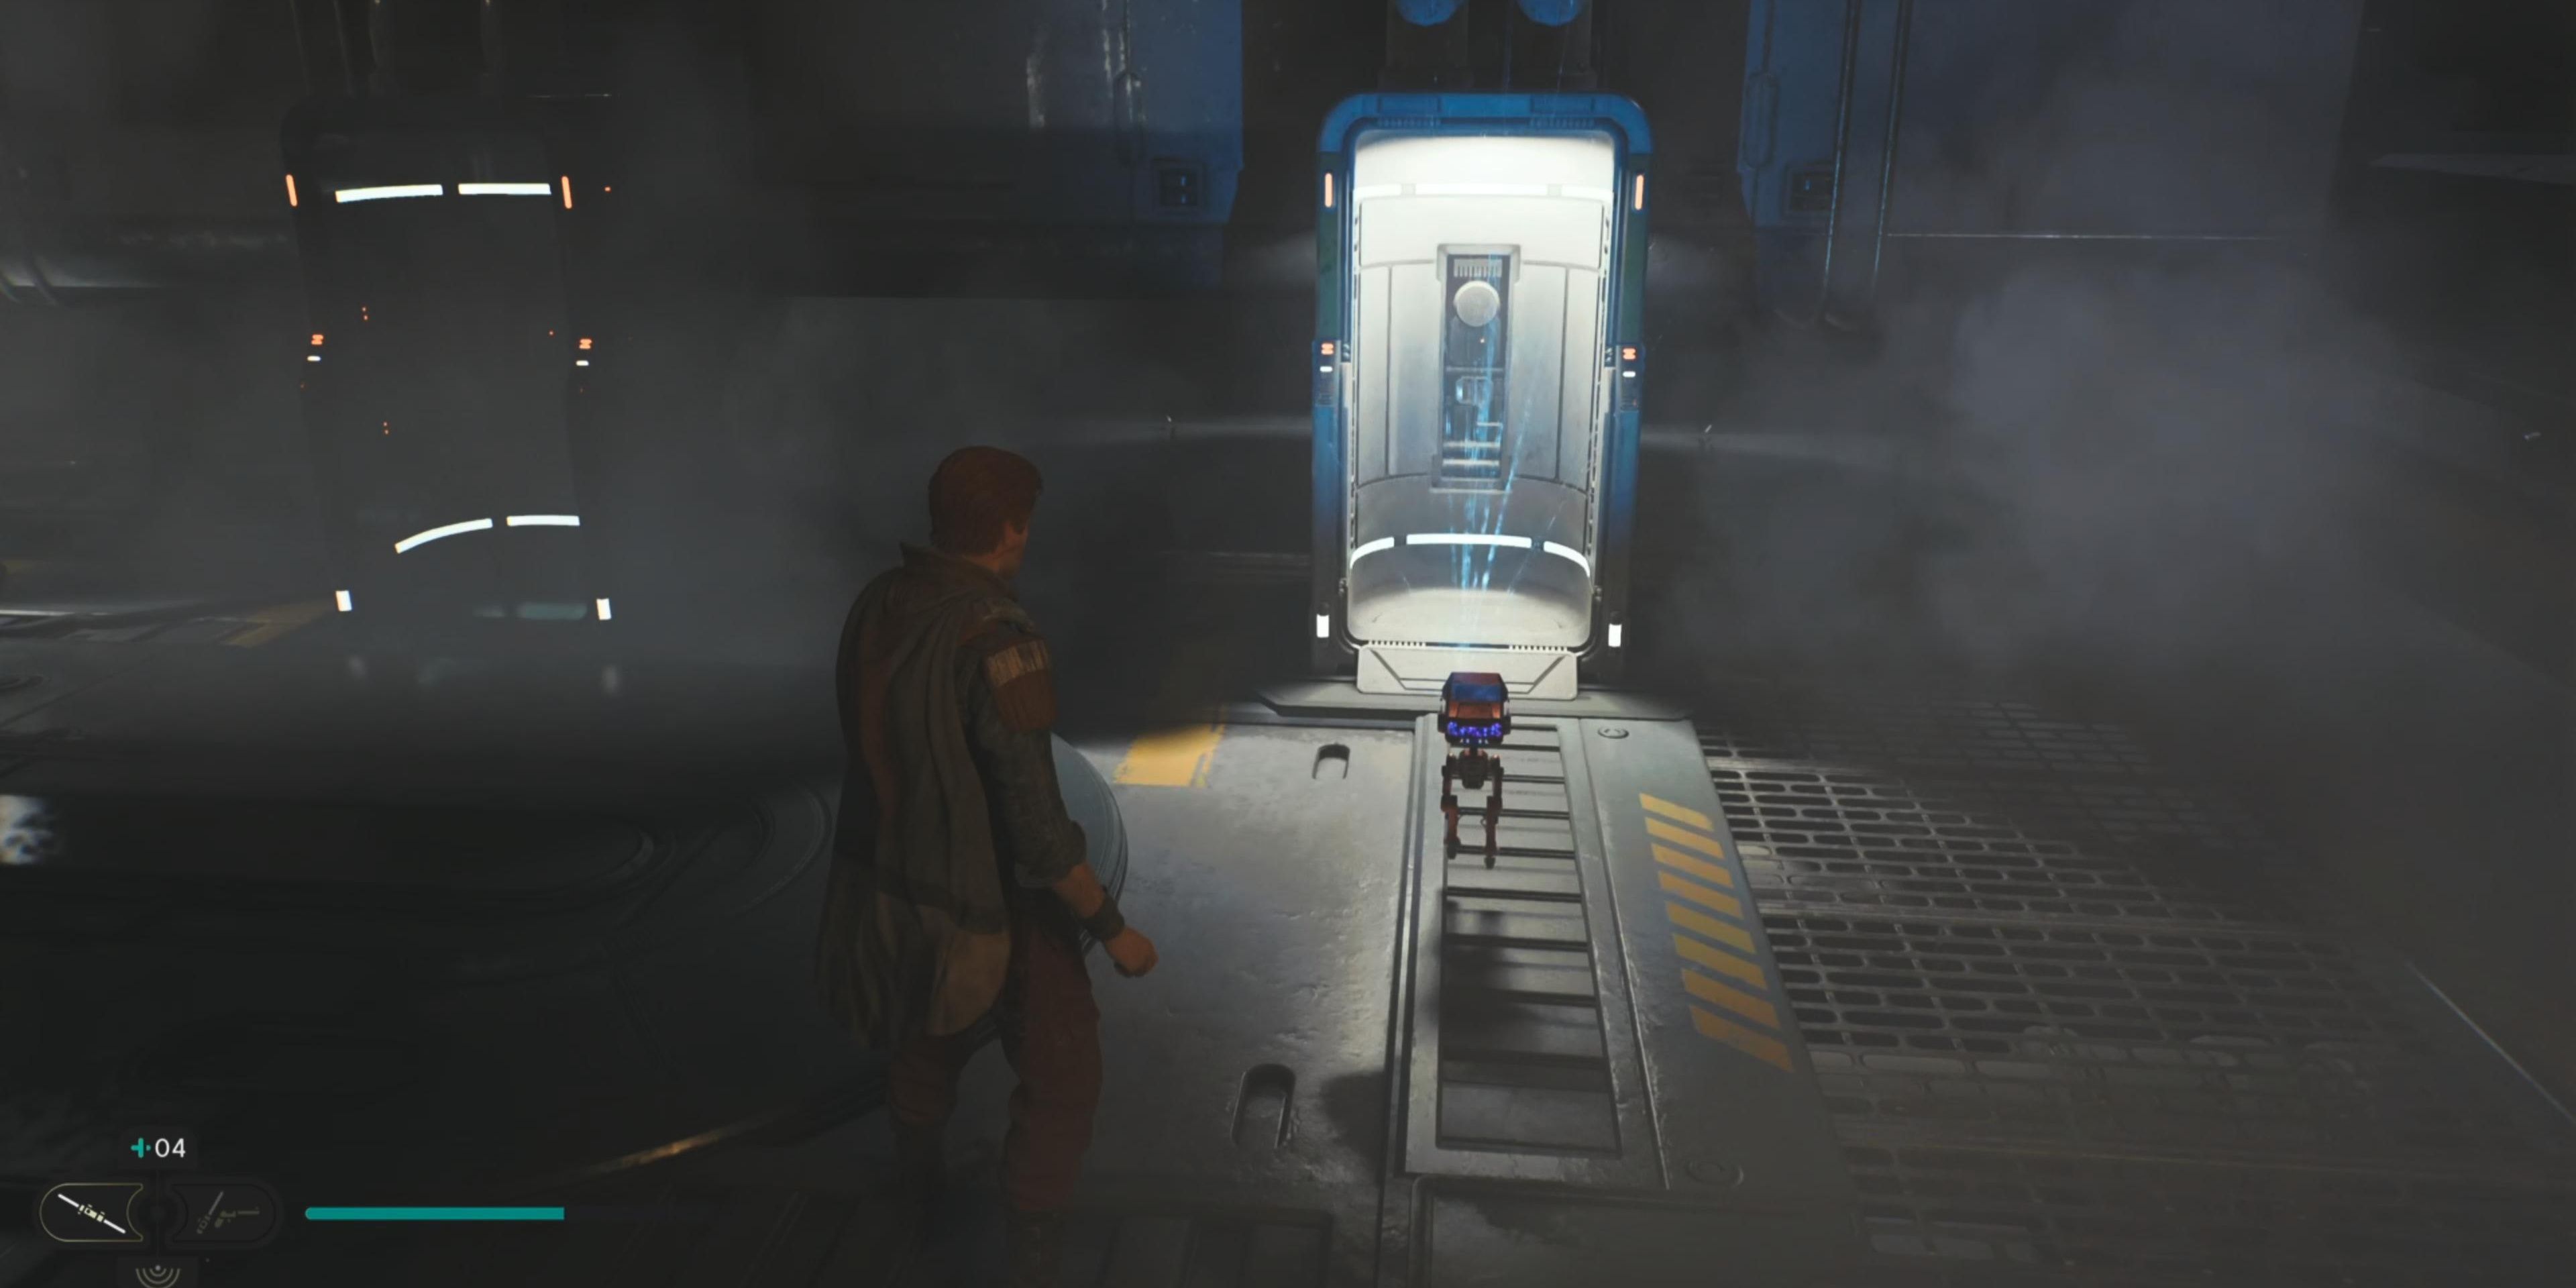
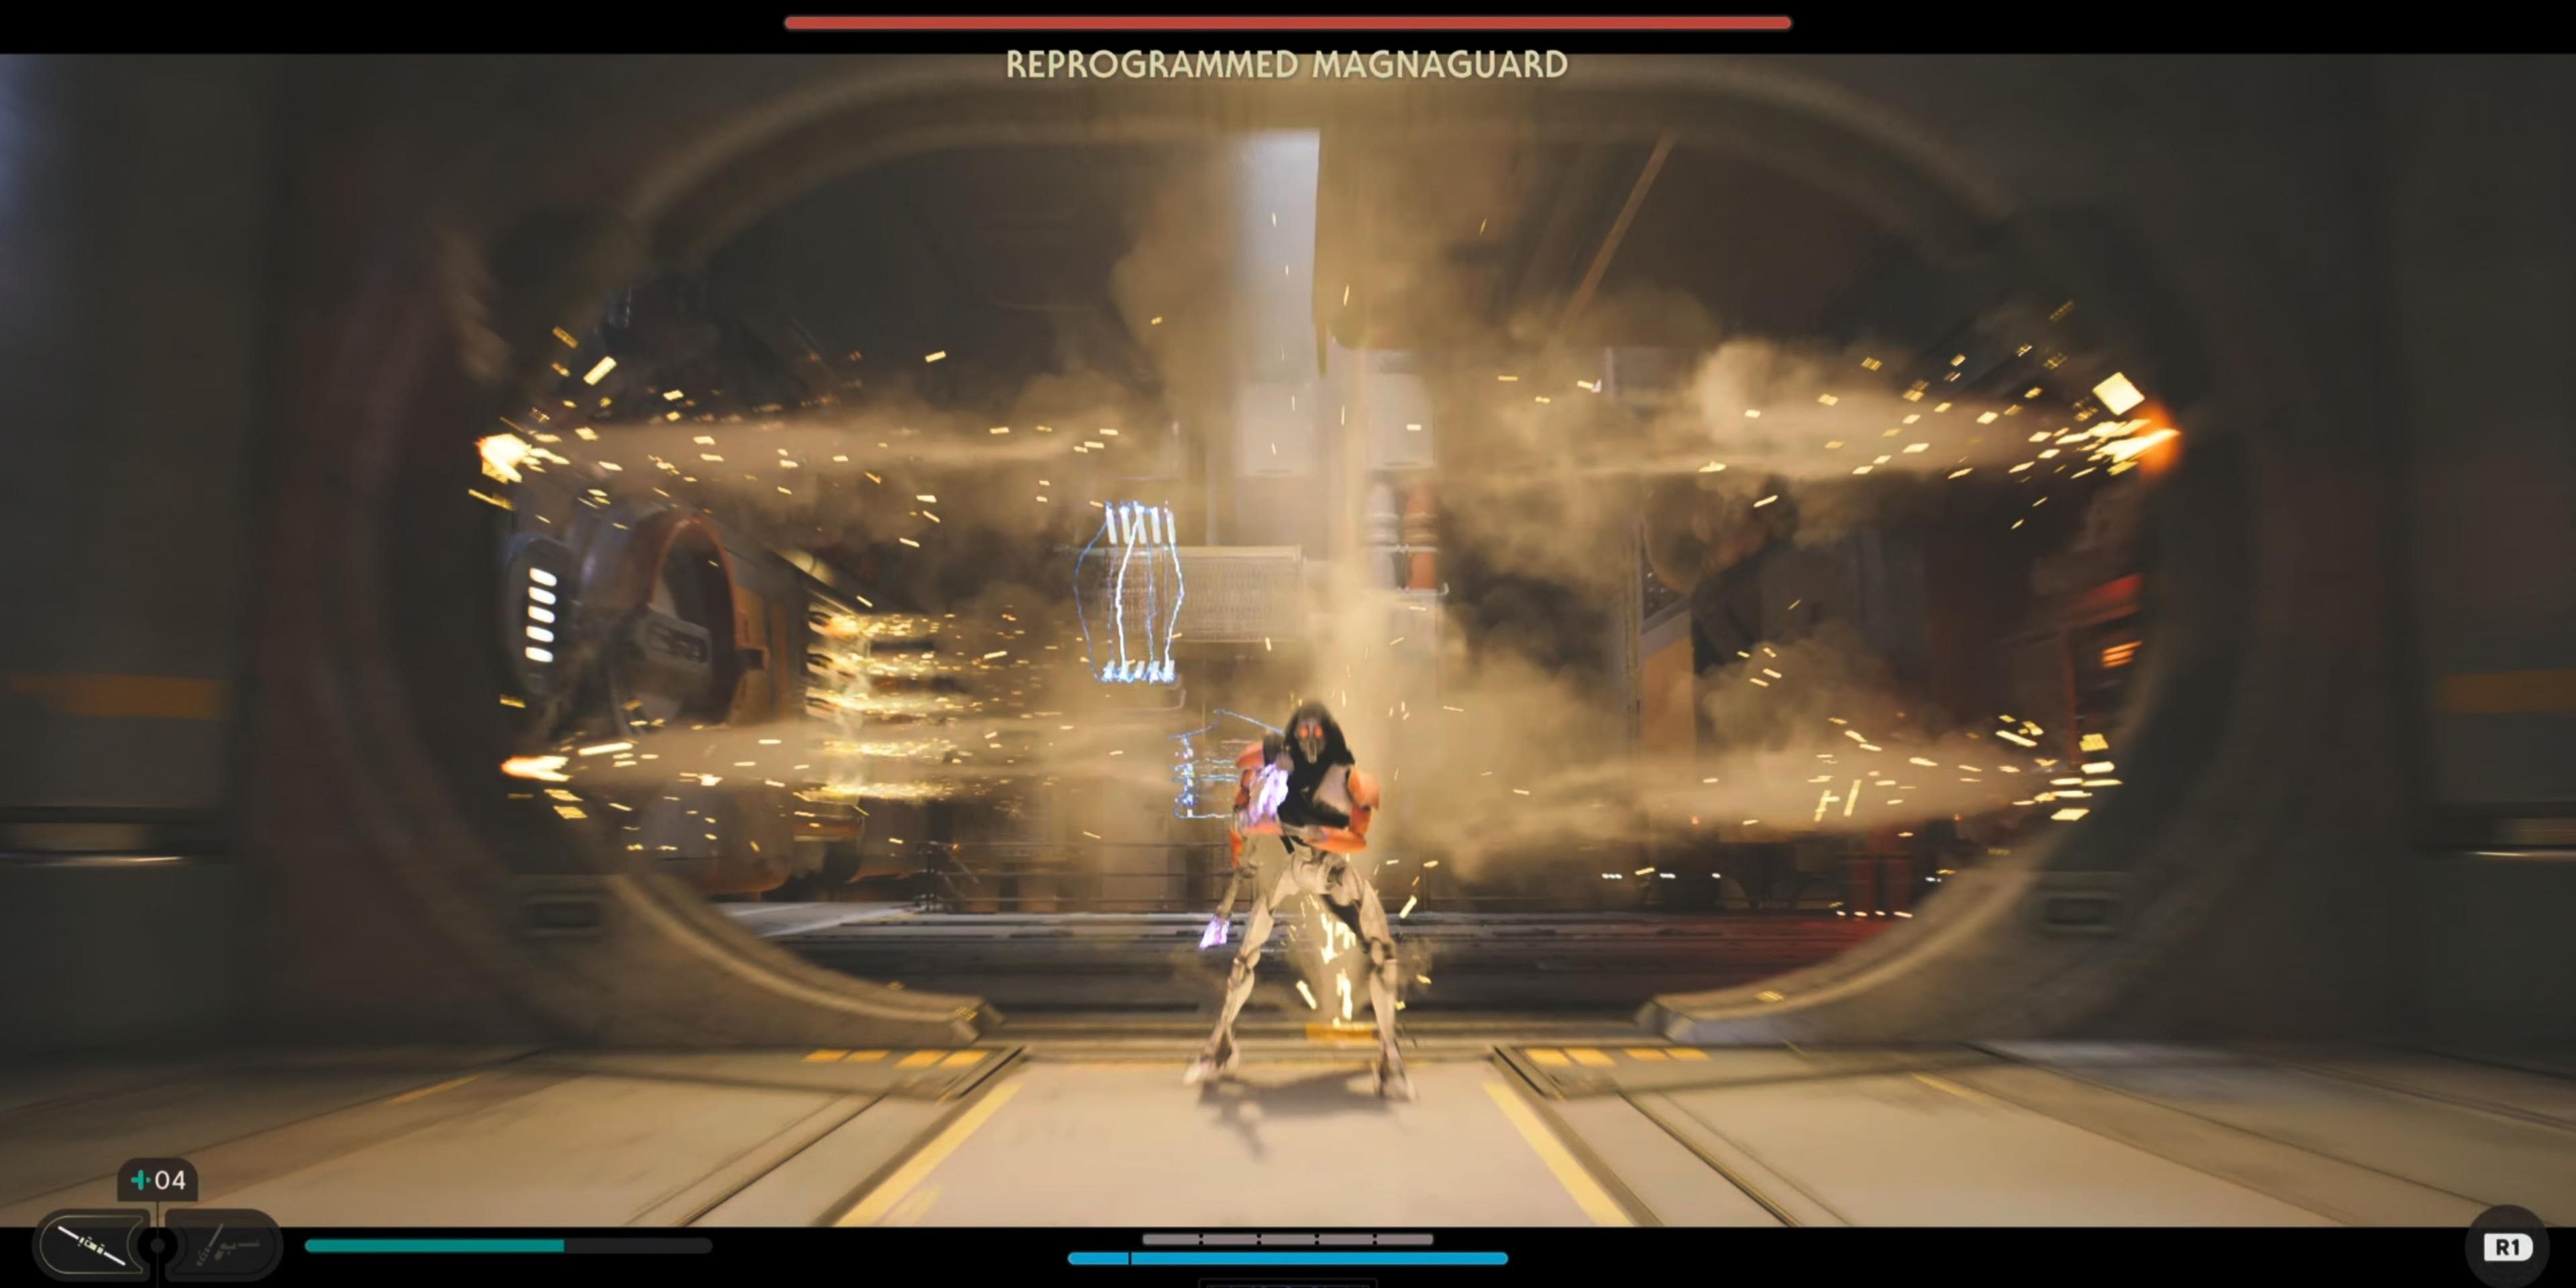
After defeating the enemies, head to the back of the room and have BD-1 scan the databank and open the door. At the end of the right path, you’ll trigger a boss fight against Reprogrammed Magnaguard.
Boss Fight - Reprogrammed Magnaguard
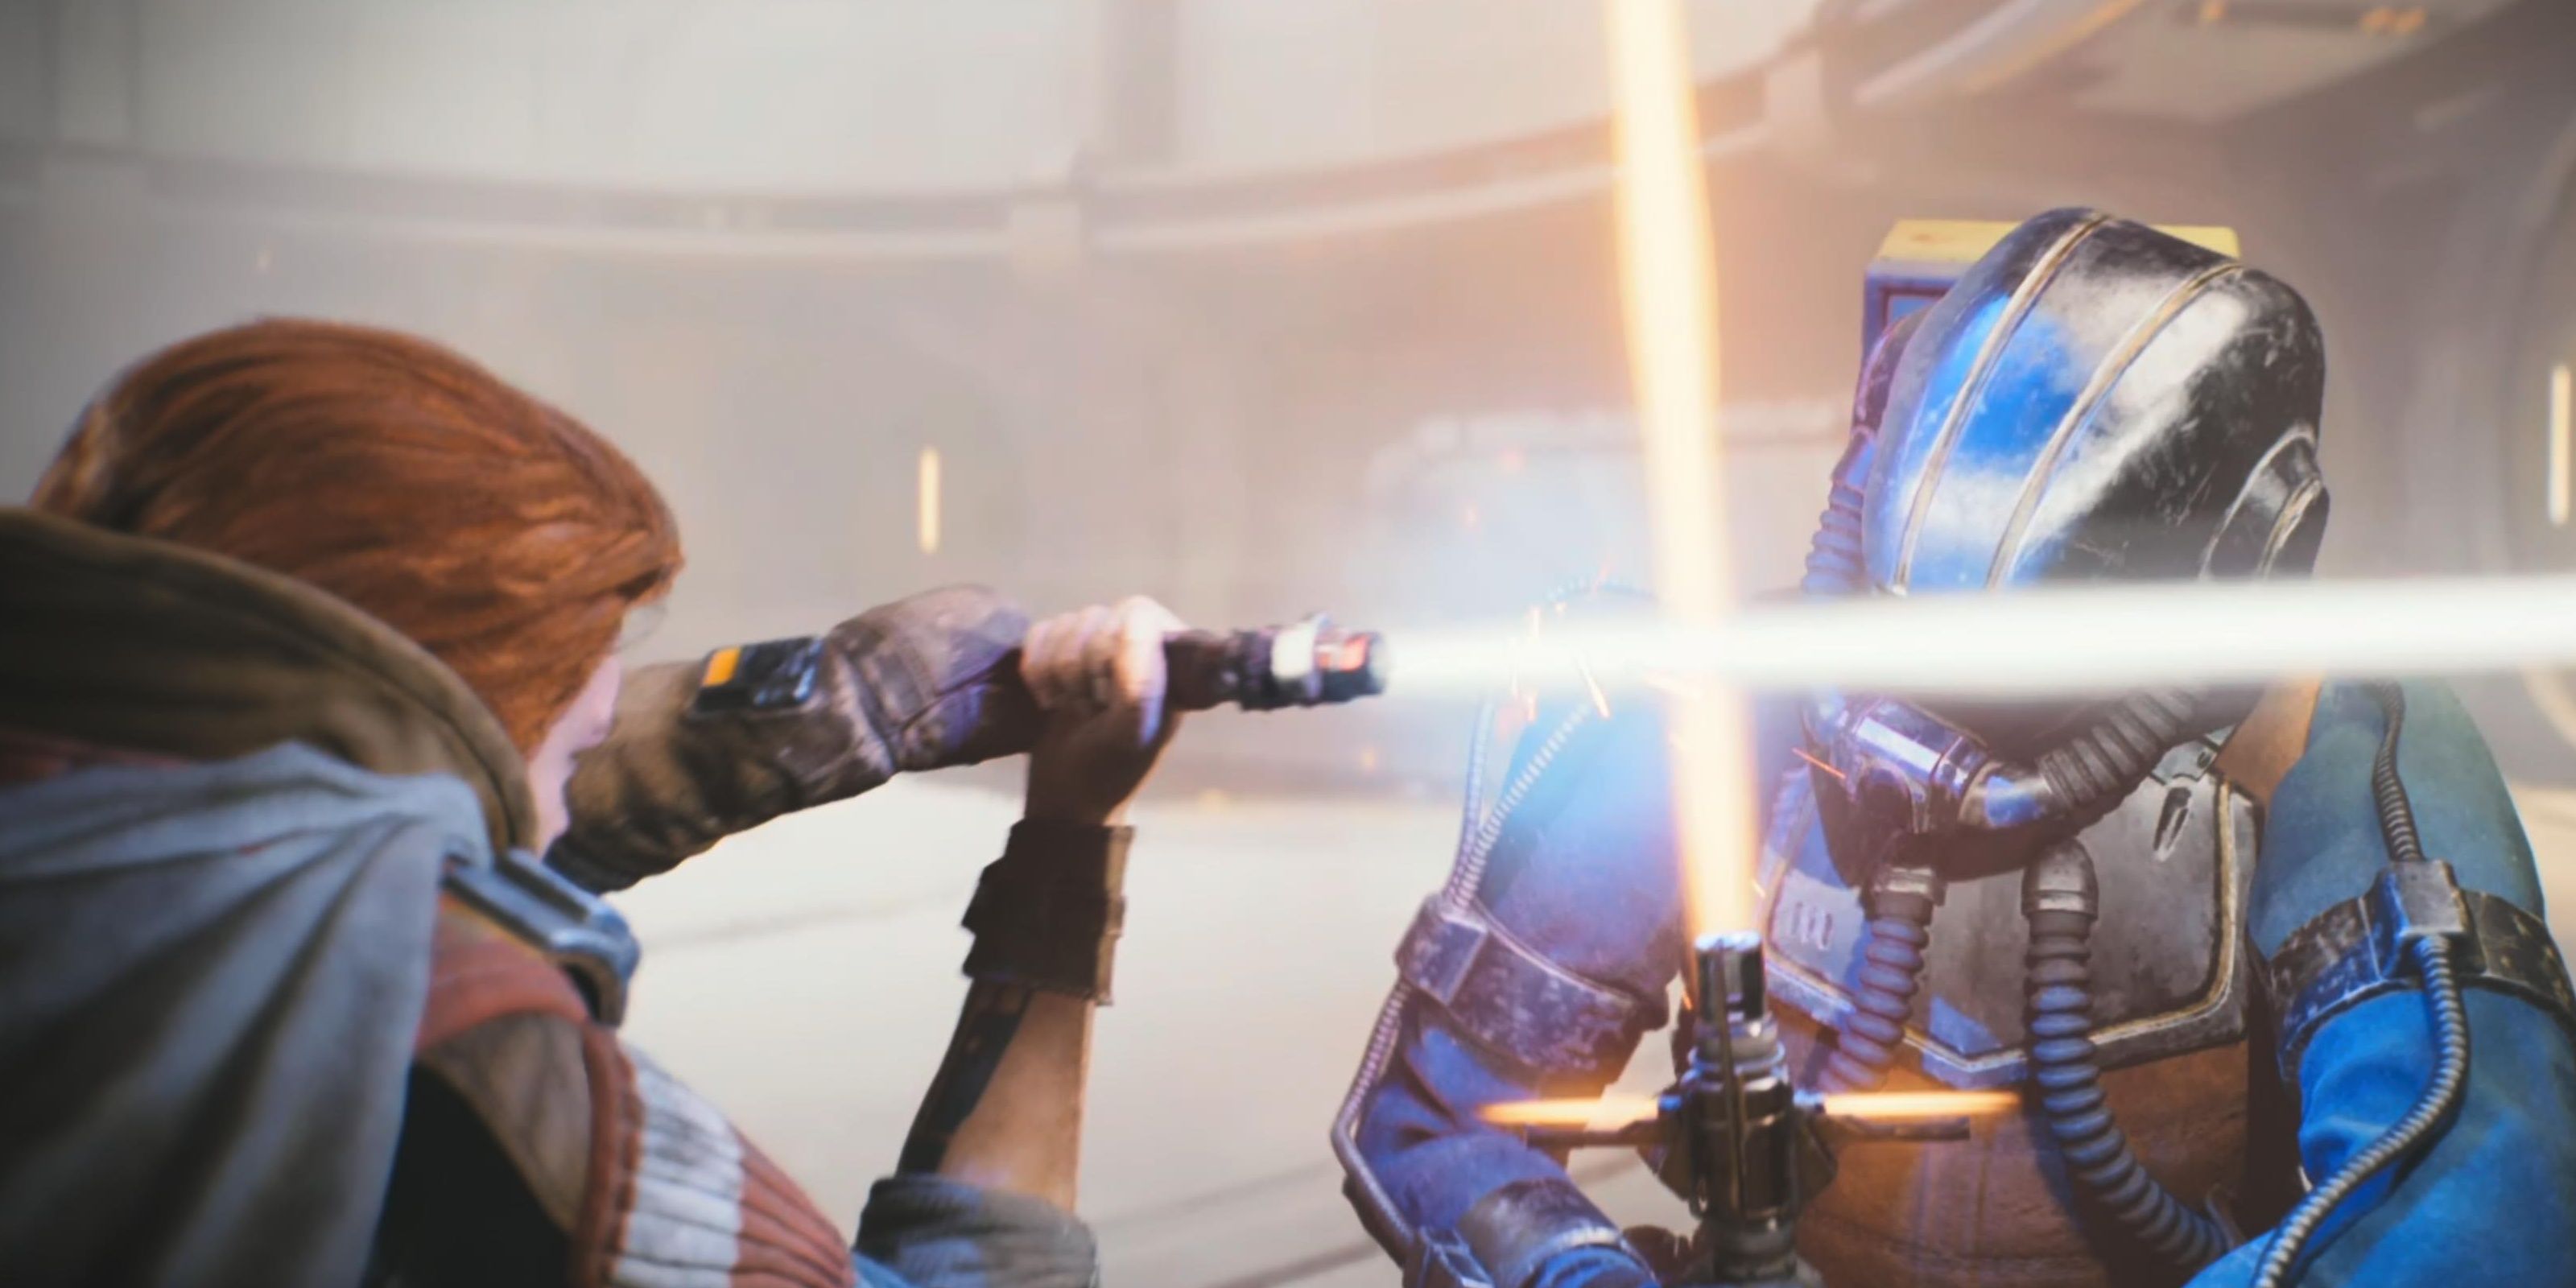
This boss is a humanoid droid with a dual-energy staff as a weapon. It can perform unguardable attacks by leaping in the air toward you, aggressive stabbing, or a two-hit combo slash.
The Reprogrammed Magnaguard also strings four or five-hit normal strike combos that Kestis can block, but be weary of his block meter. Utilize Kestis’s time slow ability, and it won’t be long to defeat the droid.
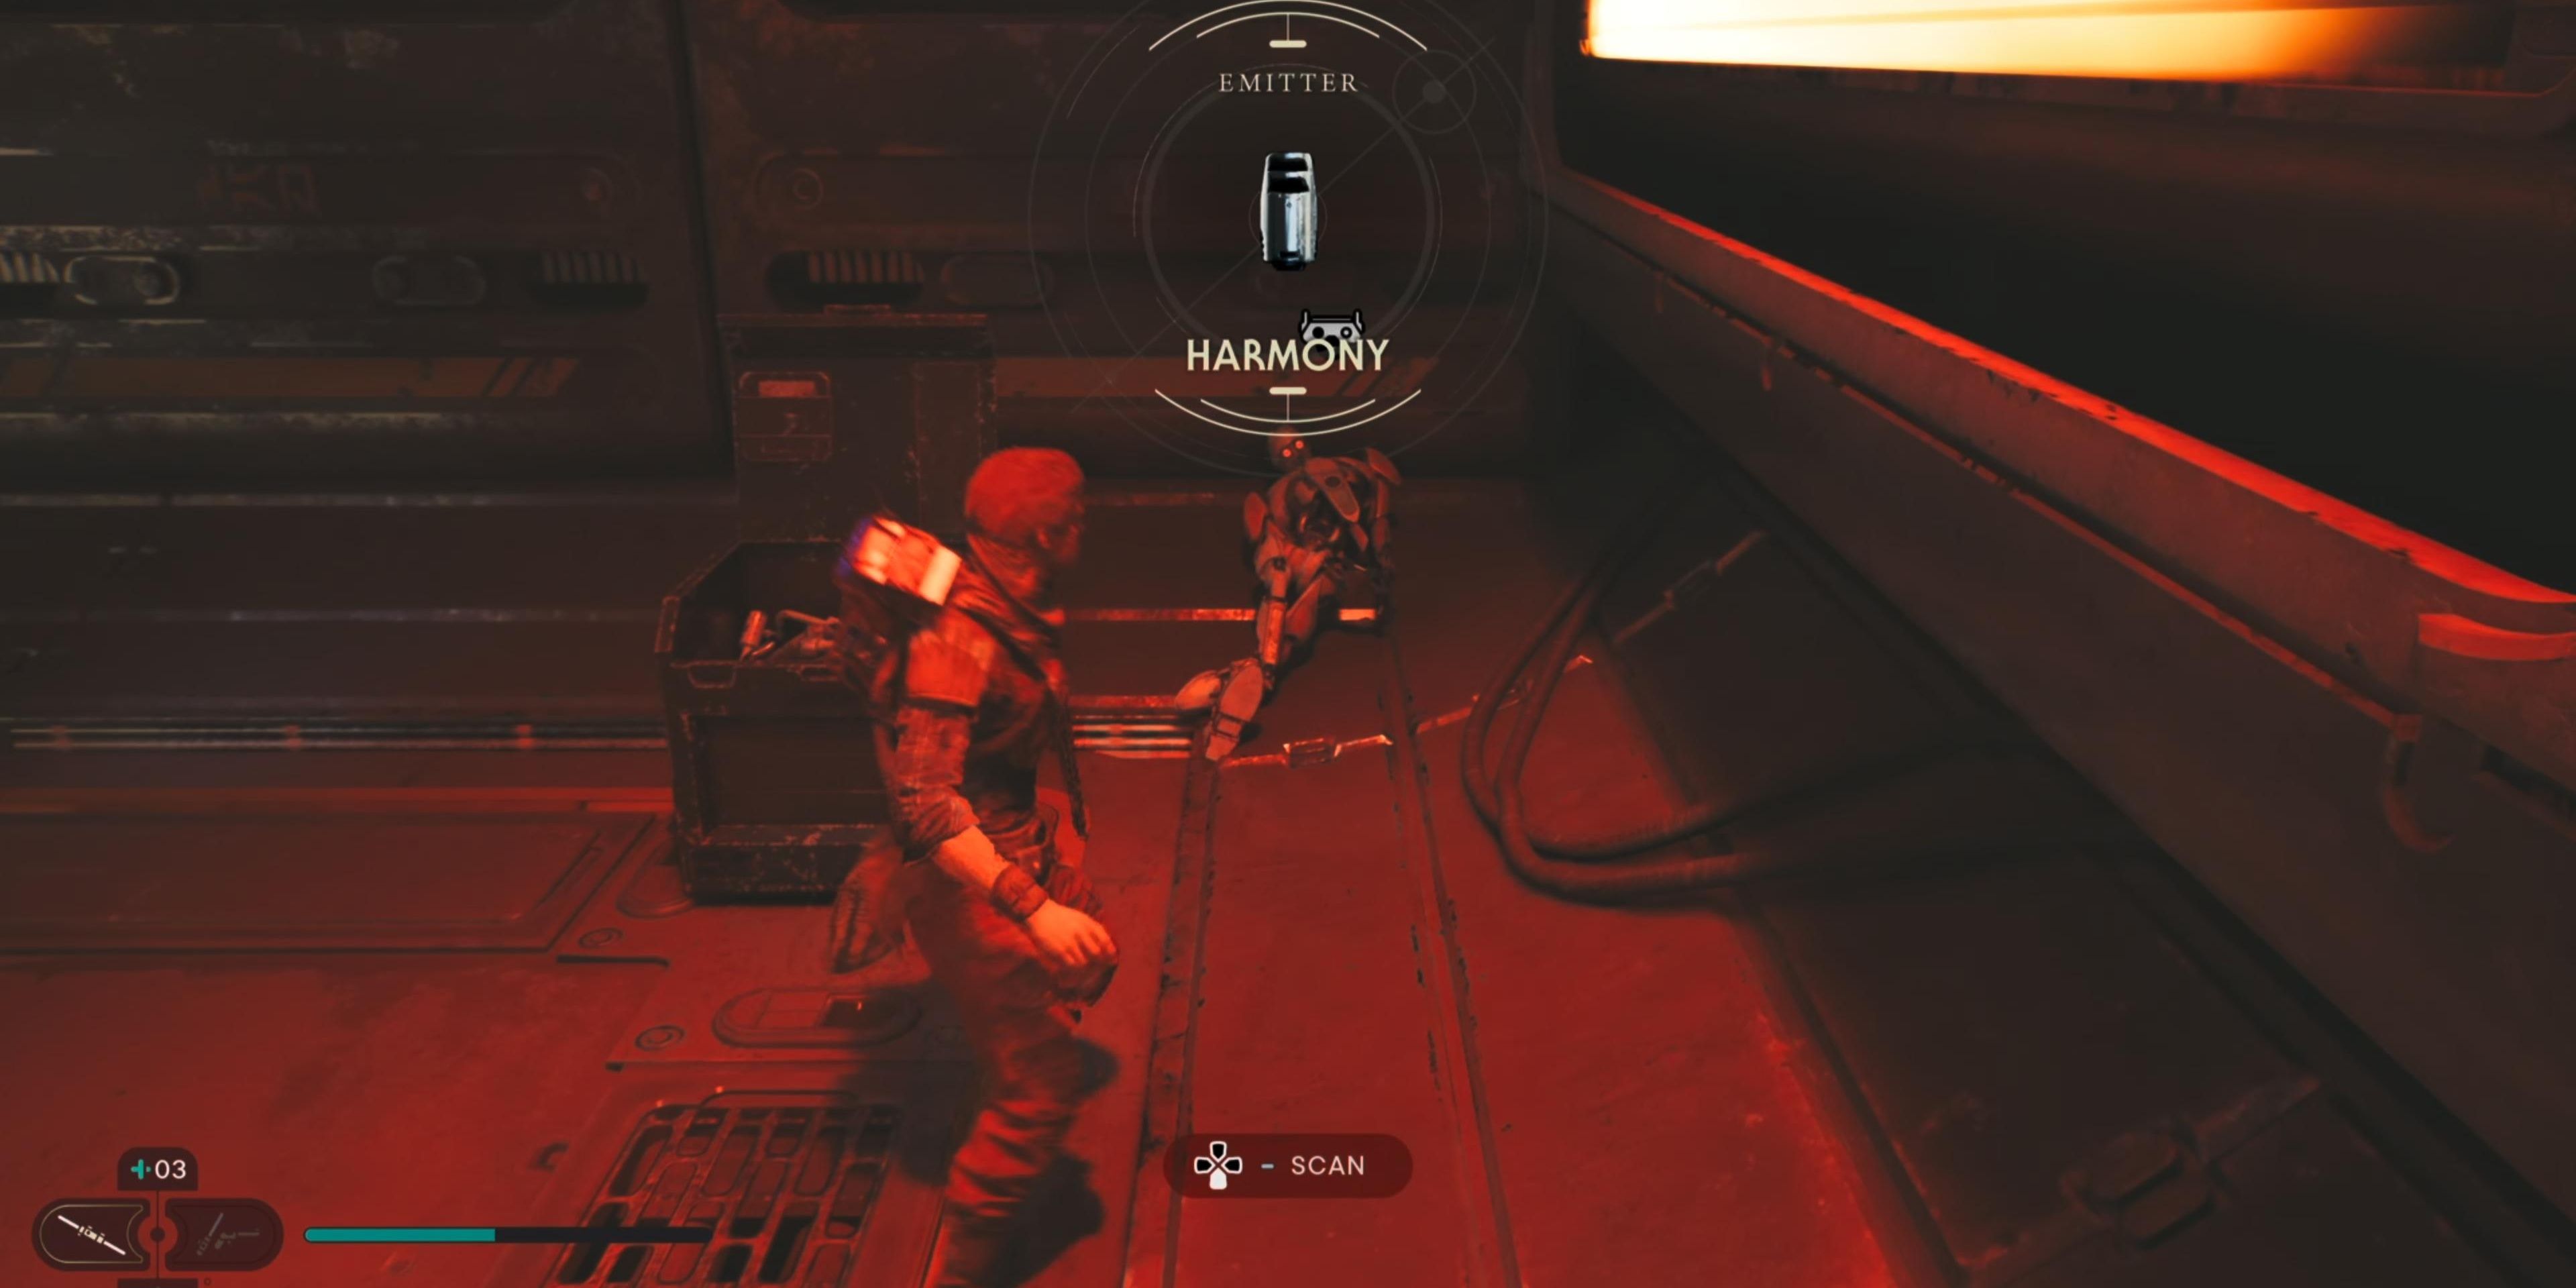
After defeating the Reprogrammed Magnaguard, you’ll find a crate in the area with the Harmony Emitter for Kestis’s lightsaber.
Searching The Space Station
Head back toward the other end of the path to go outside the station, and there will be a maintenance droid. You’ll find a Datadisc for Zee’s shop in the corner near the droid. Down the steps will be platforms for you to wall run to reach the other side.
Open the crate to find Unique Metal for Weapon Materials, then open the door to create a shortcut.
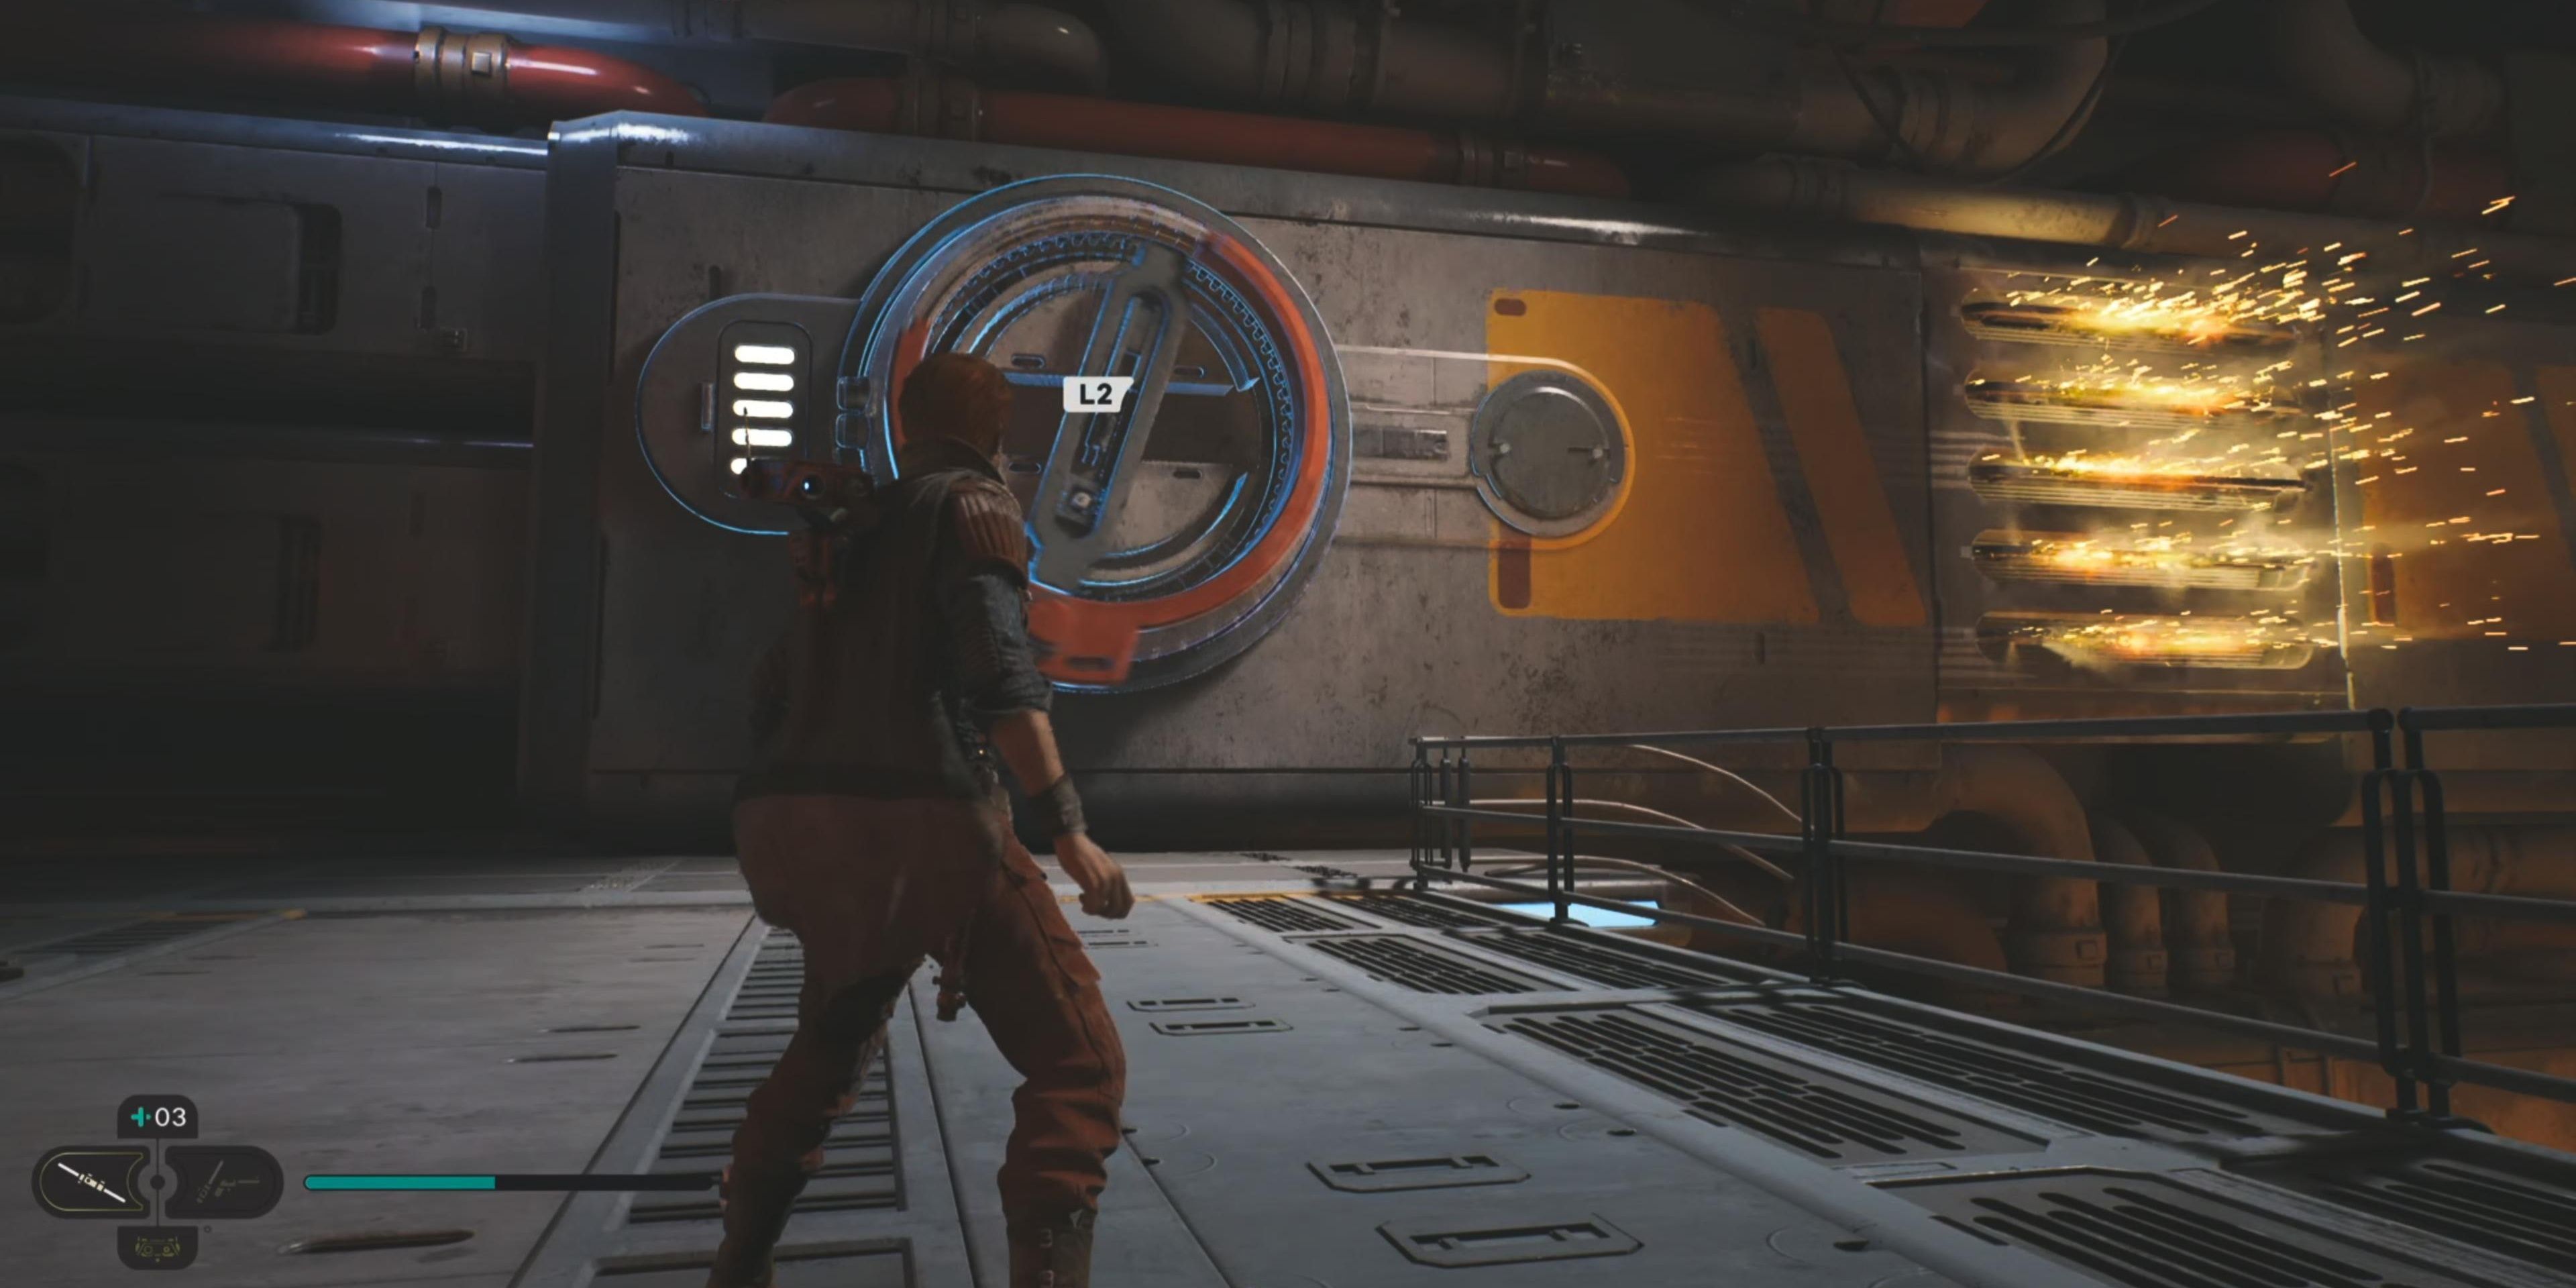
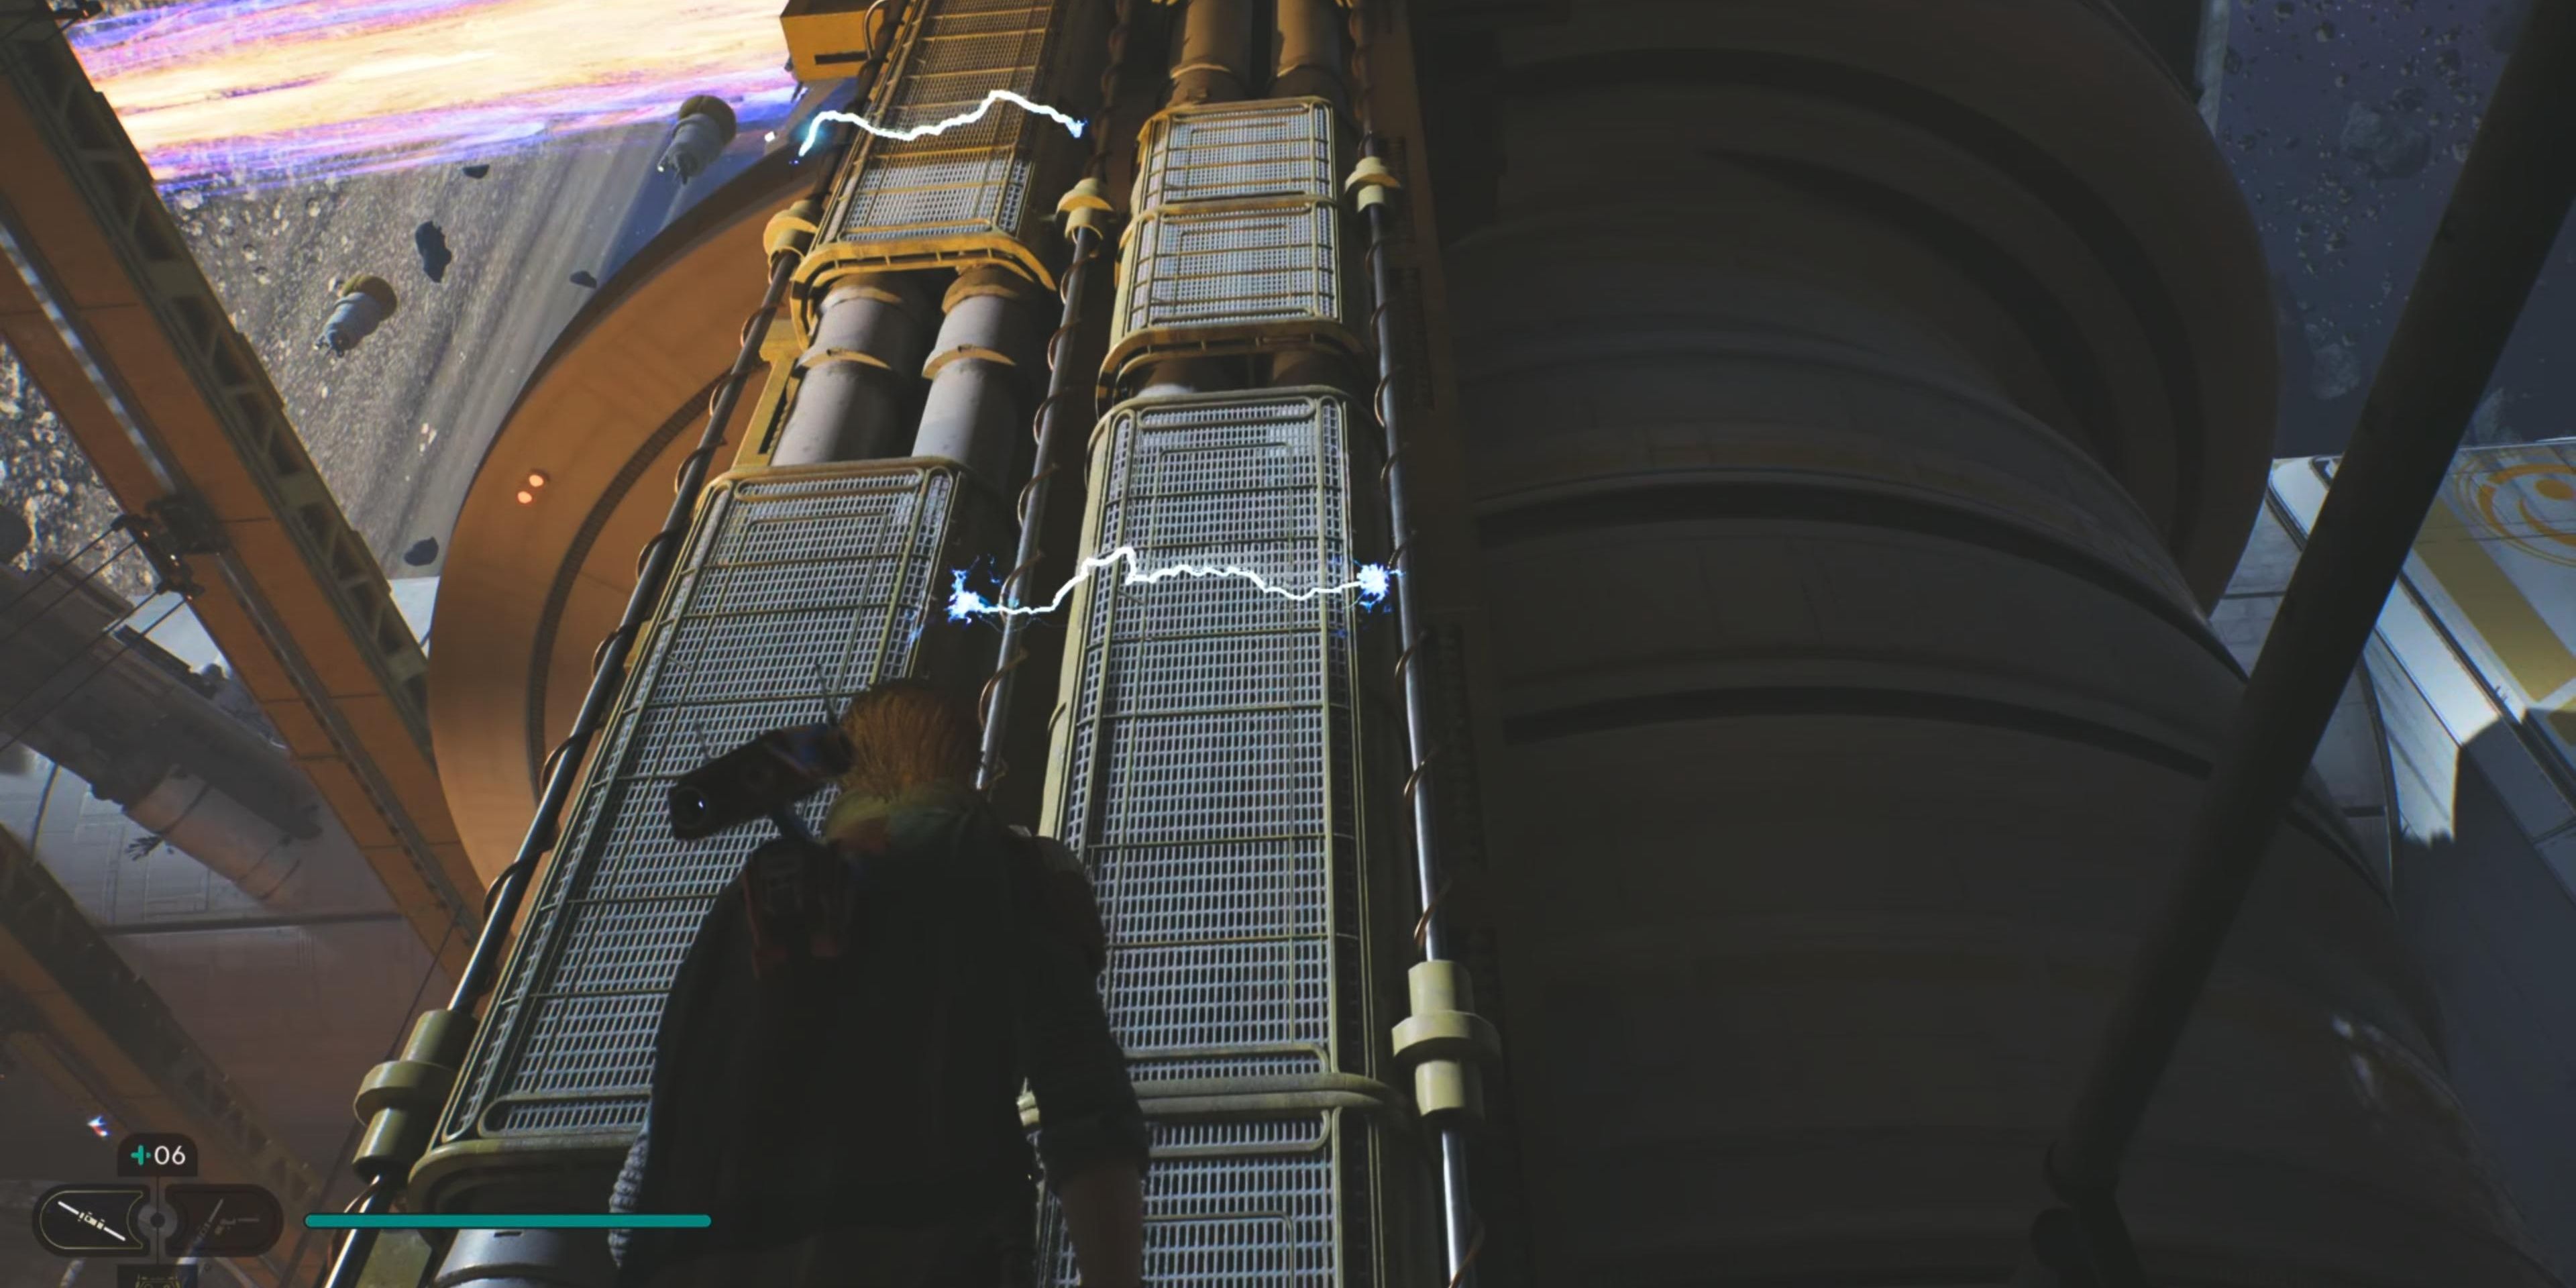
Return to the area you fought the Reprogrammed Magnaguard and head into the next area when the sparks clear. Use the Force to turn the machine on the side panel to close the vents. Run on the walls and double jump to reach the grate on the far wall and climb along the grate while avoiding the electricity.
Drop down to the lower grate while still avoiding the electricity, climb to the right, and jump across to the next grate. Climb the wall to reach the next platform, then run on the right wall to find a pillar for BD-1 to deploy cable lines to proceed forward.
There is a cable behind the crates for Kestis to cut that will create a shortcut to the lower level.
Swing on the metal bar into the opening and continue to avoid the sparks coming up from the ground. Scan the databank nearby and find the Datadisc in the corner and a Force ripple in the back.
Fractured Endurance
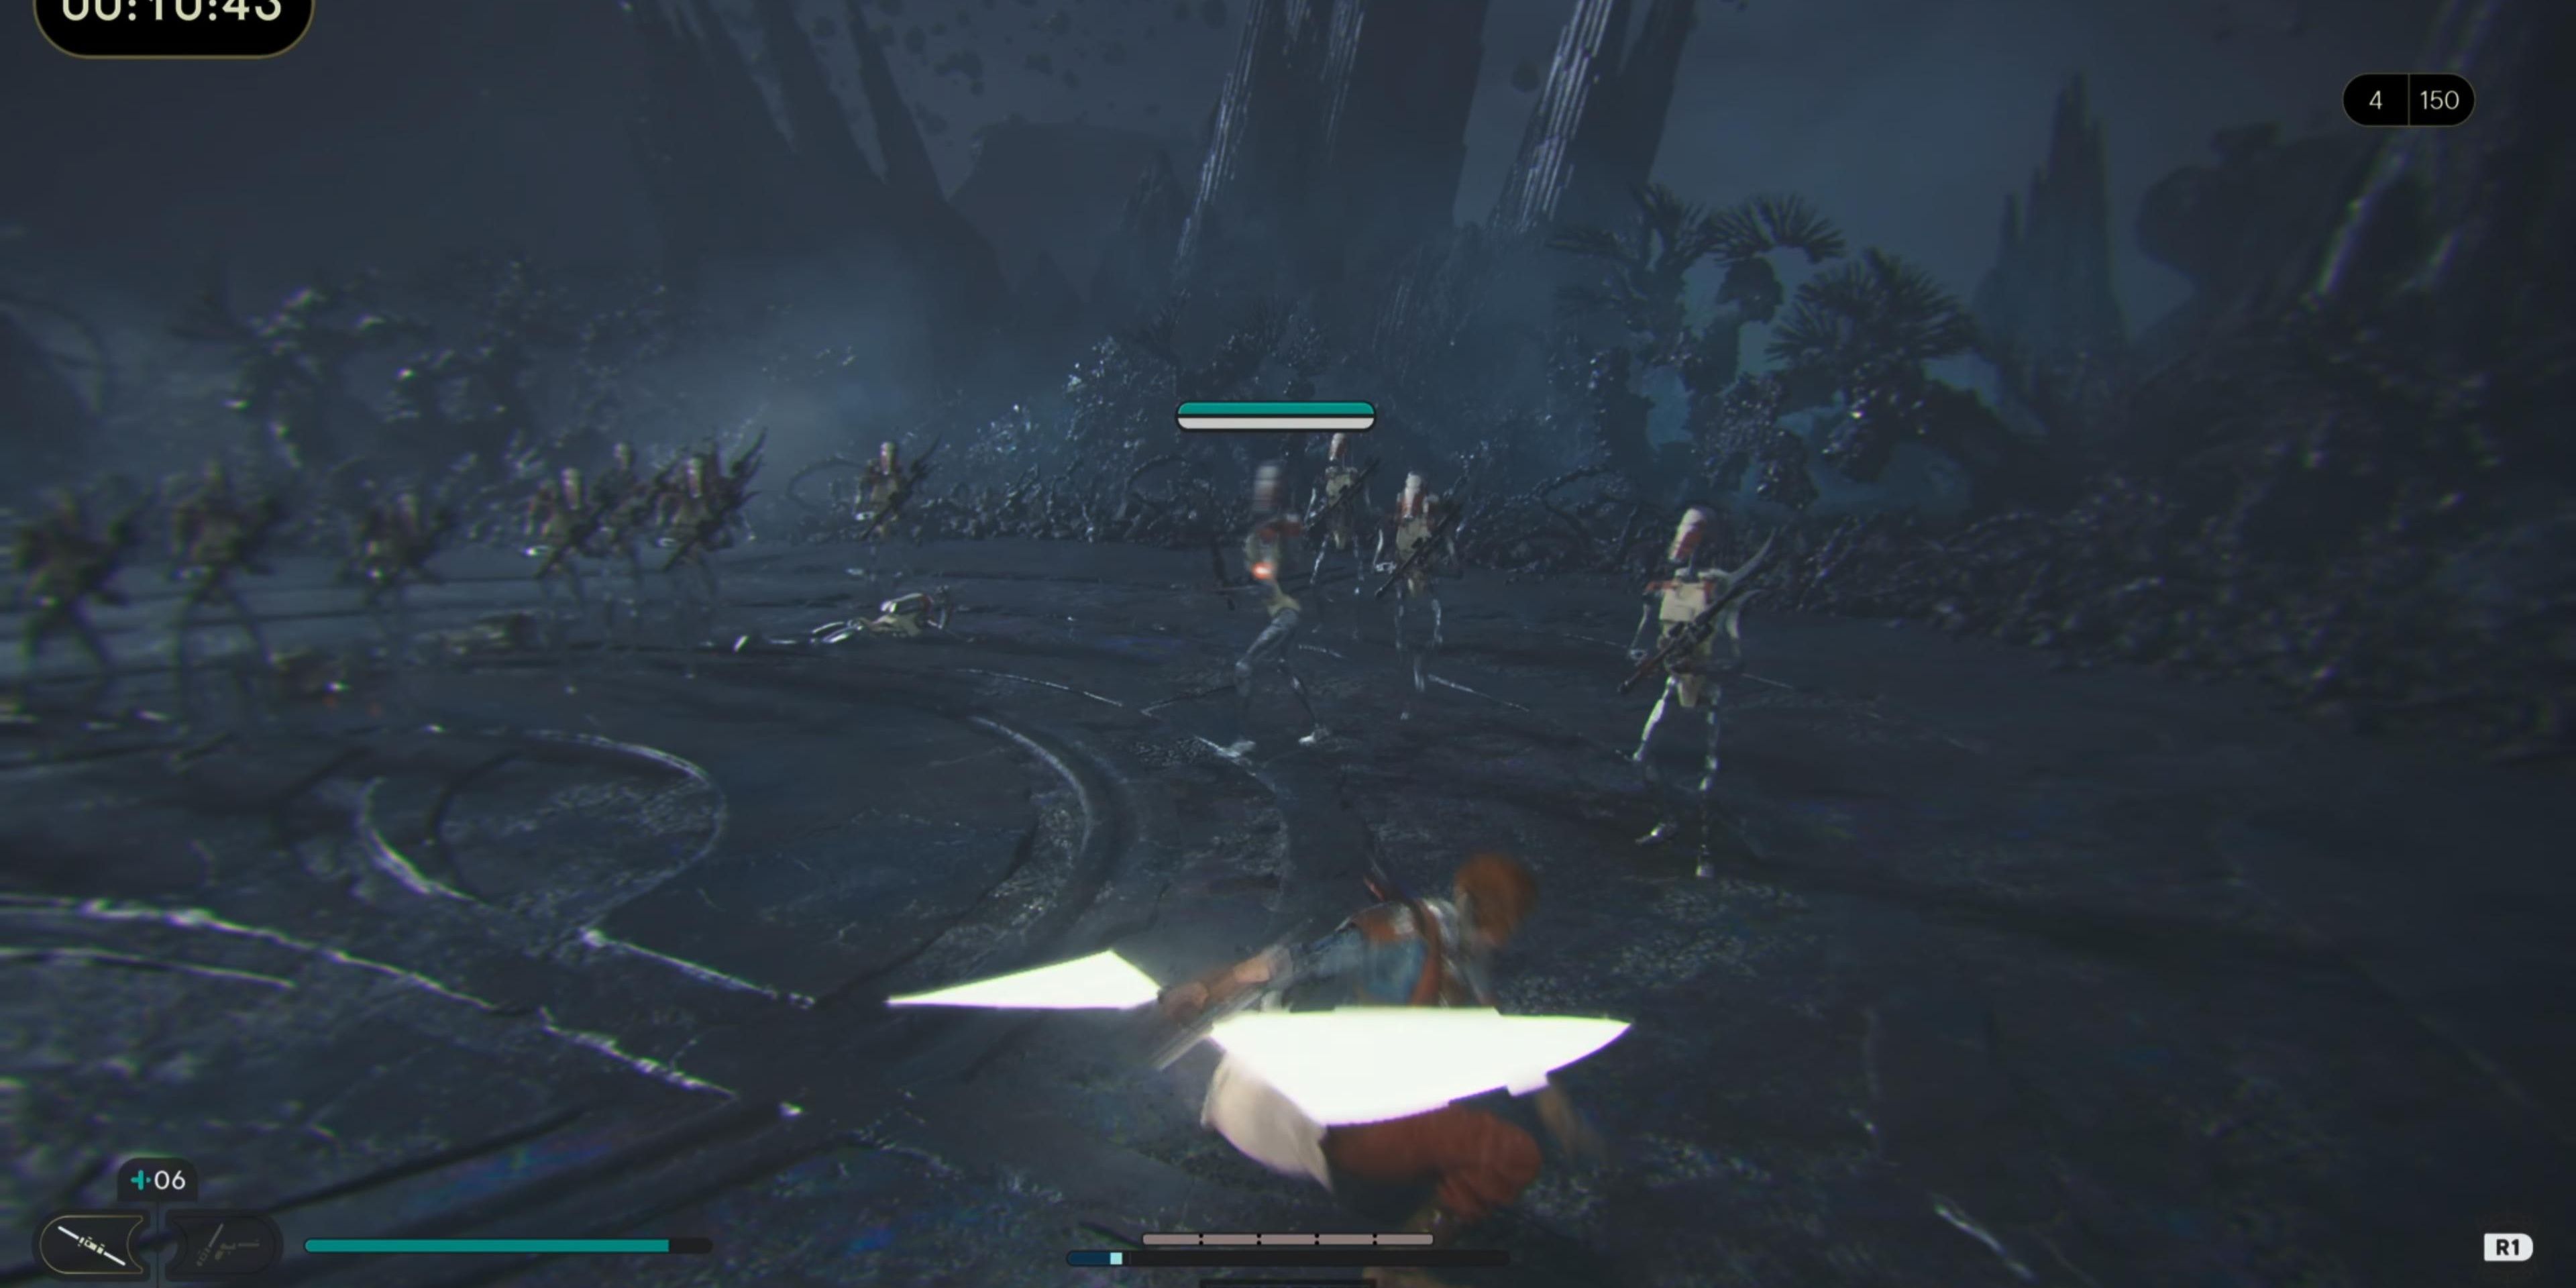
The Fractured Endurance Force mission is one of the easiest you’ll encounter. You’ll face off against an onslaught of B1 Droids that will mainly use melee attacks. As you destroy more droids, you’ll eventually fight against ones with blasters and grenades.
The only part of this Force mission that might be difficult is the sheer number of droids. You might feel overwhelmed with the droids attacking you, but Kestis’s time-slow ability can play a huge factor in eliminating several droids easily without interruption.
After completing the Fractured Endurance Force mission, you will receive massive experience points.
Ziplines And Wall Runs
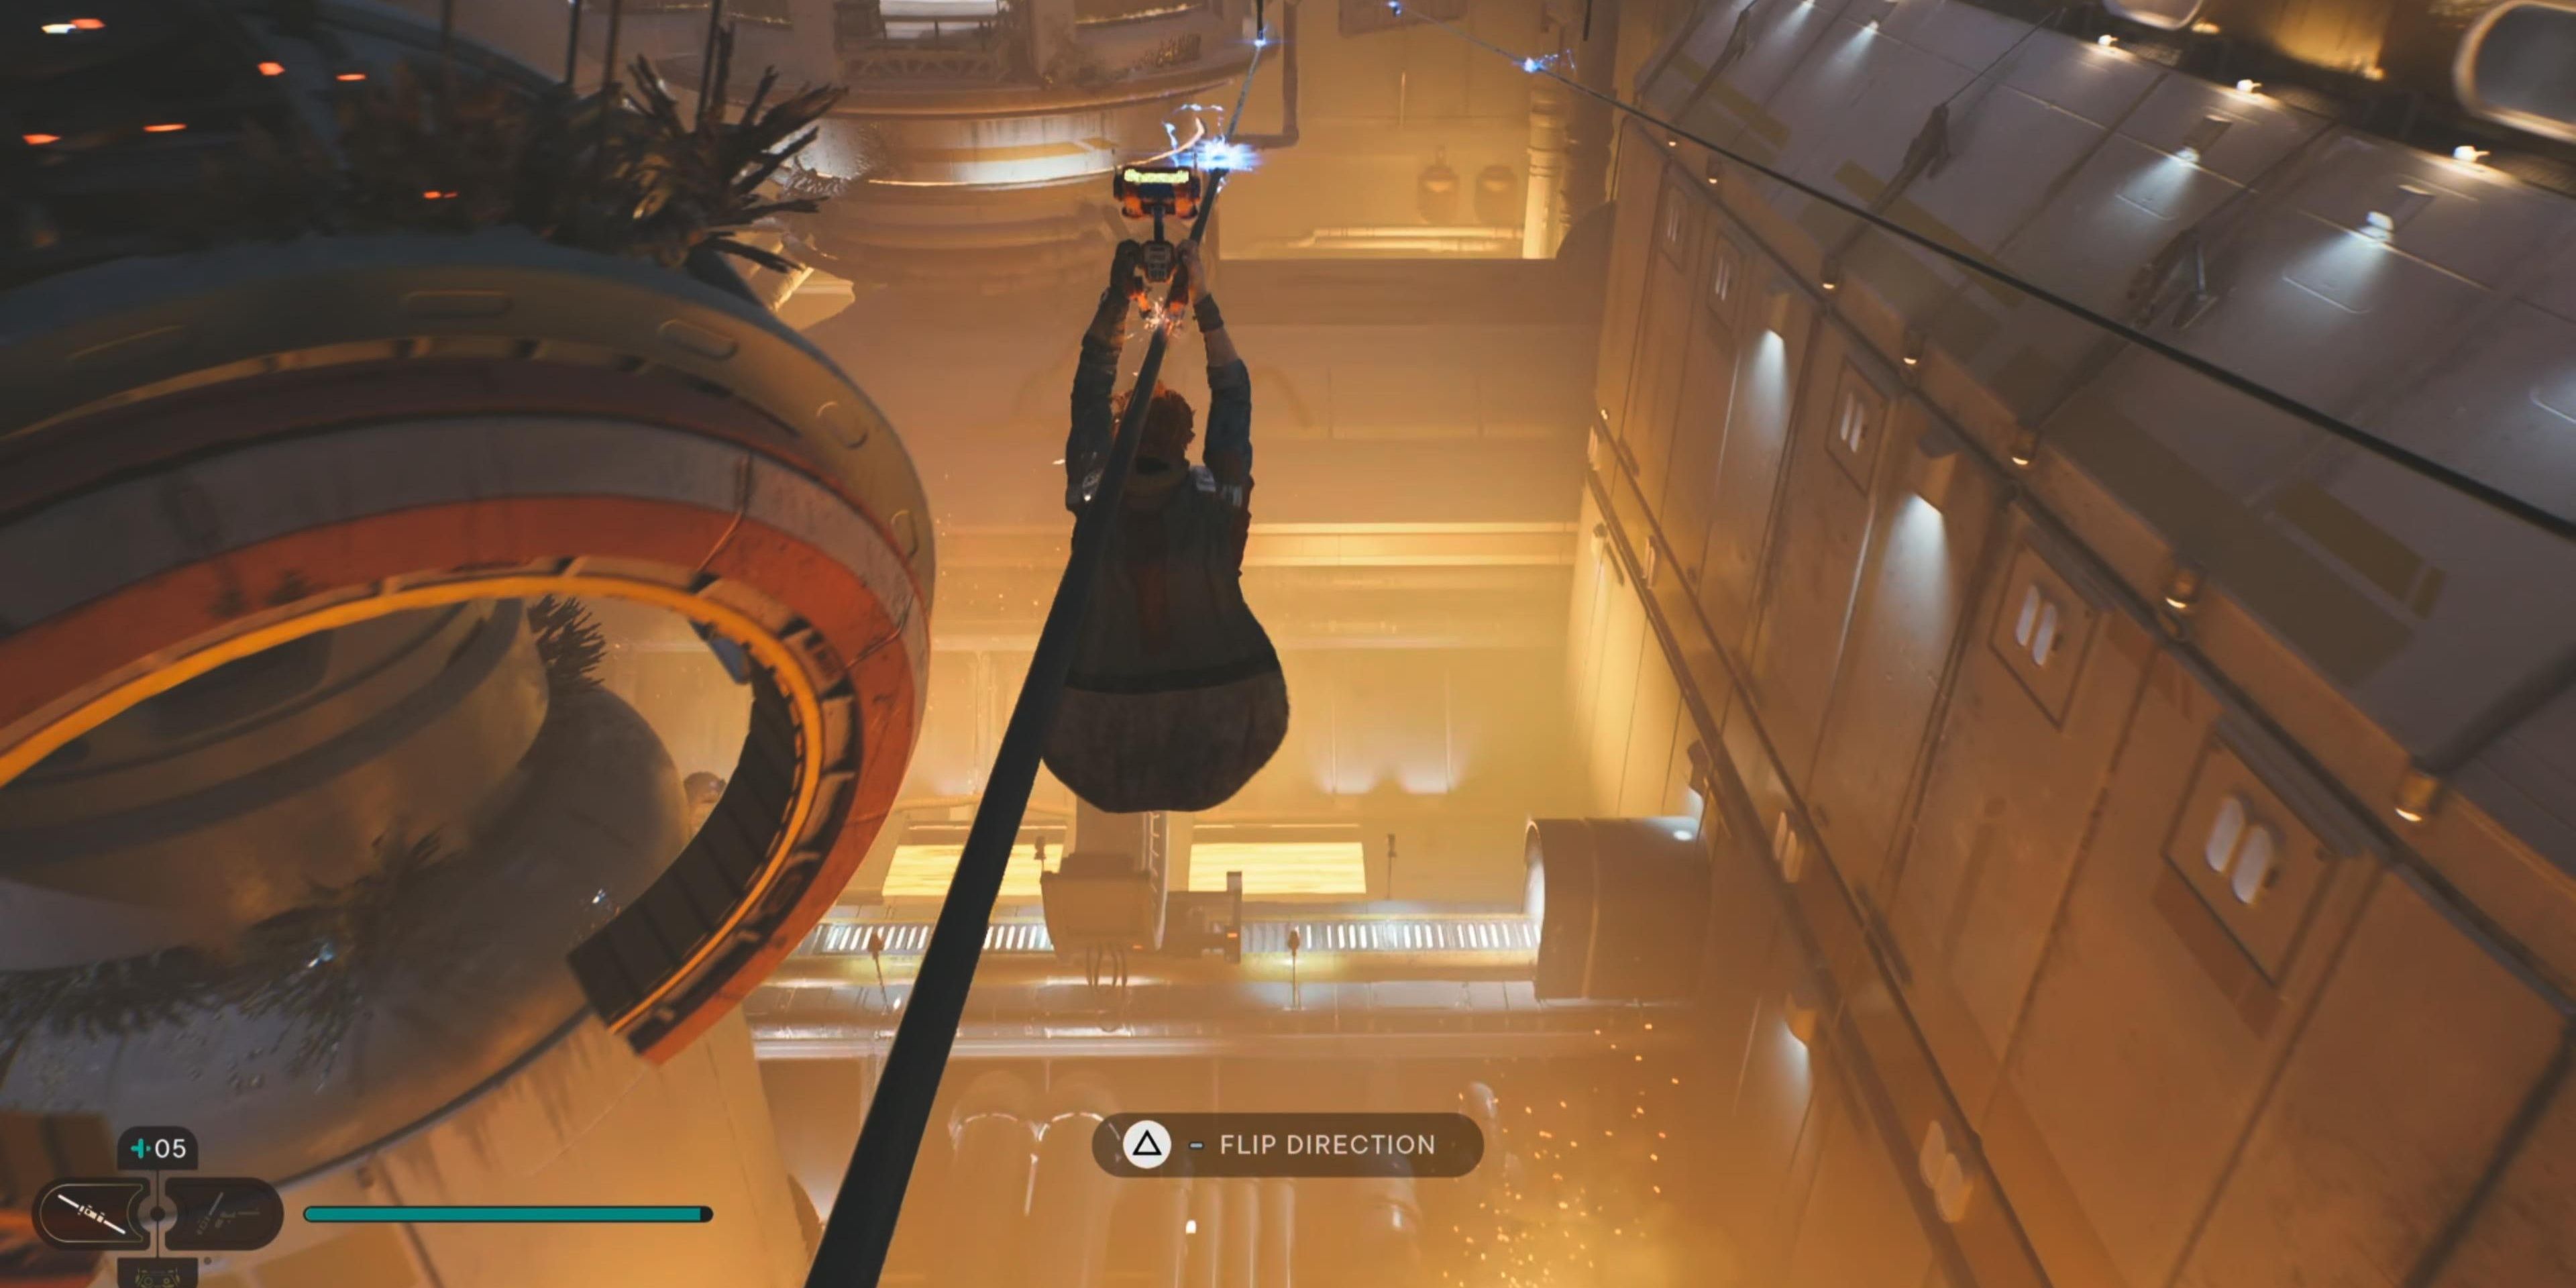
Head back across the metal bar and use BD-1 to create a zipline to the next platform. Continue to zipline, but jump back and forth between two ziplines to avoid the electric shock on the lines.
You’ll find a workbench on the bottom platform to use, then have BD-1 slice open the door on the right, which creates a shortcut back to the Meditation Point. Head up the steps on the other side of the workbench and around the right corner to find a long grate on the wall in front of you.
While avoiding the electric shocks, climb along the grate until you can leap onto the next platform. Continue climbing the grates and shuffling on the ledge until you reach the middle platform. Use the zipline and, just like before, alternate jumping between three zip lines to avoid electric shocks.
Continue using the ziplines to reach another set of walls to run on to reach another platform. Climb on the side grate and then drop down to a lower grate. Keep moving until you climb up the ledge, then take down the droids up top.
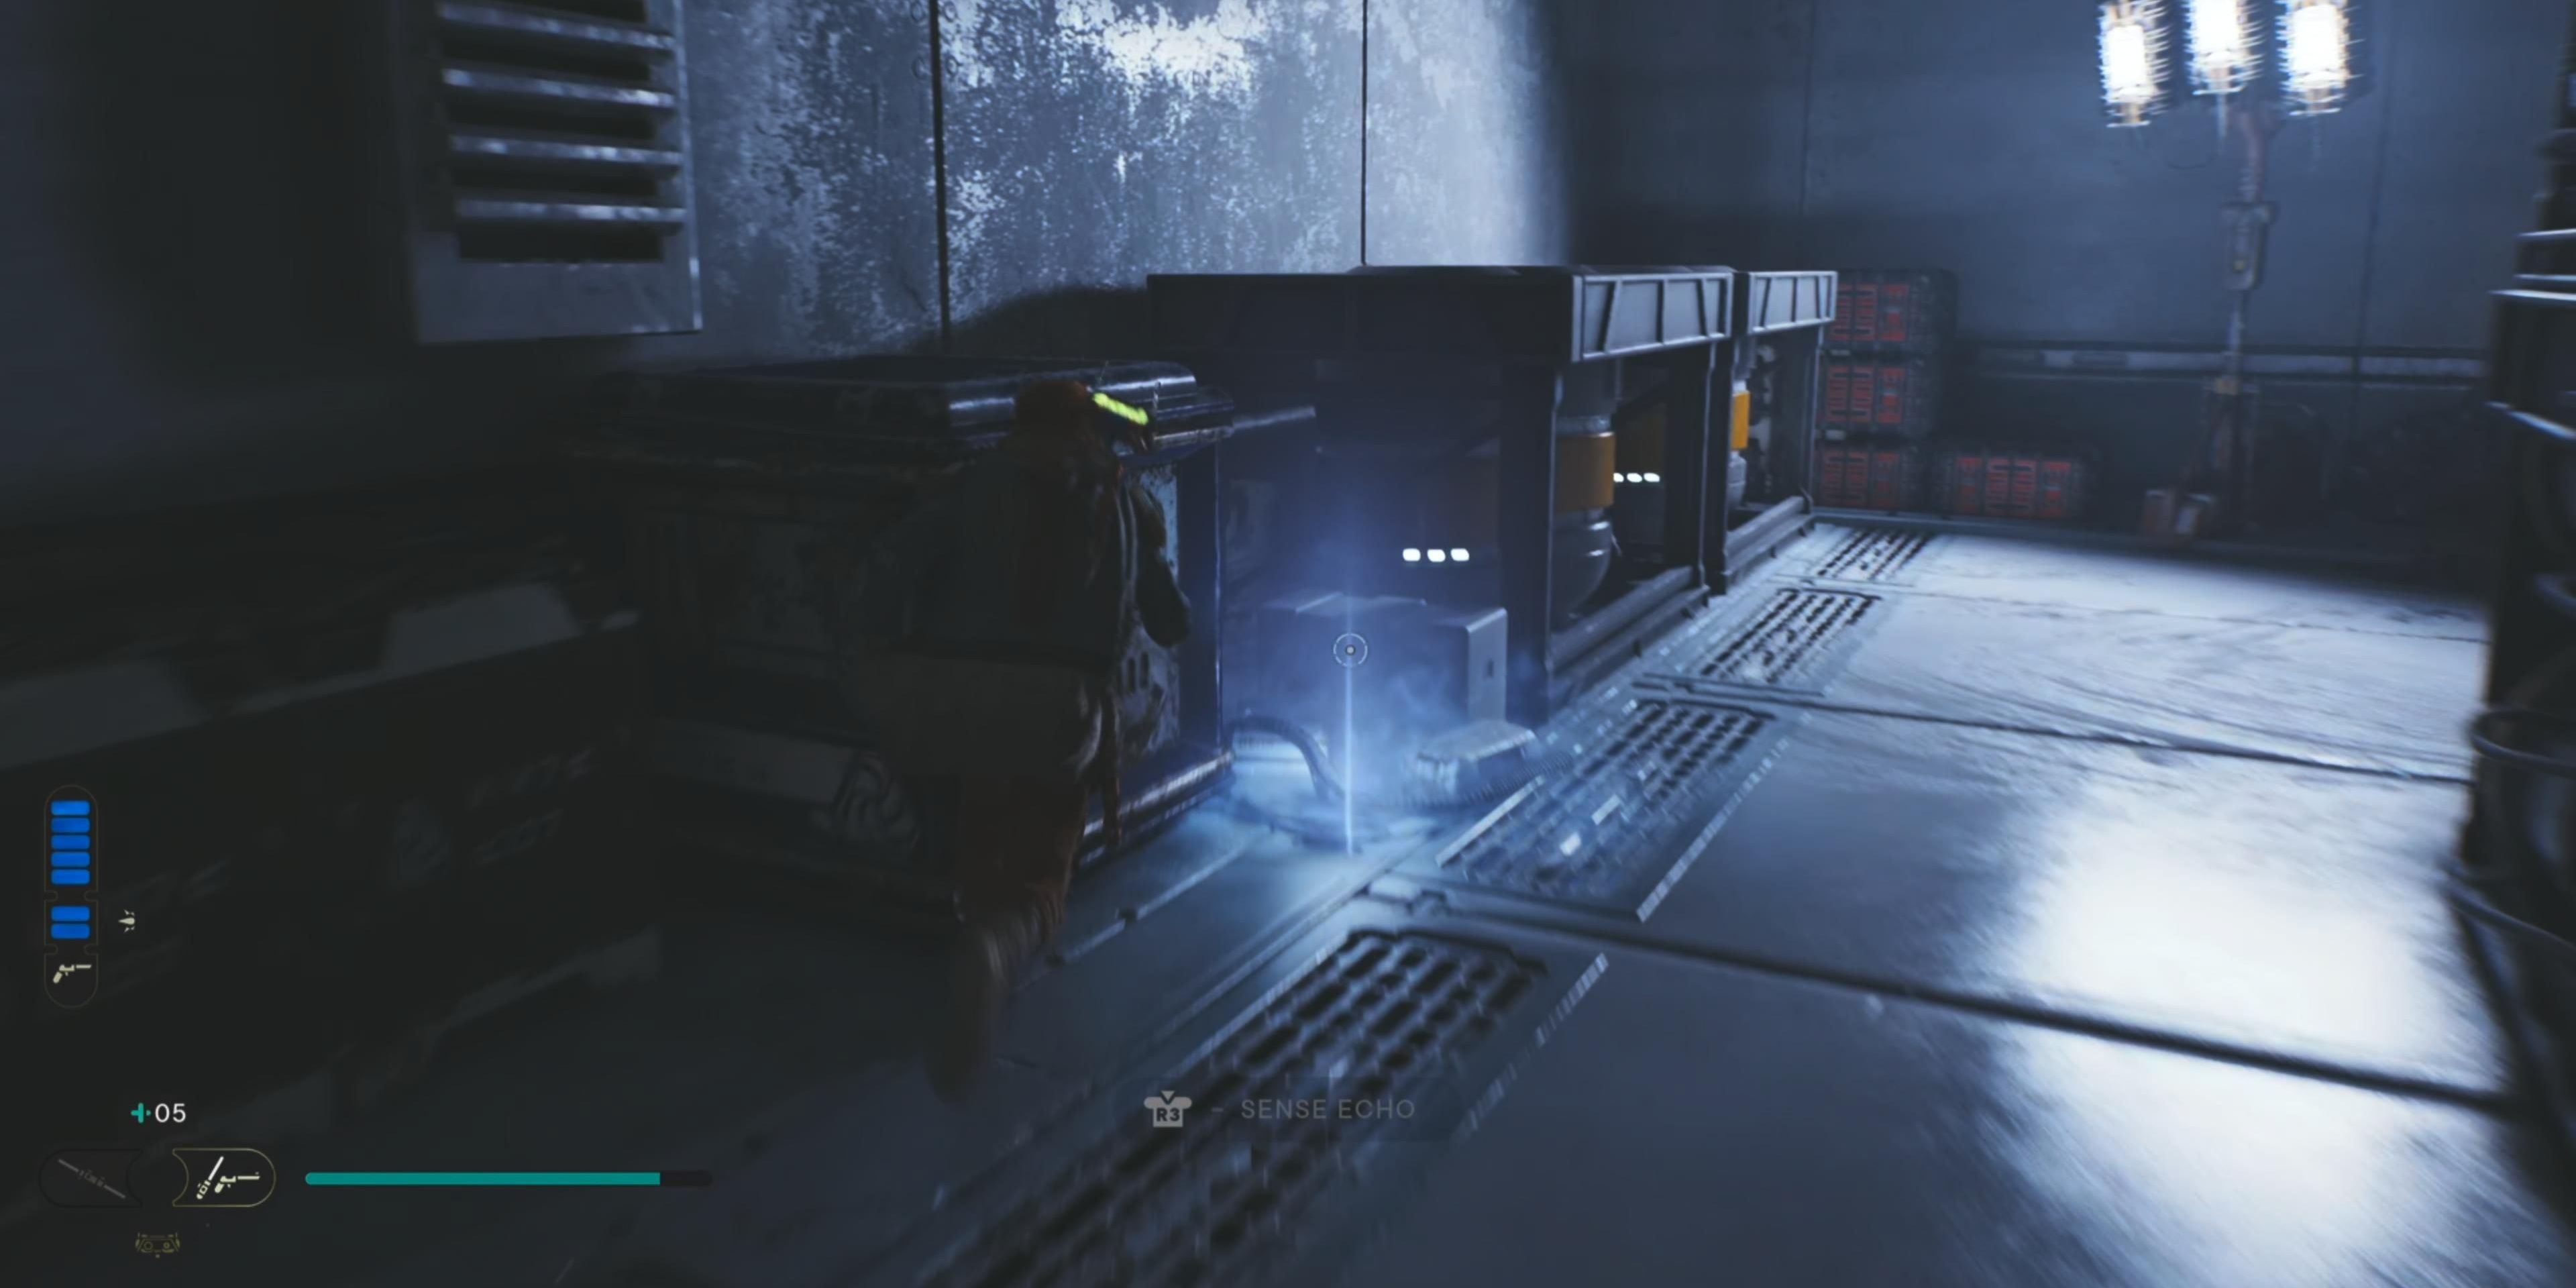
Sense the Echo in the side area, then head down the opposite path to use BD-1 to activate the zipline and create another shortcut.
On the left side of the green shield barrier, double jump to climb over the large coils to find a crate with the Ground Pulse Music Track. Head down the right side of the green shield and use your ascension cable to try attaching it to the wall grate, where it will break.
Defeat the creatures in the sludge, then use your ascension cable to ride the drone back up and leap on the wall grate. After scaling on the grate, scan the databank and find a Datadisc nearby.
Cut the cable on the next platform to create another shortcut; then, you can drop down into the area that was previously blocked by the barrier and defeat the enemies. Once they’re all destroyed, run on the wall to reach the opening on the side and use BD-1 to create another shortcut.
Follow the path past the maintenance droid and drop down to find a few more droids. You’ll need to carefully jump forward to each platform while avoiding large waves of electricity. There will be a droid trying to shoot you further ahead and a Datadisc nearby.
If the electricity hits you, Kestis will only receive damage and not automatically die.
Run on the wall to leap over the generator that’s creating the electricity, then walk across the pipes and fight the BX Droids. They’re mostly resistant to the Force, so parry well and block their attacks.
BD-1 will scan a databank in the back where Kestis can examine space. Swing across the gap with the hanging rope and climb up the grate to reach another slanted platform with droids shooting you. After taking down the droids, keep walking across the pipe to cross the chasm while avoiding more waves of electricity.
The structure will collapse, and Kestis will begin to slide down the side. Use your ascension cable to hook onto the drone and swing toward the side grate. Climb up the ledge and take down the droid, then use your ascension cable to hook onto the next drone.
Swing to attach yourself to the side wall and jump back and forth to climb up the wall gap while avoiding the spark vents. If the sparks hit you, Kestis will fall to the depths, and you’ll have to start over.
When you reach the top, you’ll fight a few more droids, and BD-1 will open the door. Head down the ramp and activate the Array Channel Meditation Point, then use the Force to pull the large platform toward you. Run across the platform and leap off the edge to use the ascension cable to attach yourself to the grate.
Keep moving until you reach the above platform, and cut the cable to create another shortcut. Use the Force to pull the rope toward you so you can swing across the massive gap.
Sense the Echo on the droid and head inside the station to find a High Republic device to deliver to Master Cordova. After finding the device, a boss fight will trigger against Drya Thornne.
Boss Fight - Drya Thornne
Thornne is also a lightsaber user, but they specialize in using the Crossguard Stance. The hunter will use unguardable attacks in the fashion of an overhead slash and can turn invisible. However, if you’re locked onto Thornne before they turn invisible, you’ll continue to see where they are.
The Crossguard Stance was used by Kylo Ren in the Star Wars sequel series.
Besides saber strikes, Thornne will also fire blaster bolts and throw grenades. Kestis can easily block the bolts and use the Force to throw the grenades back at Thornne.
After defeating Thornne, Kestis will pick up their custom emitter and retrofit it to his lightsaber to unlock the Crossguard Stance.
Return To The Mantis
With Thornne defeated, use the newly formed Meditation Point in the center of the room and then sense the Echo where you picked up the High Republic device. Use BD-1 to slice open the door to create a shortcut.
Kestis will be forced to use the Crossguard Stance, and this area will act as an opportunity to practice. The Crossguard Stance is a bit slower than the other ones but delivers more damage.
After defeating all of the enemies, you’ll be able to adjust your stances. We recommend using Double-bladed and Crossguard, one for faster strikes and another for pure power.
Open the side door to return to the Meditation Point in Superstructure Fabricators, and it’ll be another shortcut. Head back through the yellow door and use BD-1 to create a zipline back to the Mantis to finish completing the objective on the Shattered Moon.

